


7890MG Series
Universal Media over IP Gateway for 10 x ASI/SD/HD/3G/GE
GETTING STARTED
Revision 0.2
Page - 7
2.4.
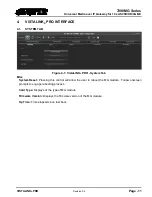
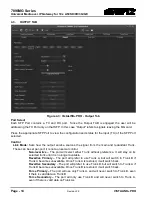
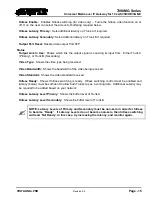
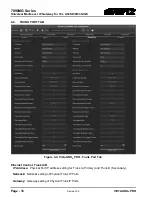
CONNECTING TO VISTALINK PRO
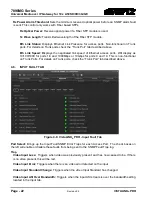
This chapter assumes that the VistaLINK
®
PRO server and client are already configured for your
network and you have basic knowledge of the VistaLINK
®
PRO interface. It also assumes that the user
or network administrator has already added the appropriate jar file to the server, and both the client
and server applications have been restarted. Please refer to the VistaLINK
®
PRO manual for
instructions on how to load a jar file. If you are the network administrator refer to section 6for
information on updating the VistaLINK
®
PRO Server Jar File.
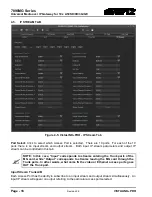
Open VistaLINK
®
PRO and click on the refresh tree icon. Expand the hardware tree by clicking on the
“+” button. Your card should appear as a newly listed device with the IP address used to configure the
card in section 2.3. It may take up to a minute to appear while the card and switch negotiate network
settings (this can be verified directly on the switch if necessary). The user will be required to
individually select each item to configure the appropriate function.
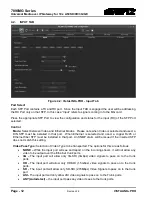
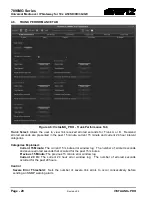
Note: If after a couple of minutes the card has still not appeared, try selecting
Add Agent from the Tree> Add/Update Agent menu. Enter the IP address and
select OK. The card should now be listed and will remain grayed out for a
moment while VistaLINK
®
PRO
finds the card and confirms its configuration.
Please consult your network administrator if you continue to have problems connecting the card with
VistaLINK
®
PRO, alternatively contact Evertz Microsystems Ltd. or your authorized reseller for technical
support.