background image

21

ENGLISH

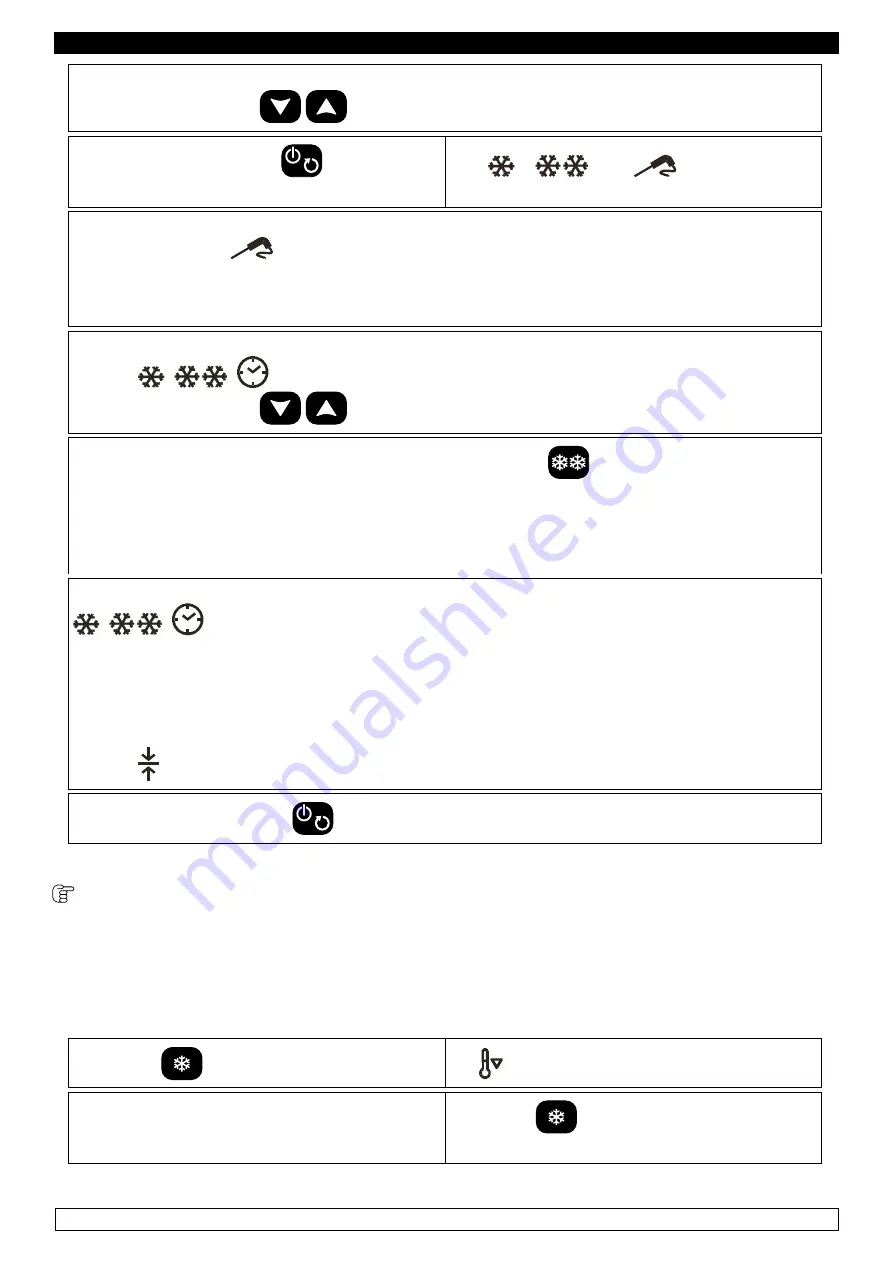
The display shows the working setpoint during the freezing.

► 

It is possible to use the 


 keys to modify the duration of the cycle

► 

Press and release the 

 key within 20 

seconds:

The 

 , 

 and 

 icons remain on 

and the cycle starts

The control board carries out a one-minute test, to make sure the core probe has been cor-
rectly inserted. The 

 icon flashes during the whole test, and turns off at the end of it.

► 

If the core probe has not been correctly inserted, the acoustic buzzer warns us 3 times (each 

10 seconds). There is no need to press any keys, a time-based cycle will automatically begin.

► 

During the Soft freezing phase, the display shows the time left before the end of the cycle, 

and the 

 ,

 and 

min

 are on.

► 

It is possible to use the 


 keys to modify the duration of the cycle

► 

To display the room’s temperature, press and release the 

 key. To restore the standard 

display mode, press and release the same key or do not operate for 15 seconds.

► 

Once the first freezing phase has been completed, the blast chiller automatically moves to 

the second phase.

► 

During the freezing phase, the display shows the time left before the end of the cycle, and the 

 and 

min

 icons are on.

► 

Once the freezing phase has been completed, the blast chiller automatically moves to the 

storage phase. 

► 

During the storage phase, the display shows the temperature detected by the core probe, 

and the   icon is on.

► 

To stop the cycle, press the 

 key.


9.2.12 Activation of a PRECOOLING CYCLE

Each cooling/freezing cycle might be preceded by precooling to blast chiller

Precooling temperature is set by default at 0° C and cannot be modified by the user.

- Make sure the blast chiller is in “ON” mode, that the keyboard is not locked (chapter 11) and that 

no procedures are being carried out.

► 

Press the 

 key for 1 second

the   icon starts flashing

► 

To stop the precooling:

press the 

 key for 1 second or start a 

working cycle

Summary of Contents for BASIC ABF 03

Page 1: ...1 ENGLISH BLAST CHILLERS SHOCK FREEZERS BASIC TRAY Use and maintenance manual Rev 6 20 Matricola Serial number...

Page 2: ...EC label The following table shows the cooling and or freezing capacity in kg Model Blast chilling 90 C 3 C Rapid freezing 90 C 18 C BASIC TRAY MINI 7 Kg 5 Kg BASIC TRAY 04 10 Kg 7 Kg BASIC TRAY 05 16...

Page 3: ...main switch and pulling the plug In the event of failure and or malfunction of the blast chiller turn it off and to refrain from any attempt to repair or intervene directly It is necessary to exclusiv...

Page 4: ...ganoleptic characteristics of the food rinsing cloth or sponge soaked in warm water DO NOT USE WATER JETS frequency weekly is recommended the user can set different frequencies depending on the type o...

Page 5: ...pen to prevent air stagnation and residual humidity CHAPTER 4 PREVENTIVE MAINTENANCE 4 1 Restarting after a long period of inactivity Restarting after long inactivity is an event that requires prevent...

Page 6: ...vice to defrost press the manual defrost defrost probe Pr3 damaged contact technical support accumulation of water or ice in the drip tray drain clogged clean the pipette and the drain blast chiller i...

Page 7: ...on the evaporator guard and near the electrical wiring inside the engine compartment which warns the user to turn off the power supply before working on the unit 3 to remove the labels applied inside...

Page 8: ...the trays too far away from the evaporator NO OK Do not concentrate the trays in one area of the blast chiller in case the load is not complete distribute its height evenly NO OK In case of interrupti...

Page 9: ...last chiller on or off Pressing the key for 3 seconds and allows you to start or stop a cycle DOWN Key Reduces a value UP Key Increases a value When control board is in ON mode it activates a manual d...

Page 10: ...g or freezing cycle Icons TEMPERATURE BASED CHILLING TEM PERATURE BASED FREEZING ICON Remains on while selecting A chilling cycle with core probe A temperature based freezing cycle Flashesduringthetes...

Page 11: ...two seconds lamp test is carried out There are 3 statuses of functioning OFF status the blast chiller is being fed and is off The display only shows the icon coloured in red ON STAND BY status the bl...

Page 12: ...ESTED PRODUCTS CHILLING SOFT Core temperature of the product 90 C 3 C The air temperature inside the room never goes below zero Delicate thin or small products such as vegeta bles rice and fried pro d...

Page 13: ...rd chilling Room temp setpoint 20 C 40 of time Soft chilling Room temp setpoint 0 C STORAGE CYCLE Room temp setpoint 2 C FREEZING WITH CORE PROBE SOFT Chapetr 9 2 9 a 1st phase Room temp setpoint 0 C...

Page 14: ...as not been inserted In this case there is no need to press any keys after 30 seconds a time based cycle automatically begins During the chilling cycle a temperature the display shows the temperature...

Page 15: ...e key within 20 seconds the HARD and icon remain on and a one minute test is carried out to make sure the core probe has been correctly inserted If the test has a positive outcome the chilling cycle w...

Page 16: ...and release the key the icon starts flashing The display shows the working setpoint during chilling It is possible to use the keys to modify this value and modify the values with the same keys Press a...

Page 17: ...nd release the key the HARD icon starts flashing The display shows the working setpoint during the chilling It is possible to use the keys to modify this value Press and release the key within 20 seco...

Page 18: ...reezing cycle Room temp setpoint 40 C Core probe temp setpoint 18 C 2nd phase Storage cycle Room temp setpoint 20 C Make sure the blast chiller is in ON mode that the keyboard is not locked chapter 11...

Page 19: ...ubsequent storage The Sorf temperature based freezing and storage cycle consists in three phases 1st phase Soft freezing cycle Room temp setpoint 0 C Core probe temp setpoint 3 C 2nd phase Hard Freezi...

Page 20: ...min the control board emits a repeated loud bleep as a warning The blast chiller keeps chilling freezing until reaching the scheduled temperature Failure to reach the temperature within the scheduled...

Page 21: ...has been completed the blast chiller automatically switches to a storage cycle During the storage phase the display shows the temperature detected by the probe and the icon is on To stop the cycle pre...

Page 22: ...ey To restore the standard display mode press and release the same key or do not operate for 15 seconds Once the first freezing phase has been completed the blast chiller automatically moves to the se...

Page 23: ...ilure Replace probe HP Only for ABF 05 E C models High pressure alarm all cycles are blocked Dirty condenser This product was added too hot Condenser cleaning Cool Down product AL Minimum temperature...

Page 24: ...ystem have to be carried out The refrigerating circuit must not be damaged to avoid leaks because the contact between air and gas entails the risk of fires in case of presence of a suitable primer suc...

Page 25: ...pallet trucks equipped with suitable forks length of at least 2 3 of the blast chiller The dimensions and masses of the refrigerated cabinets packed are shown in Table 1 The limits of stackability an...

Page 26: ...ase Fig 5 Fig 5 position the grille holding guide fails in the holes of the racks Fig 6 Fig 6 insert the grilles for food in the special guides insert the condensate water drain pan into the special g...

Page 27: ...that it is in accordance with regulations do not insert adapters and or reductions Fig 8 Fig 8 Thepowercordhastheconnectiontype Y anditcanbereplacedexclusivelybythemanufacturer or authorized technical...

Page 28: ...re disconnect the power cord from the power outlet the handling should be carried out as described in chapter 14 for a new placement and connection please refer to par 14 1 proceed to the possible rec...

Page 29: ...28 ENGLISH WARNING INSTRUCTIONS STRICTLY RESERVED TO AUTHORIZED TECHNICAL PERSONNEL Every intervention executed by a non authorized technical personnel implies a warranty decay...

Page 30: ...asurement 2 0 C 1 F P3 0 1 1 enabling the needle probe 1 si P4 0 1 1 enabling the evaporator probe 1 si P5 0 1 0 fourth input function 0 high pressure input digital input 1 condenser probe analogue in...

Page 31: ...e 0 no on start up of the successive same cycle the values established with parameters r7 and r3 or those establishes with r4 and r8 will be re proposed 1 yes on start up of the successive same cycle...

Page 32: ...last chil ling storage and r11 A1 during post deep freezing storage AL code also see parameter A11 4 A2 0 1 0 enabling of minimum temperature alarm AL code 1 yes A4 0 0 99 0 C F 1 10 0 cabinet tempera...

Page 33: ...e flashing HP code and the buzzer will be activated until the input is deactivated i6 0 1 1 type of high pressure input 1 0 normally open input active with closed contact 1 normally closed input activ...

Page 34: ...r 11 and that no procedures are being carried out Press the key for 3 seconds Select Pb 3 label with the keys Press and release the key the display shows the temperature detected by the evaporator pro...

Page 35: ...ed out Press the key for 3 seconds Select rCH label with the keys Press and release the key the display shows 0 Press the key and set 149 the display shows 149 Press and release the key the display sh...

Page 36: ...ESCLUSO EXCEPT BASIC TRAY MINI BASIC TRAY 04 ESCLUSO EXCEPT BASIC TRAY MINI BASIC TRAY 04 BASIC TRAY MINI 04 05 07 10 VE BASIC TRAY 15 K1 CP K1 N R S T 400 3N 50 60 HZ RC Components key CP Compressor...

Reviews: