


22
English
6. As you plug in each cable a dialog box will pop up.
7. Click to put a tick in the appropriate box according to the
speaker plugged-in (e.g. Rear Speaker Out), and then click
OK
to save the setting.
8. Click
OK
to exit
Realtek HD Audio Manager
.
Setup for Audio Recording
To record audio sources on your computer at optimum
quality follow the instructions below:
1. Go to the
Control Panel
.
2. Click
Realtek HD Audio Manager
(or right-click the notification
area icon
and select
Sound Manager
).
3. Click
Microphone Effects
(tab) in
Microphone
(tab), and then
click to select
Noise Suppression
(button), or adjust the
Recording Volume
level to around
60
, to obtain the optimum
recording quality.
4. Click
OK
to close the
Sound
control
panel.
Sound Blaster Audio
Install the
Sound Blaster
application to allow you to
configure the audio settings to your requirements for the
best performance in games, music and movies.
Sound Blaster X-Fi MB5 AP Installation
1. Click
Option Drivers
(button).
2. Click
3.Install SB X-Fi MB 5 AP
> Yes
.
3. Choose the language you prefer and click
Next
.
4. Click
Yes
to accept the license.
5. Click
Next
>
Full Installation
(button).
6. Click
Next > Finish
to restart the computer.
Sound Blaster
X-Fi MB5
Application
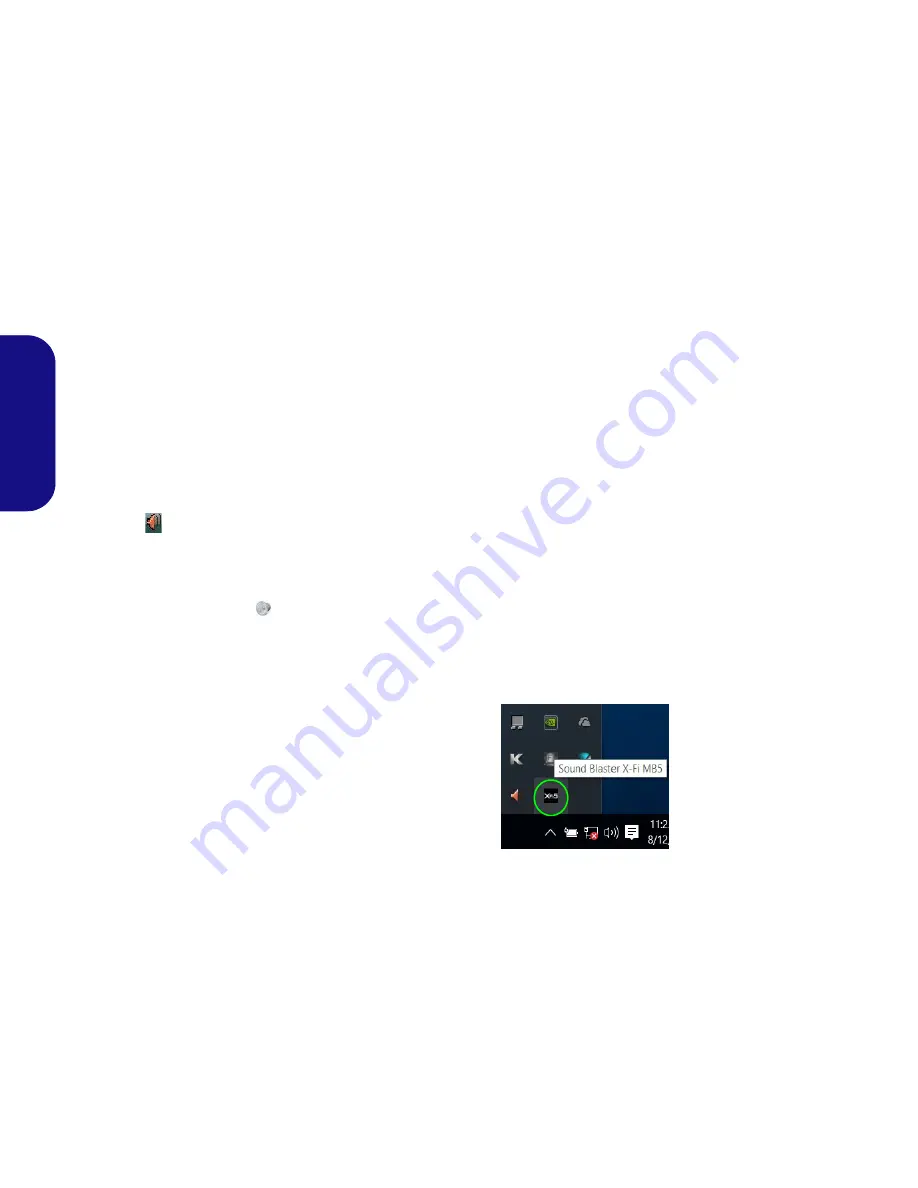
Run the
Sound Blaster
control panel from the notification
area of the taskbar. Click on the tabs to access any of the
control panel menus. Note that the Sound Blaster audio ef-
fects
do not
apply to audio generated through an
HDMI/
Mini DisplayPort
connection.
Figure 19
Sound Blaster X-Fi
MB5
(Taskbar Notifica-
tion Area Icon)
Summary of Contents for Monster 4
Page 1: ...EUROCOM Monster 4...


