background image

character format – 8N2 (8 bit, 2 stop bits, no parity)
flow control – none
kind on terminal – ansi/VT100
As the terminal can be used PC with a serial interface and an appropriate 
program such as Hyperterminal (under WindowsXP) or Putty (version 0.60 
or higher). Then turn on the equipment and follow the instructions on the 
screen. After about 10 second the device is ready to work with the last set 
configuration.

3. Main menu

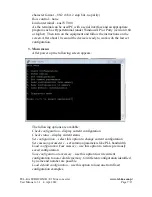
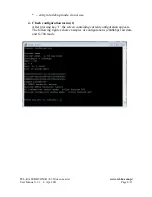
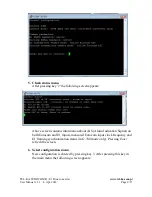
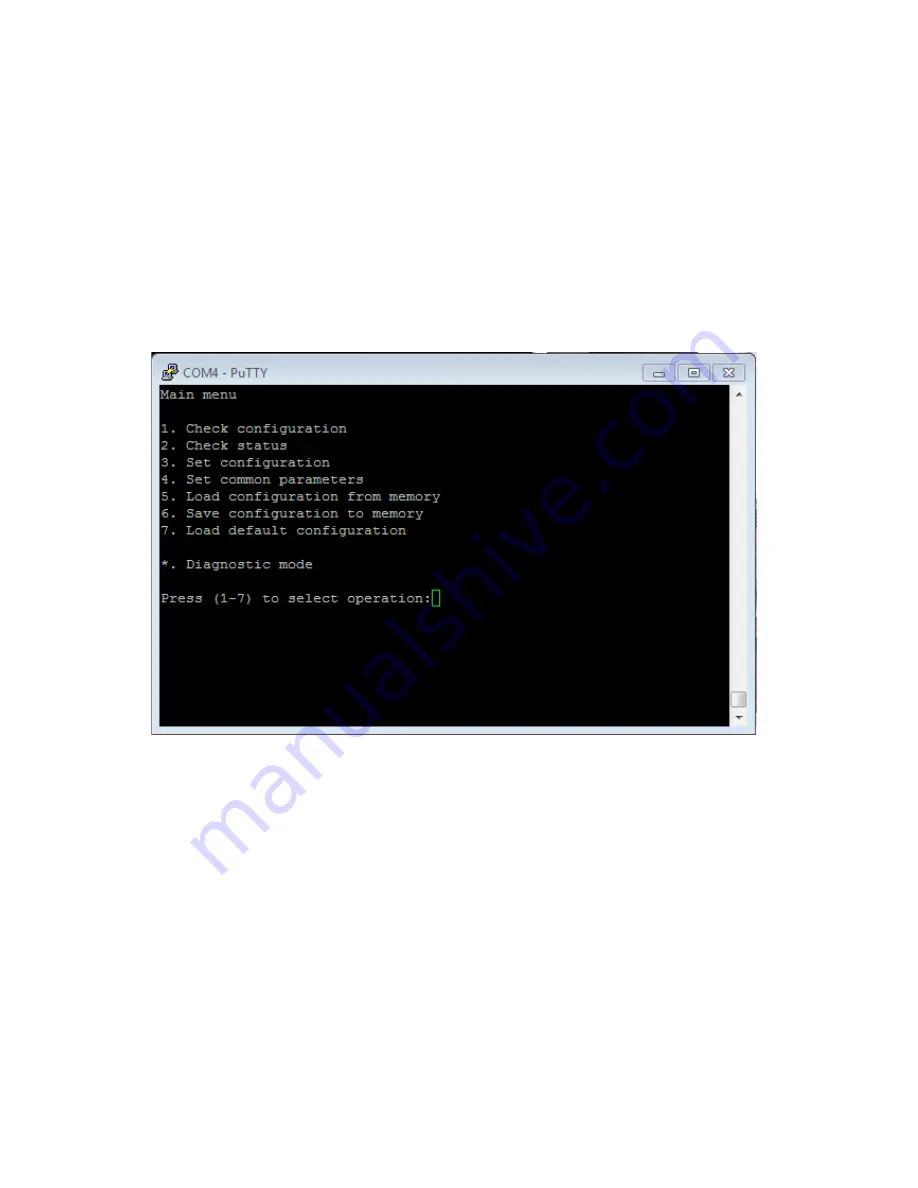
After power up the following screen appears:

The following options are available:

Check configuration

 – display current configuration

Check status – 

display current status

Set configuration – 

select this option to change current configuration

Set common parameters

 – set common parameters like PLL bandwidth

Load configuration from memory – 

use this option to restore previously 

saved configuration

Save configuration to memory

 – use this option to write current 

configuration to non-volatile memory. 64 different configuration identified 
by name and number are possible. 

Load default configuration

 – use this option to load one from fixed 

configuration examples.

TEL-KA EUROCOM B / E1 Mux converter 

www.tel-ka.com.p

l

User Manual v.3.1   4. Apr. 2014

Page 7/13

Summary of Contents for E1 mux

Page 1: ...Zak ad Produkcyjny TEL KA EUROCOM E1 mux converter box User Manual Warszawa 2010 14 TEL KA EUROCOM B E1 Mux converter www tel ka com pl User Manual v 3 1 4 Apr 2014 Page 1 13...

Page 2: ...TEL KA EUROCOM B E1 Mux converter www tel ka com pl User Manual v 3 1 4 Apr 2014 Page 2 13...

Page 3: ...ers ITU G 703 chapter 9 RJ 45 socket 1 2 Rx 4 5 Tx 6 7 GND 5 Eurocom interface B type as per EUROCOM D 1 1986 IB6 pages IB6 1 IB6 5 connector D SUB 9 female type 6 RS 232 interface configuration firmw...

Page 4: ...ator orange LED on E1 connector 3 Rear panel layout Rear panel contains Power supply socket depending on power supply version RS 232 DSUB 9 connector interface 4 Connector layout 1 Interface E1 connec...

Page 5: ...mit Data B G G 5 3 7 Receive Clock A Input to converter J S 6 8 15 Receive Clock B K R 7 4 3 Receive Data A F T 8 9 11 Receive Data B E J 9 10 5 2 6 8 14 GND Chassis V V 1 RL xxx Ericsson Konsberg 2 A...

Page 6: ...rocom interface to the E1 interface the degree of multiplication is determined automatically based on measurement Eurocom interface received clock frequency In the opposite direction the equipment aut...

Page 7: ...ns are available Check configuration display current configuration Check status display current status Set configuration select this option to change current configuration Set common parameters set co...

Page 8: ...enu 1 After pressing key 1 the screen containing current configuration appears The following figures show examples of configurations 2048kbps raw data and G 704 mode TEL KA EUROCOM B E1 Mux converter...

Page 9: ...measured Eurocom input clock frequency and E1 framing synchronization status in G 704 mode only Pressing Enter refresh the screen 6 Select configuration menu New configuration is entered by pressing...

Page 10: ...data mode For this mode there is only one screen G 704 mode The next screen allows throughput selection On the top of the screen the current throughput is displayed By pressing keys 1 2 or 3 the new...

Page 11: ...s selected The current occupied slots map is displayed on the top occupied slots are marked by X By pressing key 1 and next the Enter the default map is selected Pressing key 2 allows arbitrary slot o...

Page 12: ...enable mode Last parameters are important only in certain modes 8 Load configuration from memory menu This option allows loading the previously saved configuration from the non volatile memory 9 Save...

Page 13: ...emoval 1 Plug off power supply cable 2 Unscrew four screws holding rear panel 3 Unscrew four screws holding front panel 4 Disconnect flat cable from board 5 Pull out converter board in rear panel dire...

Reviews: