PLC-505 User Manual
32
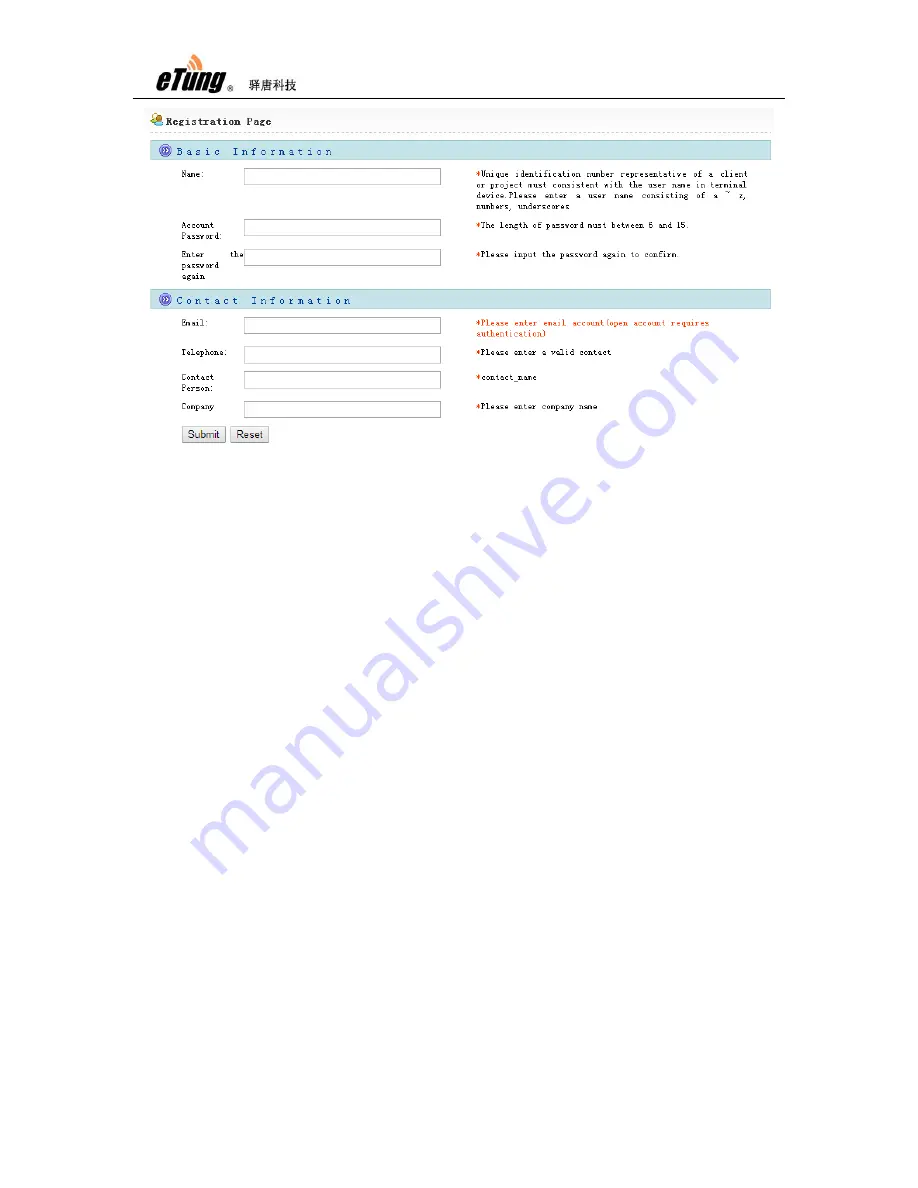
Figure Appendix 1-2: Input registration information
2.
Configure PLC-505
Connect PLC-505 with PC via Ethernet cross cable, and the IP address in
PC is set to obtain automatically;
Open browser and input URL: 192.168.10.1;
Input username: root, and password: 1234 to login;
Choose “ConnBOX” -> “Ethernet” in the menu list, configure IoT cloud
platform domain and port, and mServer domain and port (eYun
platform by default), normally keep the default values;
Configure PLC with Ethernet interface, PLC is assigned to channel, and
at most 10 channels are supported, each channel has a channel ID. The
first channel is fixed to connect to mServer only, not connect to cloud
platform, and enable Virhub functionality. This channel is designed only
for PLC program update, and it can also be used to perform PLC-505‟s
remote configuration. Other nine channels can be assigned to PLC or
other device that has Ethernet interface, and customers can choose
channels flexibly. Set PLC IP as device‟s Ethernet IP, and PLC Port as
device‟s listening port, then tick “Enable” and click Save. As shown in
the figure below, PLC-505 connects with three devices via Ethernet
cable, and the devices‟ IP are: 192.168.10.20, 192.168.10.30 and
192.168.10.50. So three channels are configured, with each channel
assigned to one device, and the devices‟ port is configured accordingly.
Choose “Reboot System” in the menu list, and reboot PLC-505.
Summary of Contents for PLC-505
Page 7: ...PLC 505 User Manual 7 Figure 1 4 WIFI antenna Figure 1 5 GPS antenna ...
Page 16: ...PLC 505 User Manual 16 Figure 1 13 Use PLC 505 to access LAN remotely via VPN ...
Page 18: ...PLC 505 User Manual 18 ...
Page 22: ...PLC 505 User Manual 22 Figure 2 4 Configure serial functionality ...
Page 36: ...PLC 505 User Manual 36 Figure Appendix 1 9 Add device ...


