ETC Installation Guide
SmartSwitch to Echo Relay Panel Feedthrough Retrofit Kit
SmartSwitch to Echo Relay Panel Feedthrough Retrofit Kit
Page 3 of 14
ETC
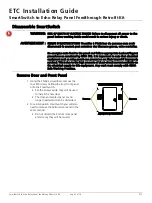
Disassemble SmartSwitch
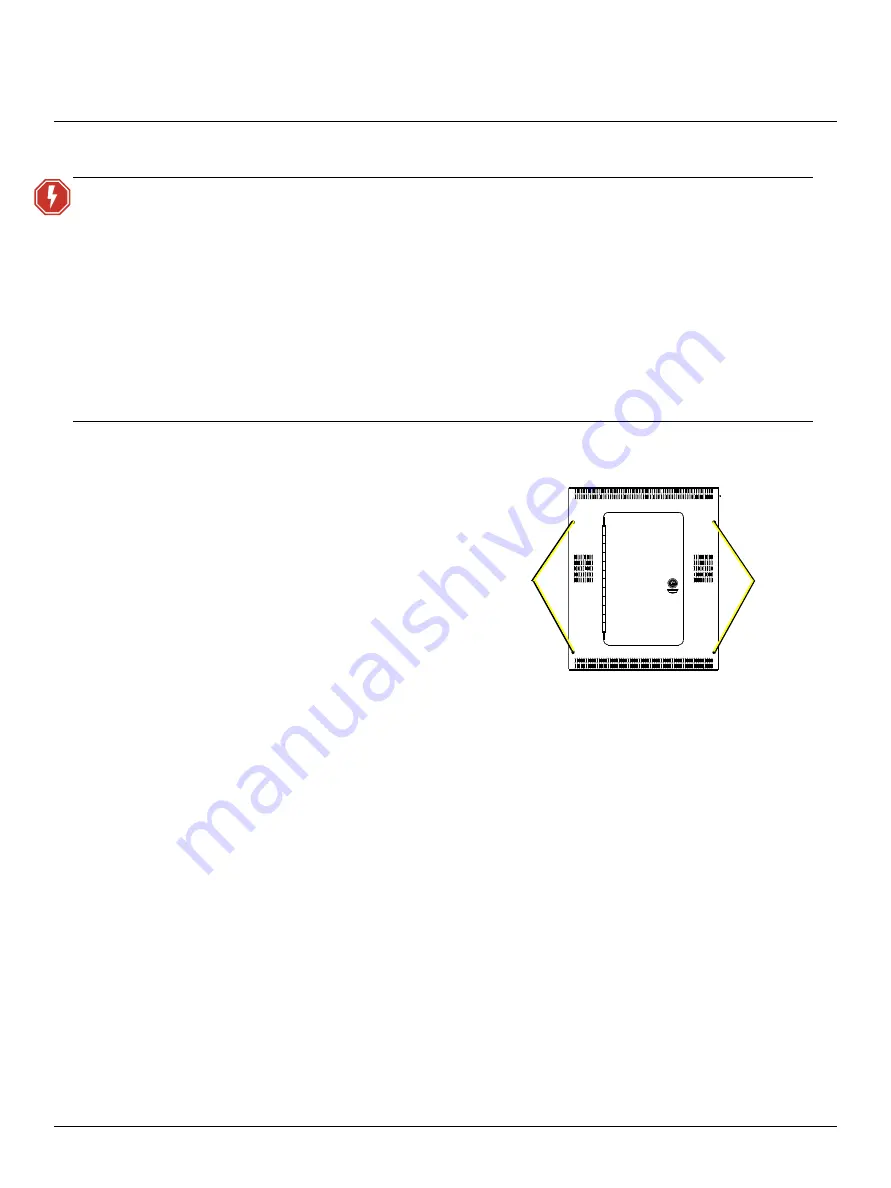
Remove Door and Front Panel
1. Using the Phillips screwdriver, remove the
four M5 screws holding the (top) front panel
onto the SmartSwitch.
• Set the screws aside; they will be used
to install the new door.
• The door and vented panel are no
longer needed and can be discarded.
2. For a 48-position SmartSwitch you will also
need to remove the bottom door panel in the
same manner.
• Do not discard the bottom door panel
and screws; they will be reused.
WARNING:
RISK OF DEATH BY ELECTRIC SHOCK! Failure to disconnect all power to the
panel before working inside could result in serious injury or death.
AVERTISSEMENT :
RISQUE D'ELECTROCUTION! Travailler à l’intérieur du panneau sans avoir
déconnecté le courant peut entrainer des blessures graves, voire mortelles.
De-energize main feed to the panel and follow appropriate Lockout/Tagout
procedures as mandated by NFPA 70E. It is important to note that electrical
equipment such as relay panels can present an arc flash hazard if improperly
serviced. This is due to the high amounts of short-circuit current available on
the electrical supply to this equipment. Any work must comply with OSHA
Safe Working Practices.
Remove
Remove


