30
5. Tasks
ESET Remote Administrator allows you to remotely perform tasks on client workstations. These tasks are
performed at the moment the client establishes a connection to the ERA Server (on the TCP 2222), which is every
five minutes.
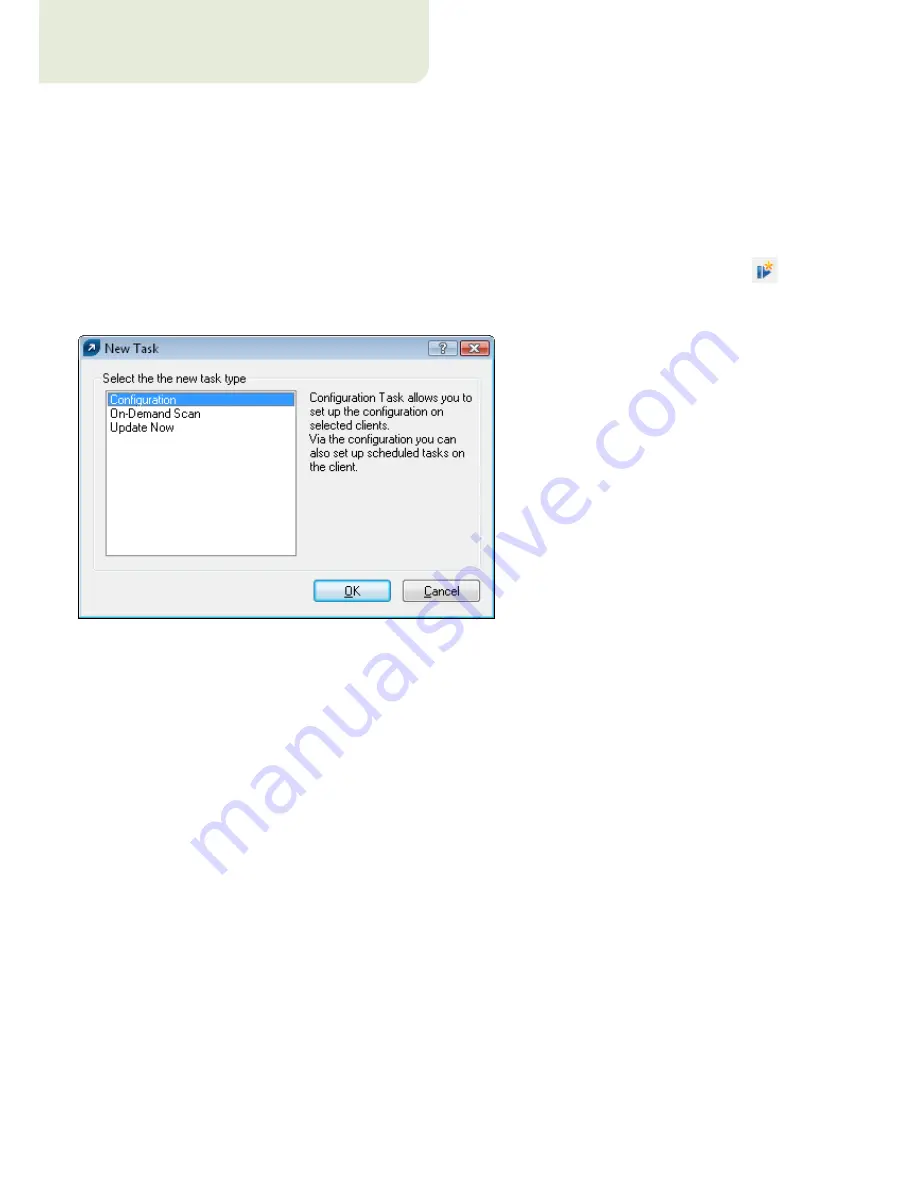
Three types of tasks are available:
•
Configuration
– Modifies configuration of clients
•
On-Demand Scan
– Performs an On-demand scan
•
Update Now
– Forces update task
To open the task wizard from the ERA Console, press CTRL+N, click
File > New Task...
or click the icon
on the
ERAC toolbar. The task wizard can also be opened by right-clicking a selected client (this option skips some dialog
windows – for a complete configuration, please use either of the first two methods to open the wizard).
Figure 8
ERA offers three types of tasks
5.1 Configuration Task
To launch this type of task, click the
Create...
button to create a new task (.xml file). To select a previously existing
.xml configuration file to be applied on remote clients, click
Select...
NOTE:
The .xml configuration files are mutually compatible regardless of their origin. This means that you can use an .xml
configuration file which is assigned to an install package, downloaded from a client computer, or exported locally (e.g., from
ESET Smart Security).
Modifications to configuration files are performed in the ESET Configuration Editor, described previously.
Please take note of the icons associated with each setting – they will turn blue if changed. To view a selected
configuration, click
View
. To modify a selected configuration, click
Edit
.
Click
Create from Template...
to open an existing .xml configuration file and use it as a starting point for
a completely new configuration. After modifications, the template file remains unchanged.
Click
Next
and select all clients (individually, by groups, or by servers) which the .xml configuration file is to be
applied to, by dragging and dropping them into the
Selected items
column. To move clients currently displayed in
the
Clients
pane to the
Selected items
column, click
Add Special...
,
select the option
Add clients loaded in the
Clients pane
and then click the
Add
button. Of those clients which have been added from the Clients pane, you
can further specify particular clients by selecting them from the
Servers
column and checking the
Only selected
option.
Click
Next
. The final step is to create a
Name
and
Description
for the new task. In the same dialog window, you
can designate that the task be delayed (the
Apply task after
option), or automatically deleted, after it has been
successfully completed on client computers. To automatically delete successfully completed tasks from the
Tasks
tab, select the
Delete tasks automatically by cleanup if successfully completed
option.


