32
Menu Descriptions
No
t f
or
co
m
m
er
cia
l u
se
- E
ric
ss
on
In
c.
Recall Entry
The
Recall Entry
submenu allows you to recall a phone number by
the name stored with the phone number or by the phonebook
position number. You can also access the
Recall Entry
submenu by
pressing and holding
î
from the Standby screen.
Phone Groups
The
Phone Groups
submenu allows you to organize the members
of your phonebook into categories. Each category can then have a
ring sound associated with it and can be used for call screening if
your network supports Caller ID. Refer to the Screen Calls section
later in this chapter for more information about call screening. The
10 options for
Phone Groups
are Personal, Family, Friends,
Business, Work, Team, School, Group A, Group B, and Group C.
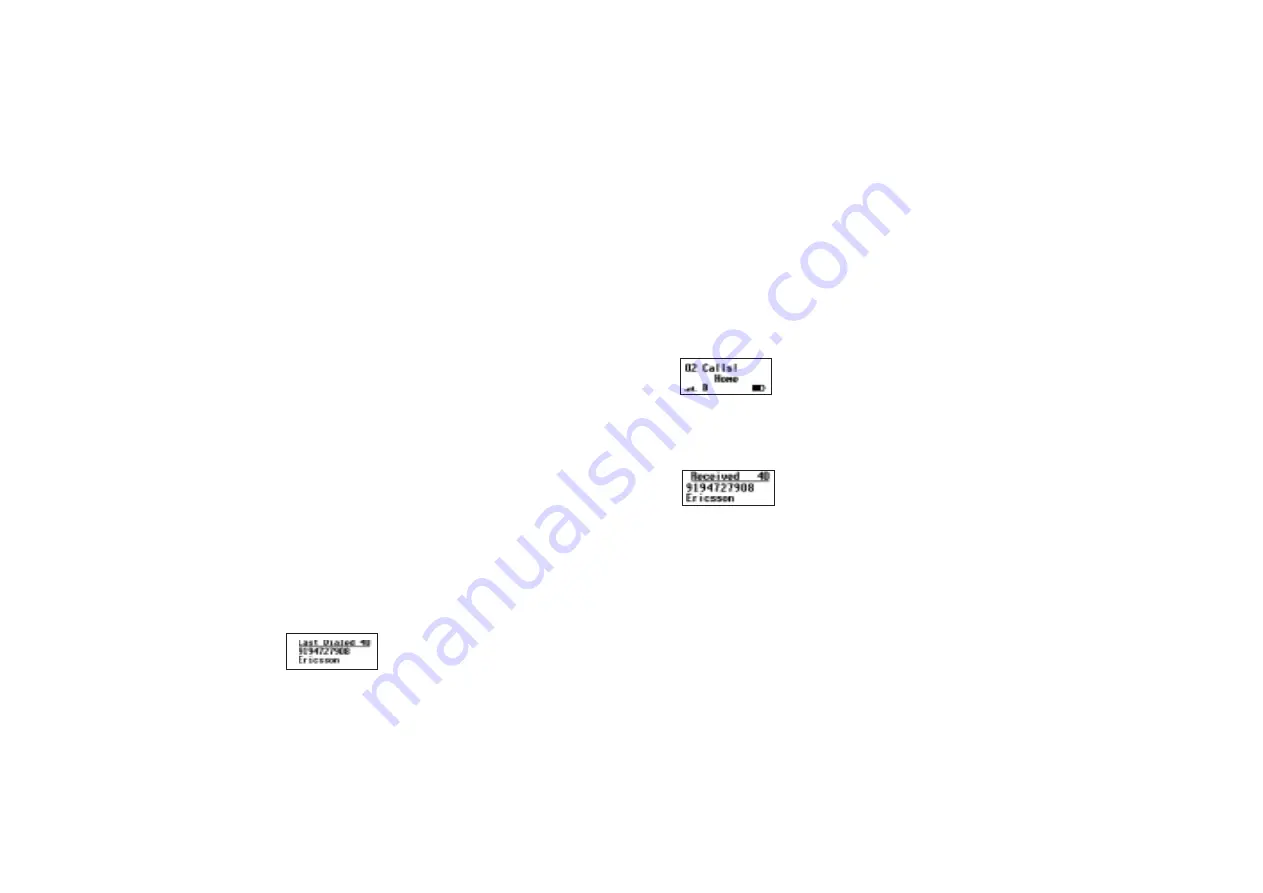
Outgoing Log
The
Outgoing Log
submenu allows you to view and edit the last 40
phone numbers that you have called. The cursor is at the left and can
be moved by pressing and holding the
ë
or
î
key. The
Outgoing
Log
submenu lists the last 40 numbers dialed. The most recently
dialed number appears first.
You can also access the
Outgoing Log
by pressing
YES
from the
Standby screen. Use the
ë
or
î
keys to scroll through the last 40
numbers dialed. If the last dialed number is stored in the phonebook
with a name, the name is also shown in the display. To dial the
phone number shown in the display, press
YES
.
Incoming Log
If you have Caller ID service from your service provider, the
Incoming Log
submenu lists the last 40 calls received with caller
ID (the latest call appears first). To dial the phone number shown in
the display, press
YES
.
If Caller Number Identification is available from your carrier,
unanswered calls will be stored in the
Incoming Log
of the
PHONE LISTS
menu. To quickly access your
Incoming Log
,
press
YES
from the Missed Call Indicator screen shown below.
Use the
ë
or
î
keys to scroll through the last 40 received calls. If
the received number is stored in the phonebook with a name, the
name is also shown in the display.
The cursor is at the left and can be moved by pressing and holding
the
ë
or
î
key.
Calling Card 1 and Calling Card 2
The
Calling Card 1
and
Calling Card 2
submenus allow you to
store calling card numbers to use for making long distance calls.
Note!
You will be prompted to enter your security code to enter the
Calling Card 1
and
Calling Card 2
submenus.
Summary of Contents for T18di
Page 1: ...User s Guide Mobile Phone T18di T18dsi T18diUGcover qxp 11 20 00 3 23 PM Page 2 ...
Page 75: ...Not for commercial use Ericsson Inc ...
Page 76: ...Not for commercial use Ericsson Inc ...
Page 77: ...Not for commercial use Ericsson Inc ...
Page 78: ...Not for commercial use Ericsson Inc ...
Page 79: ...Not for commercial use Ericsson Inc ...


