background image

��������������������

��

��

��

��������������������

��

��

��

2.3 Thicknesser mode: Setting the depth of 

cut. (See Fig 27)

The  depth  of  cut  is  set  by  how  high  /  low  the 

thicknessing bed is in relation to the cutter-block.

1) Measure the workpiece.

2)  Set  the  bed  to  just  over  this  measurement, 

using the scale to the left of the in-feed table.

3)  Turn  the  height  adjusting  handle  (11)  anti-

clockwise to lower the thicknessing bed, clockwise 

to raise it.

4)  Ensure  that  the  cutter  block  is  free  from 

foreign  objects  (including  the  workpiece  to  be 

thickened).

5)  Connect  the  planer  thicknesser  to  the  mains 

supply.

6) Turn  the  thicknesser  on  with  the  green  “1” 

button (1).

7) Allow the planer to reach its maximum speed.

8) Place the workpiece onto the in-feed table.

9) Turn  the  height  adjustment  handle  (11)  half  a 

turn clockwise to raise the bed.

10)  Continue  this  process  until  the  workpiece 

comes  into  contact  with  the  thicknesser  drive 

rollers.

11) Once the workpiece comes into contact with 

the rollers they will automatically “pull” it through 

the machine and over the cutterblock.

12) Continue this process until the workpiece is at 

the desired thickness.

Note: 

A longer workpiece should be supported 

after it leaves the machine to ensure a good even 

finish.

MAINTENANCE

Caution:

 Always  ensure  that  the  machine 

is  turned  off  and  that  the  plug  is  removed 

from  the  mains  supply  before  carrying  out  any 

repairs or maintenance.

1. Before each use.

• Check for damaged parts and repair or replace 

them as necessary.

• Ensure all nuts and bolts etc are secure.

• Ensure that all moving parts move freely and are 

not binding prior to starting the machine.

• Remove adjusting keys and wrenches and check 

to  see  that  keys  and  adjusting  wrenches  are 

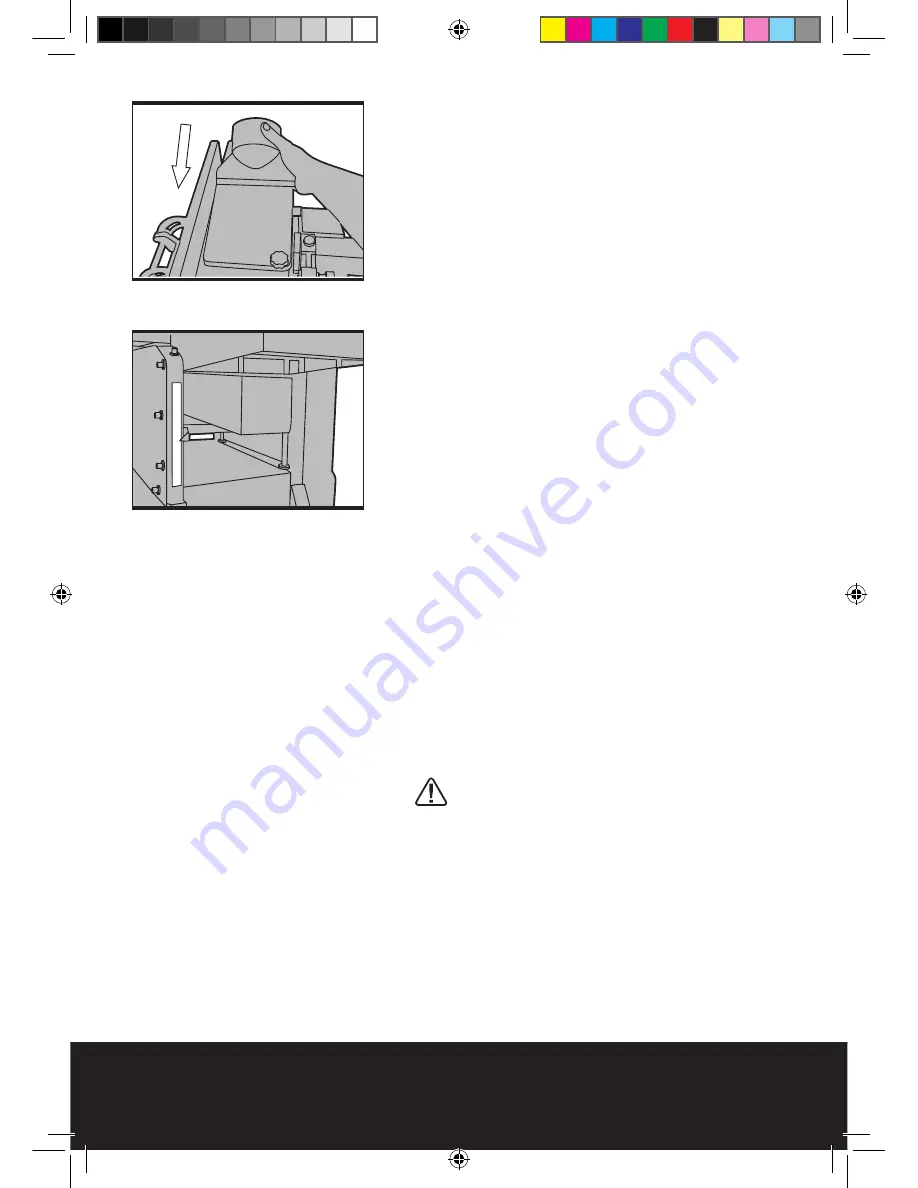
Fig 27

Fig 26

BTP210F-M-070928.indd   18

2007-9-28   13:35:59

Summary of Contents for ERB052BTE

Page 1: ...8 THICKNESS PLANER ERB052BTE WARRANTY YEARS BTP210F M 070928 indd 1 2007 9 28 13 35 52...

Page 2: ...snotaffectyourstatutoryrights ThisguaranteeisonlyvalidintheUK For further technical advice spare parts or repair service outside of guarantee please contact the customer helpline number on 0845 607 63...

Page 3: ...not force small tools to do the job of a heavy duty tool Do not use tools for purposes not intended for example do not use circular saws to cut tree limbs or logs 8 Dress properly Do not wear loose c...

Page 4: ...perly and perform its intended function Check for alignment of moving parts binding of moving parts breakage of parts mounting and any other conditions that may affect its operation A guard or other p...

Page 5: ...metal objects and stones and remove them if necessary 7 When planing make sure that the portion of the cutter head not being used is covered by the cutter guard 8 When planing thin pieces of timber su...

Page 6: ...crews front the work before commencing 3 Rags cloths cord string and anything that could get dragged into the cutter block should be removed from the work area prior to use 4 Damaged or contaminated w...

Page 7: ...for shorter stick planing Do not attempt to feed work pieces that are shorter than the minimum length speci ed in the technical data of the tool 23 Advance the material to the cutting head for normal...

Page 8: ...OL KNOB PLANER MODE 6 ADJUSTABLE IN FEED TABLE PLANER MODE 7 CHIP EXTRACTION OUTLET 8 GUIDE FENCE 9 BLADE CUTTER GUARD 10 BLADE GUARD LOCKING KNOB 11 HEIGHT ADJUSTING HANDLE THICKNESSING MODE 12 BLADE...

Page 9: ...LE CLIPS TECHNICAL DATA Volts 230V 50Hz Power 1280W No load speed 8 500min 1 Max planing width 204mm Max depth of cut planer 3mm Max depth to cut thicknesser 2mm Planing height 5 120mm Thicknesser Fee...

Page 10: ...Crank 1pc Parallel guide 1set Dust collector 1pc Push block 2pcs Blade setting gauge 1pc Hex key 3pcs Spanner 1pc Subassembly stand cushion 1set Safety guard plate 1pc BTP210F M 070928 indd 10 2007 9...

Page 11: ...the guide fence 8 See Fig 2 4 1 Locate the 2 x guide fence mounting holes situated on the side of the planning out feed table 13 Then place the safety guard plate Fig 3 2 Line up the 2 x mounting hole...

Page 12: ...rew 3 Slide the guard arm assembly 14 over the locating pivot pin 4 Replace the limiting screw and tighten to secure 5 Fitting the cutter guard to the guard assembly arm 14 Set out the parts as shown...

Page 13: ...Press the red button 0 or rmly close the cover The switch can be locked to prevent the machine from being inadvertently switched on by folding down the yellow cover This machine is equipped with an o...

Page 14: ...r dull Whenever possible always use the push blocks supplied to feed work across the cutter head 1 Planing mode 1 1 Setting the guide fence 8 See Fig 10 11 1 Turn the fence angle locking handle 20 ant...

Page 15: ...rresponding holes on the thicknesser bed and set the port at against the bed 9 Secure the extraction port by tting and tightening the supplied nut onto the middle threaded locating point 10 Turn the h...

Page 16: ...knesser will give a much better quality nish on harder woods such as oak if less material is removed on each pass 1 Turn the cut depth control knob 5 clockwise to reduce the depth of cut and anti cloc...

Page 17: ...itting the extraction port See Fig 24 26 There are 2 holes on the out feed table of the planer 1 x un threaded hole a for locating the extraction port and 1 x threaded hole b for securing the extracti...

Page 18: ...e the bed 10 Continue this process until the workpiece comes into contact with the thicknesser drive rollers 11 Once the workpiece comes into contact with the rollers they will automatically pull it t...

Page 19: ...m around the air inlets of the motor If these become blocked the motor will become too hot and its service life will be greatly reduce Wrap the mains lead carefully around the cable clips 21 This will...

Page 20: ...a Tighten loosen the angle locking bolt until it sits against the angle stop on the angle guide 19 whilst ensuring that the 90 angle is kept Re tighten the lock nut to hold the bolt securely in place...

Page 21: ...the in feed 6 and out feed 13 tables Turn the ve blade tensioning screws anti clockwise to loosen Once all ve screws have been loosened the blade complete with the blade clamping device can be easily...

Page 22: ...ward pressure on the setting block whilst keeping it rmly against the edge of the out feed table This will push the blade into place Keep rm pressure on the setting block and tighten the 5 blade tensi...

Page 23: ...ngth If the brush needs changing t the new brush and tighten the cap to retain it If the brush is not worn but is sticking inside the holder there may be carbon buildup that needs to be removed The be...

Page 24: ...bon brushes worn Check and replace if necessary Faulty motor Check and replace if necessary Damaged mains lead Check and replace if necessary Safety interlock switch is not correctly engaged Check tha...

Page 25: ...en the blades allow the motor to cool and reset the overload Poor nish on workpiece Dull or damaged blades Replace or sharpen the blades Uneven feed rate Ensure constant pressure on the wor piece whil...

Page 26: ...ws The wire which is coloured green yellow must be connected to the terminal which is marked with E or The wire which is coloured blue must be connected to the terminal which is marked with N The wire...

Page 27: ...ve 98 37 EC Machinery Directive 2002 95 EC Restrictions of the Use of Certain Hazardous Substances in Electrical and Electronic Equipment Standards and technical speci cations referred to EN 61029 1 2...

Page 28: ...BTP210F M 070928 indd 28 2007 9 28 13 36 06...

Reviews: