


Configuring Leviton OmniTouch 7 Touchscreens & Helios 2N door stations with the Epygi
QX IP PBX
Revision 1.0 7
31-Mar-16
•
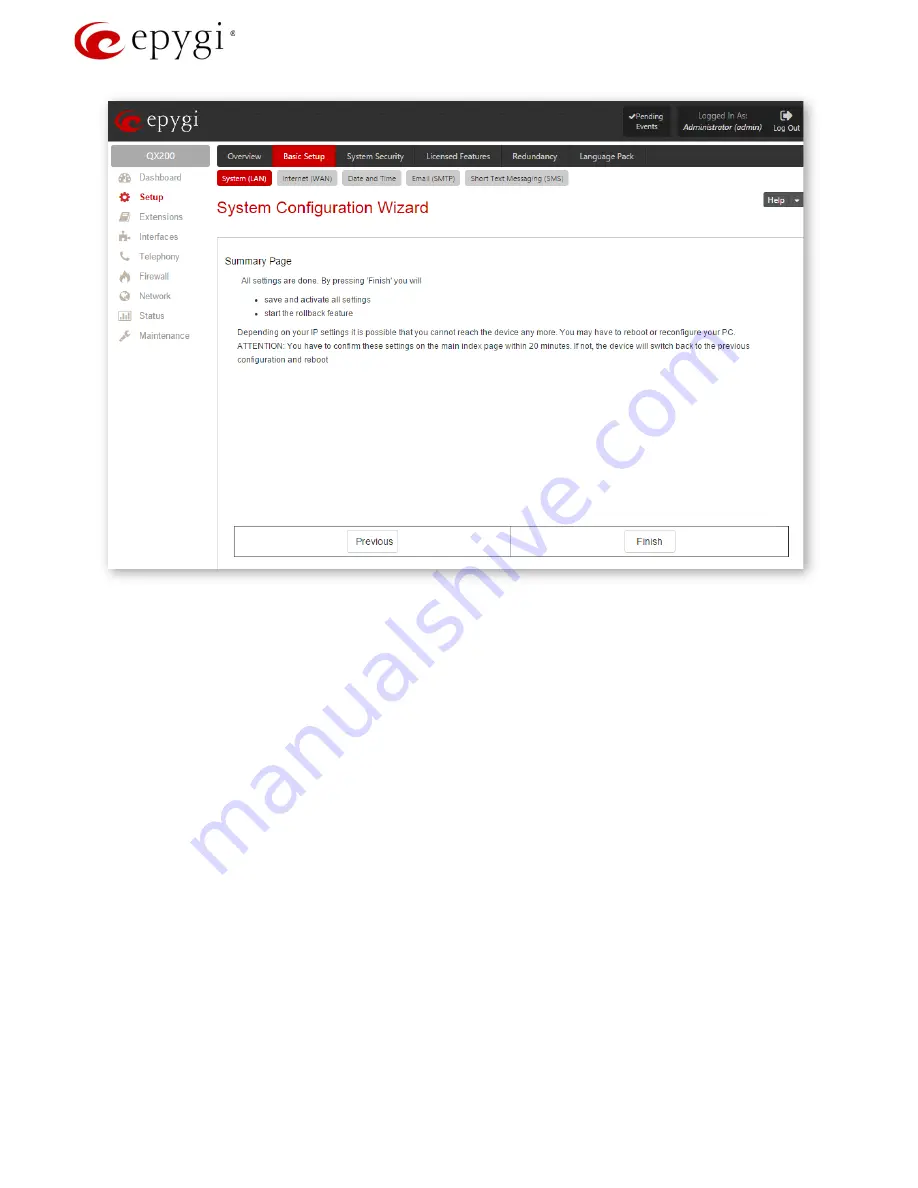
Click
Finish
to begin making the changes and initializing the rollback feature. When complete a Confirm Settings page will
appear- click on
Ok
. If you changed the IP address of the LAN port you will not see the confirmation page until you reconnect
using the new IP. You have 20 minutes to confirm the settings or it will roll back to the previous settings
7.
Before configuring the WAN IP you can check to see if the system has already received an IP by going to the
Status
–
System Status
–
Network
menu. The settings displayed may be helpful before proceeding to the next steps of assigning a
static IP. Click
Setup
-
Basic Setup
and select
Internet (WAN)
to start the
Internet Configuration Wizard
.
•
Assign the system WAN port to a static IP address, subnet mask and default gateway. The fixed name server (DNS server) is
only needed if a DNS server is available for the network.
•
Click
Finish
to finalize the changes.
•
At this point you would be able to login to the Epygi by connecting via the WAN or LAN IP address after resetting your PC
adapter connection settings back to DHCP.
8.
For using the optional configuration (figure 2), go to
Interfaces
,
IP Lines
,
IP Line Settings
and change the setting
“
Configure IP phones from
:”, set to LAN. Pressing
Save
will require a reboot of the unit to update this setting. Changing
this setting will allow the Epygi to provide the proper interface IP address to the devices being configured by the system.
Add extensions for IP phones, touchscreens and door stations.
1.
Click
Extensions
–
Extensions
and press
Save
to leave at the default of three digit extension numbering. Extensions can
be deleted and re-added later if needed. The extensions management page is shown, figure 3. Each extension has been
assigned to either an FXS port or an IP Line. The IP phones, Touchscreens and door stations will be configured to the
extensions with the IP Lines. If needed, an IP Line can be re-assigned from one extension to another extension. In the
example below, if extension 102 will be used for a door station the Attached Line will need to be changed from FXS 1 to an
IP Line.
2.
Check the box beside all of the extensions that will be used (touchscreens, IP phones, door stations, etc) and click
Edit
.


