


203
1.
Make sure you installed the product software and connected the product to your computer or
network.
2.
Place your original on the product for scanning.
3.
Press the
home button, if necessary.
4.
Select
Scan
.
5.
Select
Computer (WSD)
.
6.
Select a computer.
7.
Select the
Start
icon.
The scanned image is transferred to the selected computer.
Note:
If you do not use this feature, you can remove the icon from the home screen by selecting
Settings
>
System Administration
>
WSD Settings
>
Disable
.
Parent topic:
Starting a Scan Using the Product Control Panel
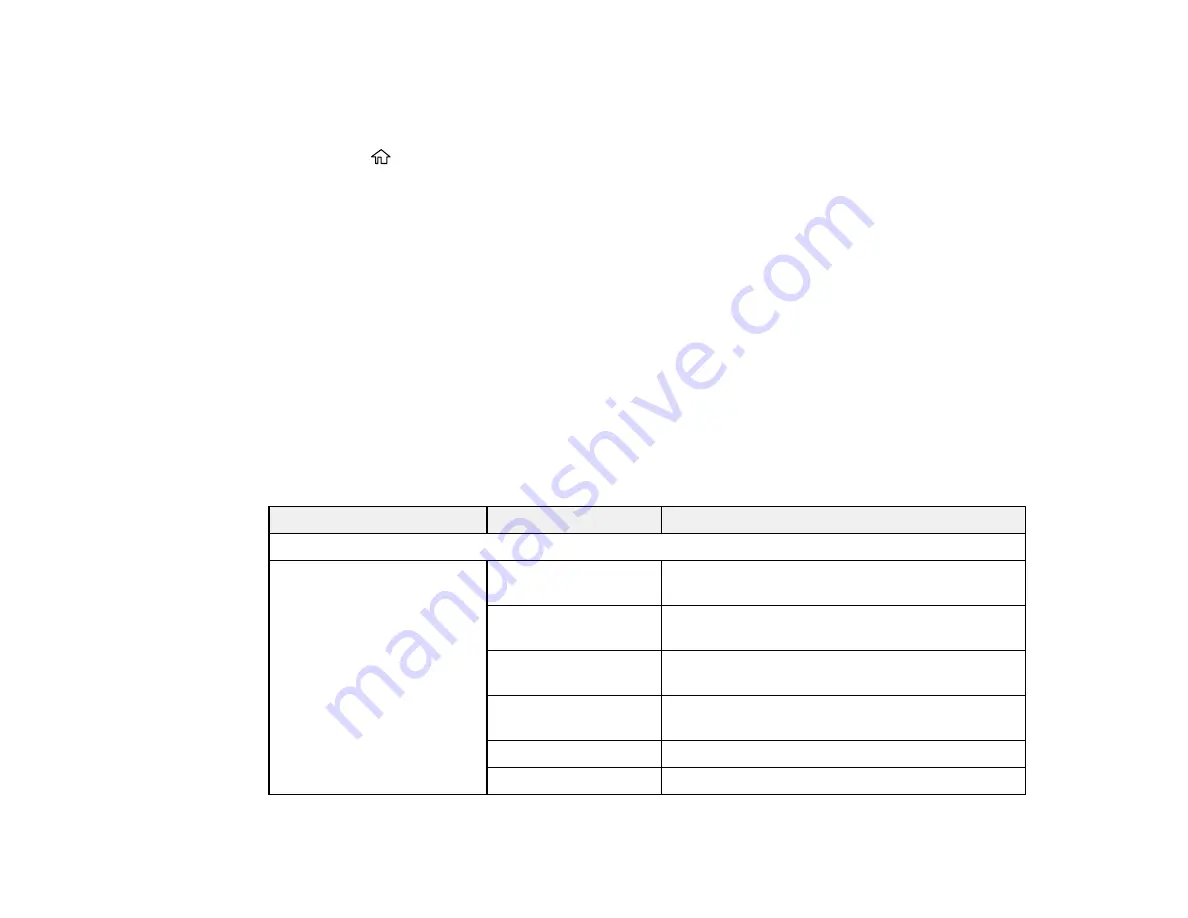
Control Panel Scanning Options
Select the options you want to use for scanning.
Note:
Not all options or settings may be available, depending on the
Scan to
option selected.
Scan to setting
Available options
Description
Destination
menu
Keyboard
Communication
Mode
Lets you select
Network Folder (SMB)
or
FTP
Location
Lets you enter a folder path in which to save
scanned images
User Name
Lets you enter a user name for the selected
folder path
Password
Lets you enter a password for the selected folder
path
Connection Mode
Lets you select the connection mode
Port Number
Lets you enter a port number
Summary of Contents for WorkForce Pro WF-C5710
Page 1: ...WF C5710 WF C5790 User s Guide ...
Page 2: ......
Page 106: ...106 Scanning Faxing ...
Page 329: ...329 9 Uninstall the optional paper cassette if necessary ...
Page 331: ...331 Related concepts Print Head Cleaning Print Head Alignment ...


