❏
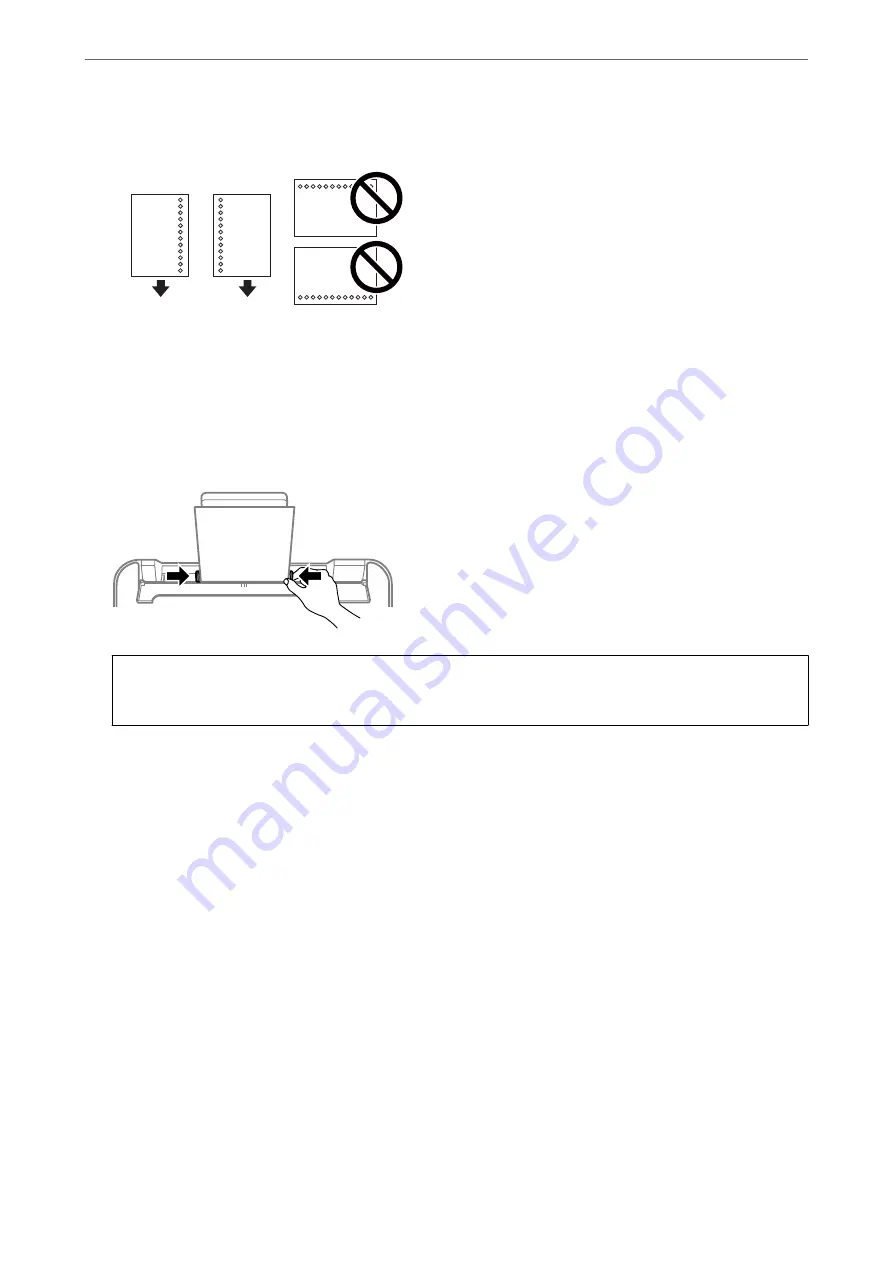
Pre-punched paper
Note:
❏
Load a single sheet of defined size plain paper with binding holes at the left or right.
❏
Adjust the print position of your file to avoid printing over the holes.
❏
Automatic 2-sided printing is not available for pre-punched paper.
4.
Slide the edge guides to the edges of the paper, and then close the feeder guard.
c
Important:
Do not place objects on the feeder guard. Doing so may prevent paper from feeding.
5.
On the control panel, set the size and type of the paper you loaded in the rear paper feed.
To select an item, use the
u
d
l
r
buttons, and then press the OK button.
Note:
❏
You can also display the paper size and paper type settings screen by selecting
Settings
>
Printer Setup
>
Paper
Source Settings
>
Paper Setting
.
❏
For letterhead paper, select
Letterhead
as the paper type.
❏
For letterhead paper, if you print on paper that is smaller than the setting in the printer driver, the printer may print
beyond the edges of the paper which can lead to ink smears on your printouts and excess ink building up inside the
printer. Make sure you select the correct paper size setting.
❏
2-sided printing and borderless printing are not available for letterhead paper. Also, the print speed may be slower.
>
>
Loading Paper in the Rear Paper Feed
48


