TM-P60II with Peeler User’s Manual
13
English
Part Names
See Illustrations
and
Control Panel (LEDs and Buttons)
The control panel has the
power
LED,
Error
LED,
Charge
LED,
Battery
LED,
Feed button, and
power
button. See
B 12
through
.
Power LED (Green)
)
Error LED (Orange)
)
Charge LED (Orange)
B 14
)
Battery LED (Blue)
(
)
*You can select whether to continue printing or to stop printing when only1 LED flashes.
(
Power) button
)
Press this button to turn the power on or off. To turn the power off, hold the
button for more than 2 seconds.
Feed button
)
Press this button to feed paper.
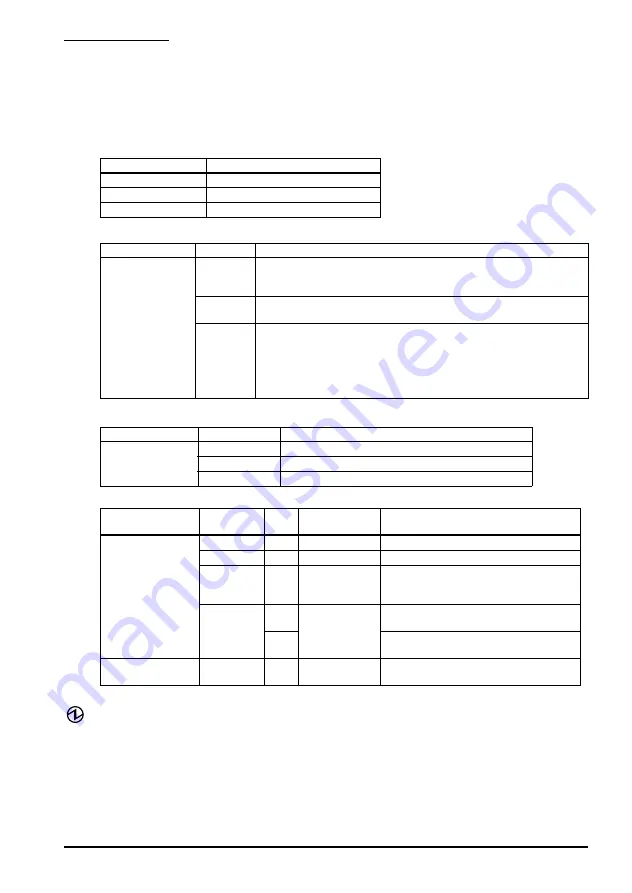
Power LED
Meanings
On
Power is on.
Off
Power is off.
Flashing
The printer is powering-off.
Printer condition
Error LED
Meanings
Power On
On
Printer is offline (paper out, power-on initialization, roll
paper cover open, the remaining battery charge is at S
level).
Off
Printer is in normal operation, is running a self-test, or
feeding paper using the Feed button.
Flashing
The thermal head is too high in temperature, roll paper
cover was opened during printing, autocutter mulfunction,
abnormality in a memory R/W check, power supply
voltage is extreamely high/low, the CPU has executed an
incorrect address, or abnormality in internal circuit
connection.
Printer condition
Charge LED
Meanings
Power On and
battery
installed
On
The battery is being charged.
Off
The battery is fully charged.
Flashing
There is abnormality in battery charging.
Printer condition
Battery
LED
Error
LED
Battery
charge status
Meanings
Power On
3 LEDs On
Off
Level H
-
2 LEDs On
Off
Level M
-
1 LED On
Off
Level L
You can continue printing, but
replacement or charge of the
battery is recommended.
1 LED
flashing
Off
Level S *
Replace or charge the battery.
(Printing may stop in the middle.)
On
Replace or charge the battery.
(The printer is unable to print.)
Power on and
buzzer sounds.
3 LEDs Off
On
Level E
Replace or charge the battery.


