


EPSON Stylus COLOR 850Ne
10/98
EPSON Stylus COLOR 850Ne
- 7
4. Hold down the
E
l
oad/eject button and press the
P
power
button. Hold down the buttons until the
P
power light
starts to flash, then release them.
The printer prints on the first and last lines of one sheet of
paper, then prints a nozzle check pattern (shown on
page 12) and samples of fonts and colors.
5. To end the test, turn off the printer. Then reconnect the
network cable and turn on your printer and computer.
Using Hex Dump Mode
You can use the printer’s hex dump mode to identify problems
if you know how to interpret hex code. Follow these steps:
1. Make sure the printer is turned off and has paper loaded
in it.
2. Open the cover.
3. Hold down the
E
load/eject button
and
the
X
color
cleaning button and press the
P
power button. The printer
prints
Hex Dump Mode
at the top of a page and then
stops.
4. Print one or more pages from an application as usual. The
printer prints the exact code it receives in hexadecimal
format.
5. Turn off the printer to exit hex dump mode.
Printing an Ethernet Card Status
Sheet
You can print a status sheet to see information about your
Ethernet card including the serial number, MAC address, and
network information. You need the status sheet information
to configure your card. Follow these steps:
1. Make sure the printer is turned on and has paper in the
feeder.
2. Press the status sheet button and hold it for about three
seconds to print out the status sheet.
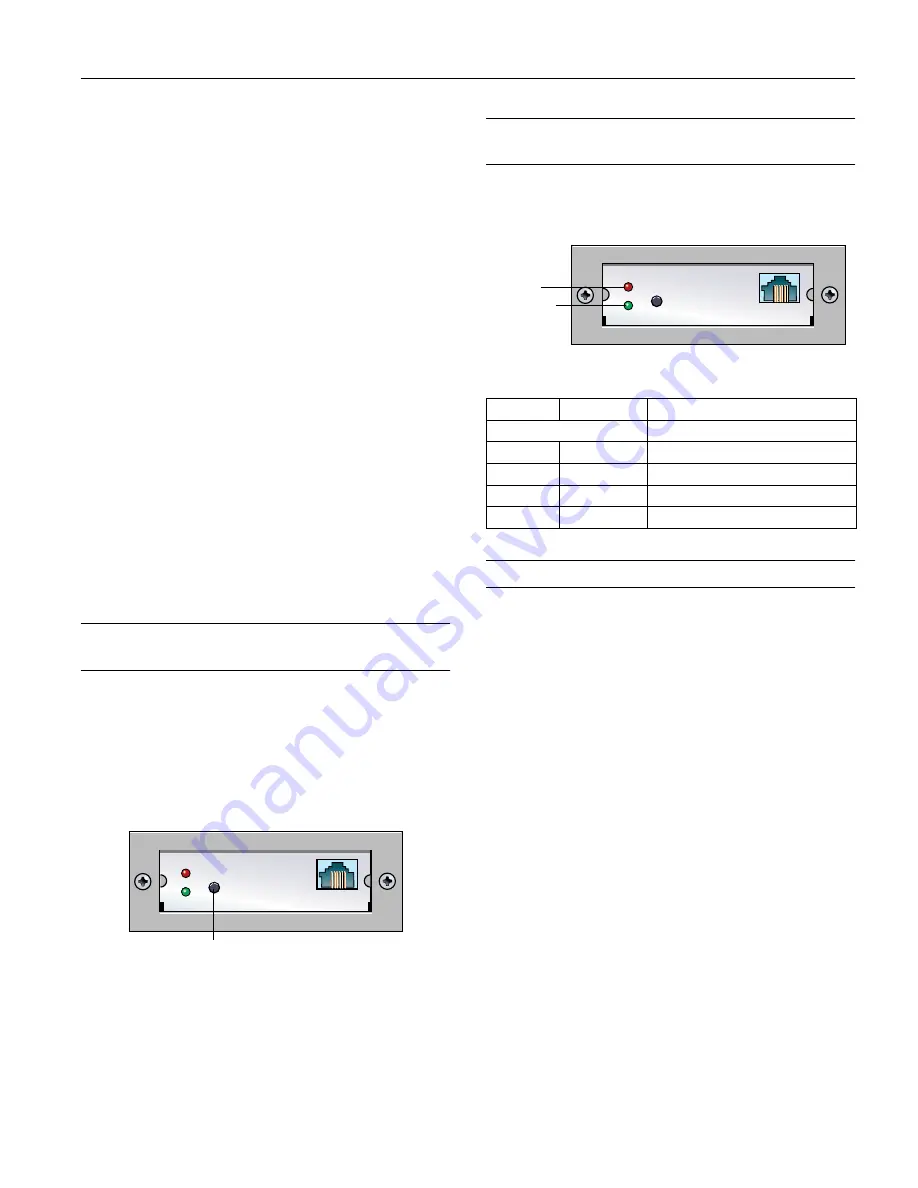
Reading the Ethernet Card Status
Lights
The status lights on the Ethernet card plate provide you with
the basic printer and network status.
The red and green status lights indicate the following:
Initializing the Ethernet Card
You only need to initialize the card under the following
conditions:
❏
The first time you connect the printer to a network
❏
If there is an error communicating with the Ethernet card
❏
When you reinstall the card in a different printer
Follow these steps to initialize the Ethernet card:
1. Turn off the printer.
It will take several seconds for the Ethernet card to power
down. Wait until the status lights on the card go out before
continuing to step 2.
2. Turn on the printer while pressing and holding down the
status sheet button for about five seconds.
When the red and green status lights start to flash
simultaneously, stop pressing the status sheet button.
Initialization is complete when the status lights stop
flashing.
3. After initialization is complete, press the status sheet button
and hold it for about three seconds to print a status sheet. If
the card initialized, the IP address reads 11.22.33.44.
Note:
You can also initialize the Ethernet card using its internal home page.
See your
Administrator’s Guide
for more information.
status sheet button
Red
Green
Status
Blink together
Printer and Ethernet card are initializing
Off
Flashes slowly
Printing data or the status sheet
Off
Flashes rapidly
Sending and receiving packets
Off
On
Normal ready status
On
Off
Error status
red status
light
green status
light


