❏
Do not use anything other than the consumable
cleaning sticks.
Failure to observe this precaution could result in
breakdown or malfunction of the printer, or
reduced print quality.
❏
Do not use anything other than the supplied or
consumable cleaning stick. Other types of stick that
produce lint will damage the print head.
❏
Always use fresh cleaning sticks. Re-using sticks
can make stains even harder to remove.
❏
Do not touch the ends of the sticks. Oil from your
hands could damage the print head.
❏
Do not get alcohol or water on the caps or the nozzle
surface. If water or alcohol gets on the nozzle
surface, caps, or wiper, this can damage the printer.
❏
Touch a metallic object before starting work to
discharge any static electricity.
Moving the Print Head
This section describes how to position the print head for
part cleaning.
c
Important:
Be sure to follow the steps below when positioning
the print head. Moving the print head manually
could cause malfunction.
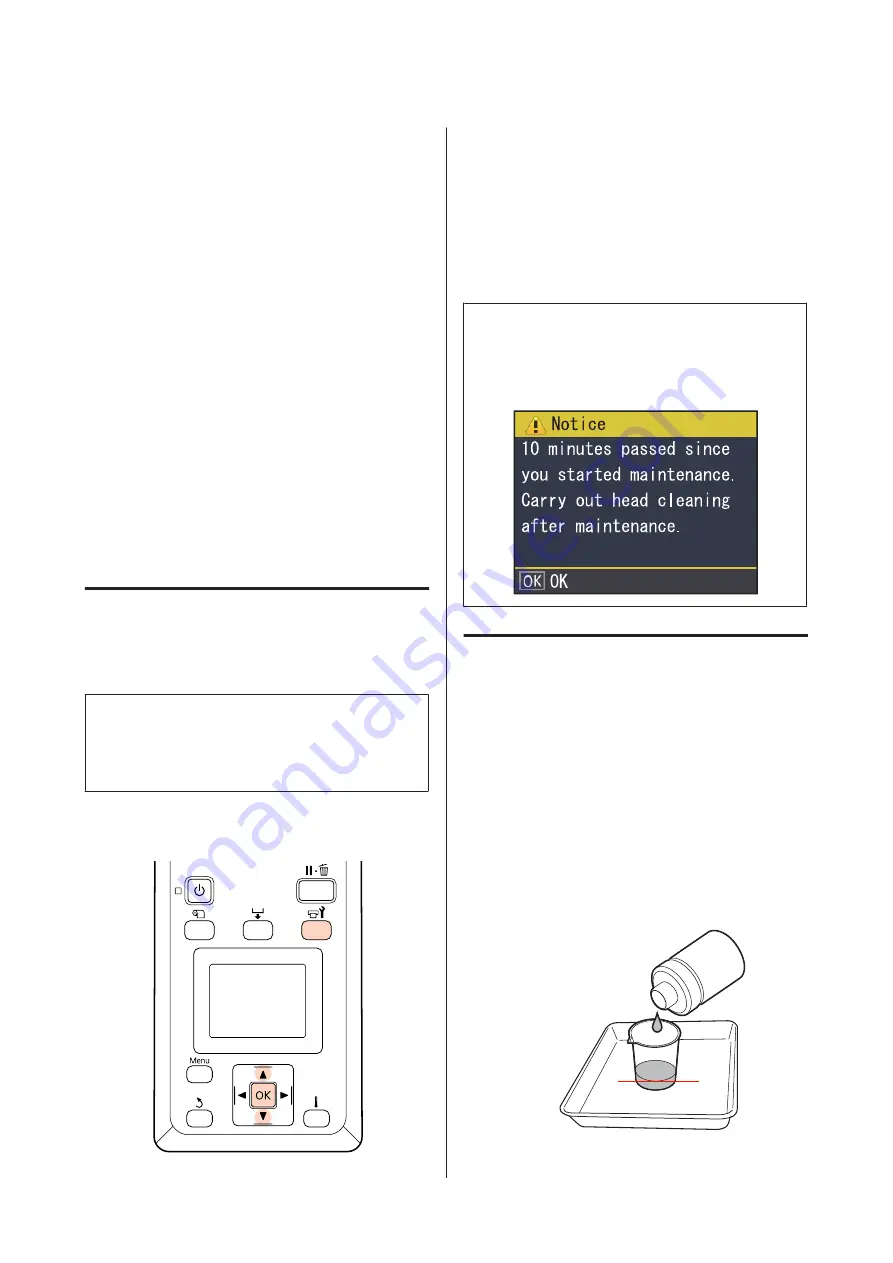
Buttons that are used in the following settings
A
Confirm that the printer is on and press
#
.
The Maintenance menu will be displayed.
B
Use the
d
/
u
buttons to select
Head
Maintenance
and press the
Z
button.
The print head moves to the cleaning position.
Note:
The buzzer sounds 10 minutes after the print head is
moved. Press the
Z
button to continue the cleaning
process. After 10 more minutes have passed, the buzzer
sounds again.
Using Ink Cleaner
Use ink cleaner to clean around the print head and
around the caps only. Using ink cleaner on other parts of
the printer could damage the product.
Before starting this procedure, be sure to read the
following:
U
“Precautions Regarding Maintenance” on page 76
A
Put the cup supplied with the maintenance kit on
the tray, and pour approximately 10 ml of ink
cleaner into the cup.
SC-F7200 Series/SC-F7100 Series/SC-F7000 Series User's Guide
Maintenance
77


