2-6
Taking Pictures
Taking Pictures with the LCD Monitor
The LCD monitor lets you see a live preview of what the
camera’s lens sees at any moment. Note the following when
taking pictures with the LCD monitor:
◗
The image area displayed on the LCD monitor is
slightly smaller than the image that will be captured.
◗
In direct sunlight, you may need to shade the LCD
monitor with your hand to see it better, or you can
adjust the LCD brightness setting to make viewing
easier (see page 3-14 for instructions).
◗
In a low lighting environment, the image on the LCD
monitor may appear speckled or “noisy” due to
insufficient light reaching the camera’s sensor. This
won’t affect the quality of your picture unless you turn
the flash off. (See page 2-11 for instructions on using the
flash.)
◗
The preview image may appear to flicker under strong
fluorescent lighting. When your subject is very bright (a
sunlit white wall, for example), you may see a band of
washed-out color in the image on the monitor. This will
not affect the actual image captured by the camera.
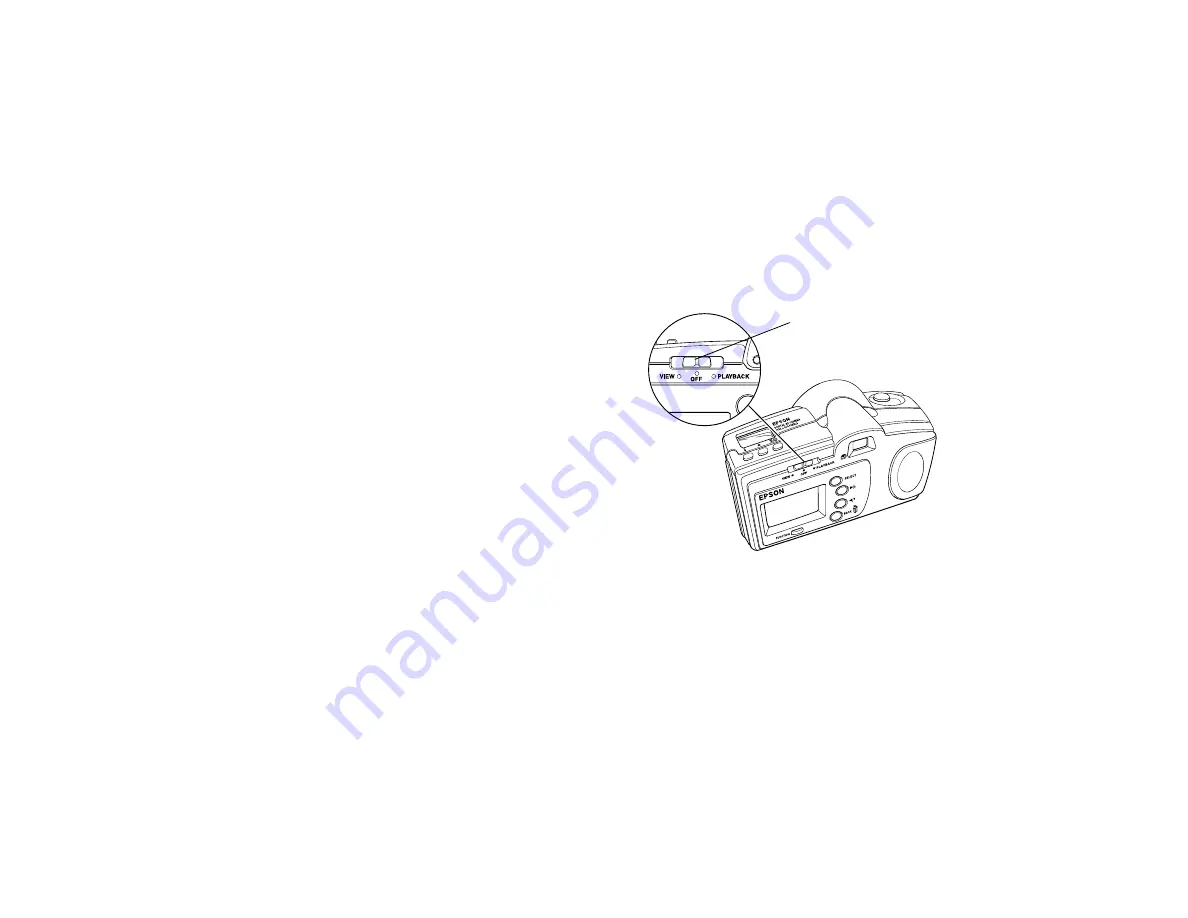
Follow these steps to take a picture with the LCD monitor:
1
Turn on the camera and slide the monitor switch left to
the
VIEW
position. You see a preview of your picture on
the LCD monitor.
2
Center your subject on the monitor and hold the shutter
button
halfway
down to lock the auto focus.
You hear a click and the status light changes from green
to orange. While holding the shutter button down, you
can reframe your picture and move your subject off-
center if you want.
monitor switch
Summary of Contents for PhotoPC 650
Page 3: ...A B ...
Page 14: ...6 Introduction ...
Page 52: ...3 16 Playing Back Pictures ...


