


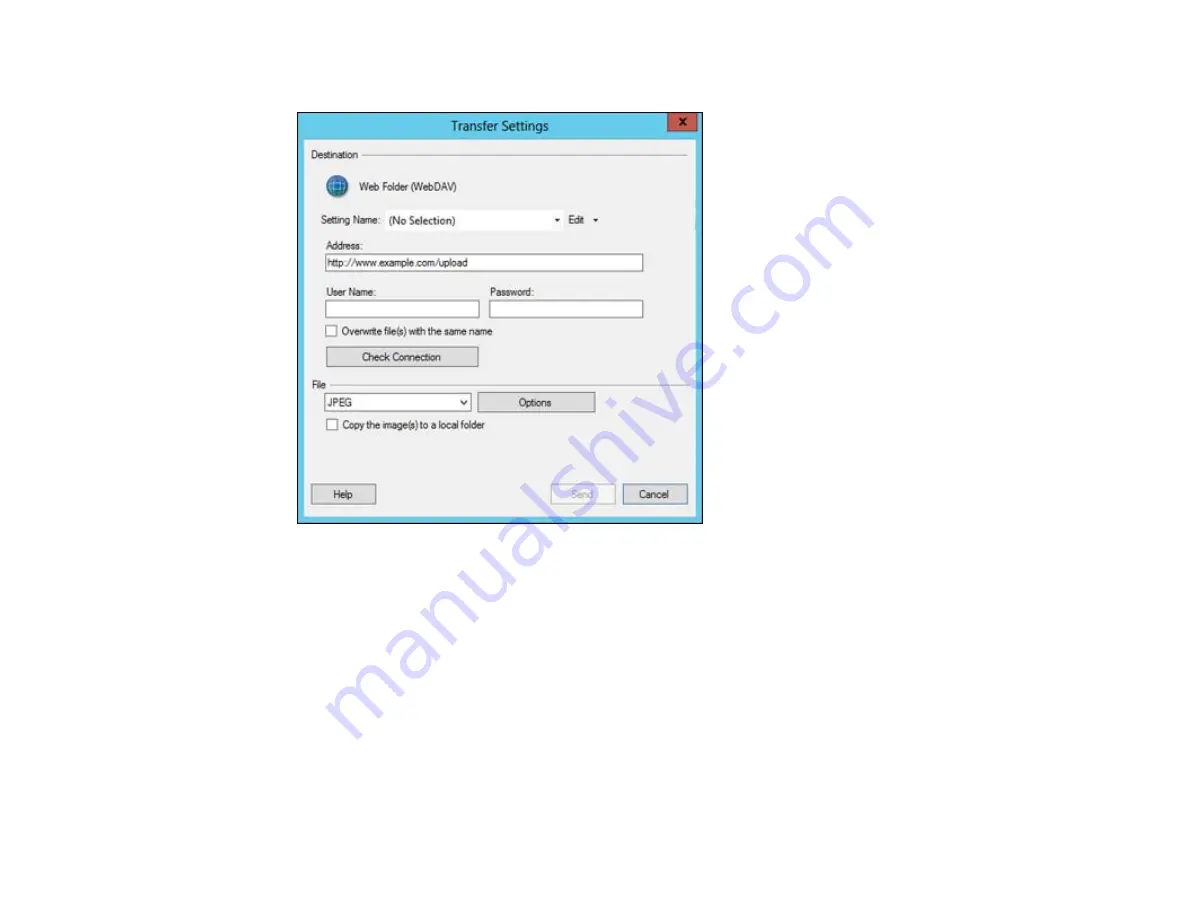
The Transfer Settings dialog opens:
2.
Enter the Web Folder URL in the
Address
field.
3.
Enter the login information in the
User Name
and
Password
fields.
If you have previously configured Easy Photo Scan with a Web Folder destination and saved your
settings, make sure you select the entry in the
Setting Name
list.
4.
If you want to replace existing files with the same name with the uploaded images, click the
Overwrite file(s) with the same name
checkbox.
5.
Click
Check Connection
to test whether the account information is correct.
6.
Select the image format for the uploaded files using the
File
selector. If there are options for the
selected file format, click the
Options
button.
7.
If you would like to save the images to a local folder in addition to uploading them, select the
Copy
the image(s) to a local folder
option and click the
Browse
button to select a folder.
72
Summary of Contents for Perfection V550 Photo
Page 1: ...Perfection V550 Photo User s Guide ...
Page 2: ......
Page 9: ...1 Document mat 2 Scanner glass 3 Carriage beneath scanner glass 9 ...
Page 10: ...1 The power button 2 DC inlet 3 Transportation lock 4 USB port 10 ...
Page 11: ...1 Transparency unit window behind document mat Parent topic Scanner Parts Locations 11 ...
Page 12: ...Scanner Buttons and Lights Buttons 1 PDF 2 email 3 copy 4 start Lights 5 Ready 6 Error 12 ...
Page 18: ...2 Slide the document mat out from inside the scanner cover 18 ...
Page 37: ...37 ...
Page 51: ...51 ...


