148
3.
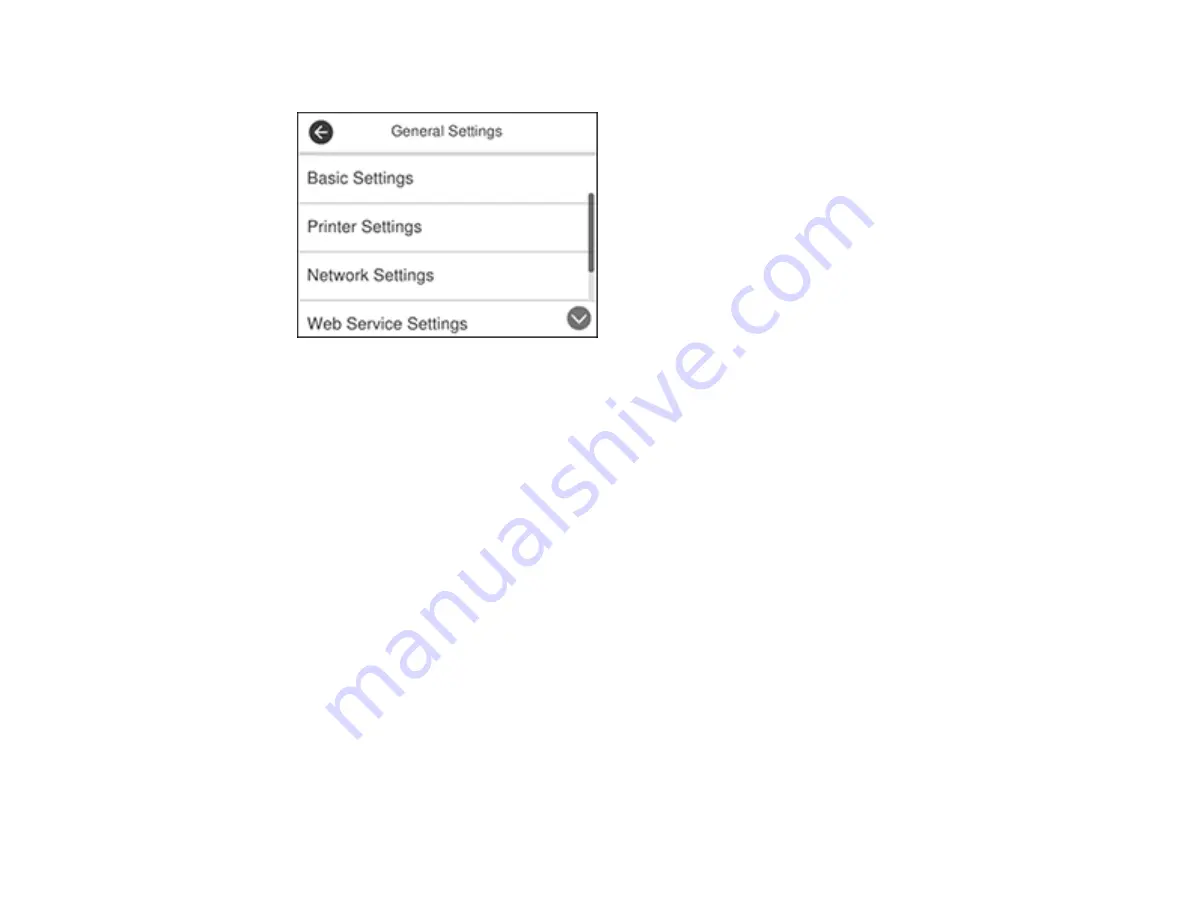
Select
General Settings
.
4.
Scroll down and select
Fax Settings
.
5.
Scroll down and select
Fax Setting Wizard
.
The Fax Setting Wizard screen appears.
6.
Select
Proceed
.
7.
On the Fax Header screen, use the displayed keypad to enter the sender name for your fax source,
such as your name or a business name. You can enter up to 40 characters.
8.
On the Your Phone Number screen, use the displayed keypad to enter your fax number, up to 20
characters.
Note:
The name and phone number in the fax header identifies the source of the faxes you send.
9.
On the Distinctive Ring Setting screen, do one of the following:
• If you have subscribed to a distinctive ring service from your telephone company, select
Settings
.
Select the ring pattern to be used for incoming faxes or select
All
.
• If you do not have a distinctive ring service, select
Skip
.
Note:
Distinctive ring services allows you to have several phone numbers on one phone line. Each
number is assigned a different ring pattern. You can use one number for voice calls and another for
fax calls. Select the ring pattern assigned to fax calls in the Distinctive Ring Setting. If you select a
ring pattern other than
All
, Receive Mode is automatically set to
Auto
.
Summary of Contents for ET-4760
Page 1: ...ET 4760 User s Guide ...
Page 2: ......
Page 12: ......
Page 18: ...18 3 Select General Settings 4 Select Basic Settings 5 Select Date Time Settings ...
Page 26: ...26 Product Parts Inside 1 Document cover 2 Scanner glass 3 Control panel ...
Page 60: ...60 2 Pull out the paper cassette until it stops 3 Slide the edge guides outward ...
Page 203: ...203 3 Open the ink tank cover then open the cap for the ink tank you are going to fill ...


