28
Preventing theft (Password Protect)
If an attempt is made to carry out any of the following user logo
operations, a message is displayed and the setting cannot be changed. To
change the setting, set "User’s Logo Protect" to "OFF" first.
• Capturing a user's logo
• When the " Extended" - "Display" - "Background Color" menu setting is
changed from "Logo" to "Black" or "Blue", or changed from "Black" or
"Blue" to "Logo".
• When the "Extended" - "Display" - "Startup Screen" menu setting ("ON"
or "OFF") is changed.
Setting Password Protect
Use the following procedure to set Password Protect.
PROCEDURE
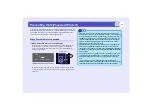
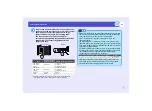
Hold down the [Freeze] button for approximately 5
seconds.
The "Password Protect" menu will be displayed.
This can also be displayed by pressing the [Menu] button while
holding down the [
] button continuously for about 5 seconds.
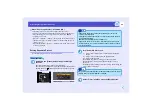
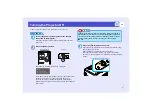
Turn "Power ON Protect" on.
(1) Select "Power ON Protect", and then press the [Enter]
button.
(2) Select "ON", and then press the [Enter] button.
(3) Press the [Esc] button.
In the following "Timer" setting, you can set the time
that the projector can be used without needing to enter a
password.
If setting the time, continue on to the next step. If not setting the
time, continue on to step 5.
Select "Timer" and then press the [Enter] button.
When "User’s Logo Protect" is enabled (ON)
1
Remote control
TIP
• If Password Protect has already been enabled, the "Password"
screen will be displayed.
If the password has been entered correctly, the "Password Protect"
menu will be displayed.
s
"When Password Protect is enabled"
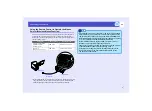
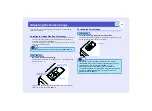
• If Password Protect is set to "ON", attach the accessory Password
Protect sticker to your preferred position on the projector as a theft-
prevention measure.
2
TIP
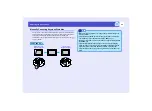
The portion of the length of time set that has already been used can be
checked using the "Timer-elapsed" command.
3


