21
Using the Head Cleaning Utility
Follow these steps to run the utility:
1. Make sure the printer is turned on but not printing, and that the black and
color ink out lights are off. If either ink out light is on, you must replace
the ink cartridge before cleaning the print head.
2.
For Windows 95, Windows 98, and Windows NT 4.0
:
Click
Start
, point to
Settings
, and then select
Printers
. Right-click the
EPSON Stylus COLOR 640
icon in the
Printers
window. Select
Properties
(
Document Defaults
in Windows NT).
For Windows 3.1
:
Double-click the
Control Panel
icon in the Main group. Double-click the
Printers
icon. Select
EPSON Stylus COLOR 640
from the list of installed
printers and click
Setup
.
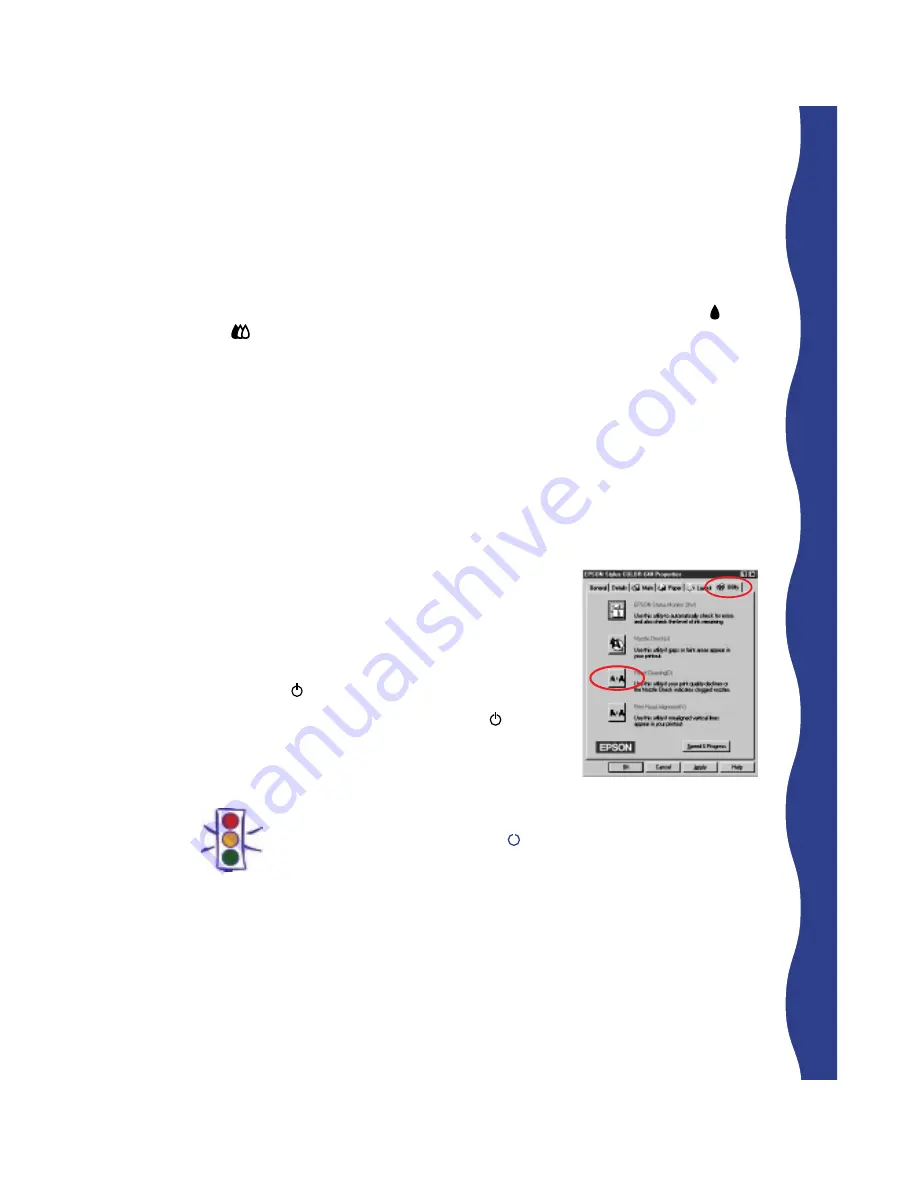
3. Click the
Utility
tab. You see the Utility menu:
4. Click the
Head Cleaning
button.
5. Follow the instructions on the screen to run the
head cleaning utility. Cleaning takes about one
minute, during which the printer makes some
noise and the power light flashes.
When the cleaning cycle is finished (the power
light stops flashing), you need to run a nozzle
check to confirm that the print head nozzles are
clean and to reset the printer’s cleaning cycle.
Caution:
Never turn off the printer while the power light is flashing, unless the
printer hasn’t moved or made any noise for more than 5 minutes.