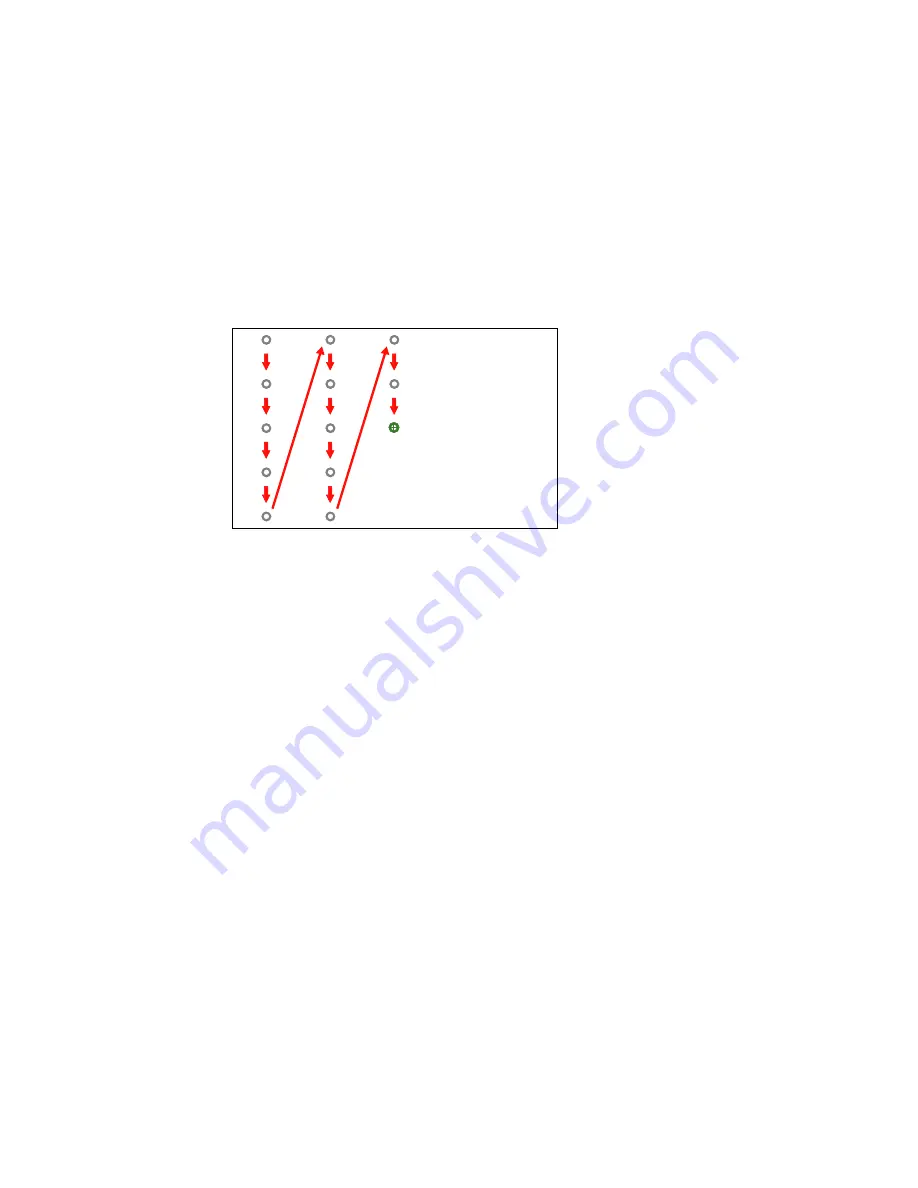
When you get to the bottom of a column, the next circle appears at the top of a new column.
Note:
If you make a mistake, press the
Esc
button on the remote control to go back to the previous
circle. To restart the calibration process, press and hold the
Esc
button for 2 seconds.
9.
If the cursor location and your finger position do not match, repeat these steps to calibrate again.
Parent topic:
Using Finger Touch Interactivity
Related tasks
Focusing the Image
Calibrating Automatically
Calibrating Manually
Using Finger Touch Operations
You can use your finger to interact with the projected screen, just as you would use an interactive pen
(BrightLink 595Wi). You can use either a pen or your finger, or use both at the same time.
When performing touch operations with your finger, you can use two fingers in annotation and
whiteboard modes.
1.
Install the Touch Unit as described in the
Installation Guide
.
2.
Calibrate the pens.
3.
Adjust the angle of the Touch Unit as described in the
Installation Guide
.
140
Summary of Contents for BrightLink 575Wi+
Page 1: ...BrightLink 575Wi 585Wi 595Wi User s Guide ...
Page 2: ......
Page 10: ......
Page 132: ...The circle disappears and you see another circle below the first one 132 ...
Page 185: ...2 Slide the air filter cover latch and open the air filter cover 185 ...
Page 187: ...5 Place the air filter back in the projector as shown 187 ...
Page 190: ...2 Slide the air filter cover latch and open the air filter cover 190 ...
Page 192: ...4 Place the new air filter in the projector as shown 192 ...


