7
POWER
BOOST
by EPS Group
5.
Turn on the power supply to the controllers and press the start button on the controllers.
6. Slowly open the discharge valve on the booster unit to gradually fi ll the delivery main.
7.
Once water is fl owing from the nearest outlet, check the pipe work around the set for leaks.
8.
Working away from the set, open each outlet in turn until water fl ows to purge air from the
system.
9. When all the air has been purged, close all outlets. The pump set will shut off within 10
seconds after building up pressure in the system.
10. The
POWER
BOOST unit is factory set as per the details on the pump specifi cation page.
11 Please see controller specifi c instructions for guidance on how to chance the Pressure cut in
and cut out settings of your booster unit if required.
Pressure Vessel
The air pre-charge in the pressure vessel should be set 65% of the pre-set working pressure for maximum
eff ectiveness. It is recommended to check the tank air pressure every 4-6 months. The vessel can be
charged with an air source via an inlet valve. The pressure can be checked using a suitable pressure
gauge. Air can be added or released as required in order to adjust the percentage of pressure.
In order to check the air pressure in the vessel, it is necessary to release the pressure in the vessel
To do this:
1.
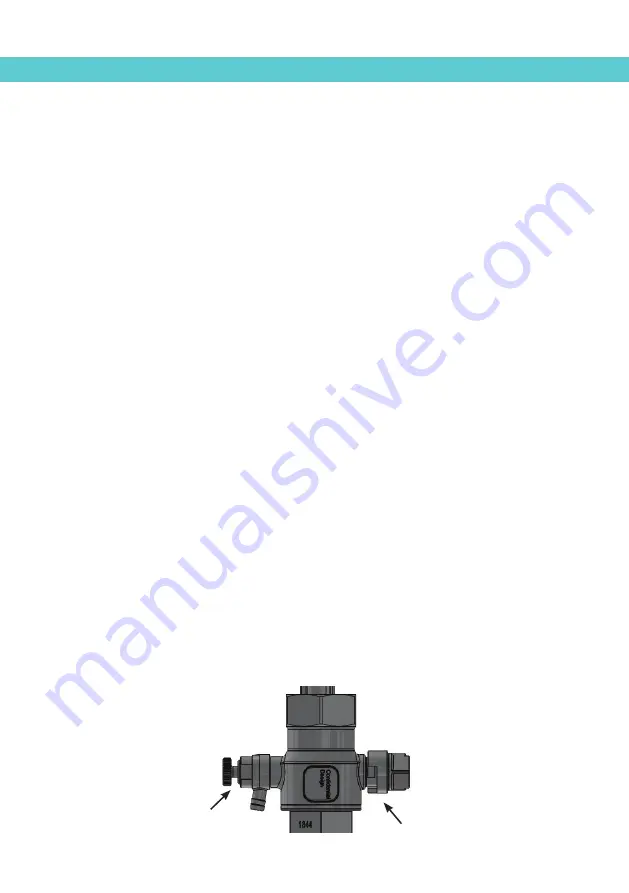
The isolation valve below the vessel must fi rst be closed
2.
The drain valve is opened to release water pressure
3.
The air pressure is tested with a suitable gauge at the air valve
4.
Add or release air depending on the pressure reading
5.
When the pressure has been adjusted, close the drain valve and open the isolation valve to
return the set to service
ELEVATION
END VIEW
END VIEW
PLAN
ISOMETRIC
SHORT
MIDDLE
LONG
IF IN DOUBT ASK DO NOT SCALE OFF THIS DRAWING
Title:
Client:
FLOW THRU ISOLATION VALVE
CLEAN WATER BOOSTER SETS
COPYRIGHT
This drawing is protected by copyright and must not be
reproduced in any form without the prior written consent of US.
Isolation Valve
Drain Valve


