ht
tp
s:
//
ep
ax
de
nt
al
.c
om
THE PRINTING
PROCESS:
DENTAL MODEL
MAKE SURE YOUR MACHINE IS PLACED ON A STABLE, FLAT
SURFACE. BY THIS POINT YOU SHOULD HAVE CHITUBOX
INSTALLED, AND THE PRINTER’S CONFIG LOADED ONTO THE
SETTINGS (REF: SECTION IV)
Section V.
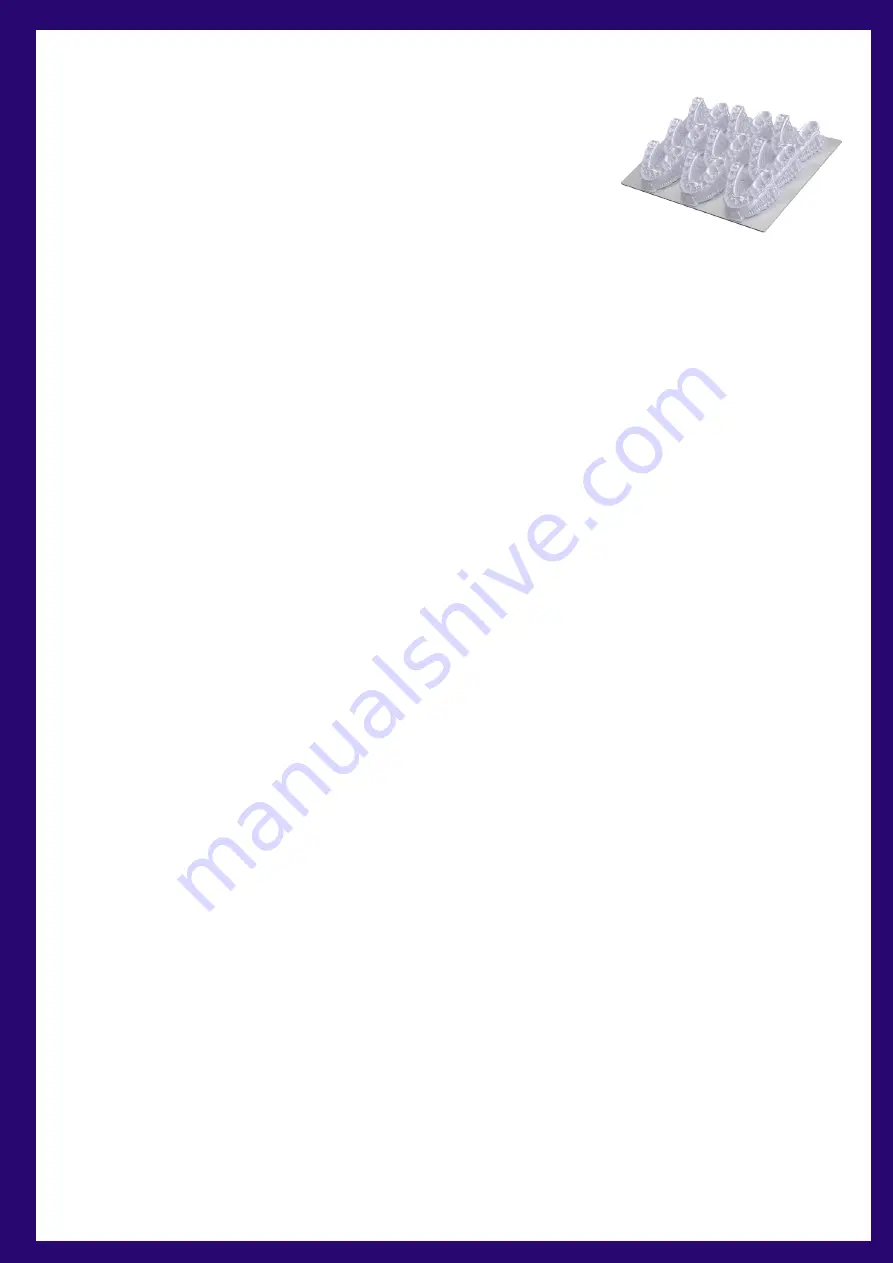
Open up Chitubox and start with a basic dental arch model and place it flat on the platform. If
your dental model doesn’t have a flat base, you can lower its z-height a couple of mm using
the move tool on the left-hand side of the slicer. Dental models are best printed flat to the
plate, but you can use supports if needed. Once the dental model is set up, slice the model.
After the software has finished slicing you may save the file directly to the USB.
If you’re printer is connected via ethernet to a router, you can opt to send the print via the
network send feature instead. When doing this, make sure the USB is plugged into the
machine. You can select your printer from the Dropdown menu on Chitubox. Once sent, you’ll
be prompted if you want to go ahead and start the print as well. If you choose to do so later,
you can start the print manually from the printer as the print is now on the USB.
1: SLICE YOUR PRINT
Each resin vat has a maximum capacity with and without the build plate. There are tick marks
indicating fill lines. It’s recommended to only fill to the first tick mark when starting a print.
Unless you are utilizing the full build volume, you will rarely ever need to fill the vat to max
capacity. Please make sure for whichever resin you are using, you shake the bottle well, or swirl
if the manufacturer says otherwise because resin can settle and may need a bit of mixing
before usage.
!EXTREME CAUTION! Always wear gloves, goggles, and a mask for your protection when
handling liquid resin. If liquid resin gets on your skin, immediately wash the afflicted area with
soap and hot water.
2: LOAD RESIN
Insert the USB onto the printer and tap the print button on the main menu. Find your file, tap
it, and hit the play button to start the print.
For the first print, it is a good idea to check on the print after around 30 minutes to confirm
that the first layers stuck to the build platform. If the print does not stick to the build platform,
then either the bottom exposure time is too low, or the platform is not leveled properly. In
which case, contact EPAX 3D to provide you guidance.
3: STARTING YOUR FIRST PRINT
9
Summary of Contents for DX Cure Pro
Page 1: ...DENTAL USER MANUAL...


