10
l
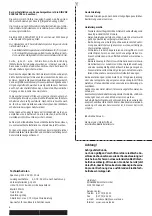
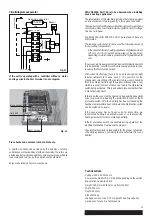
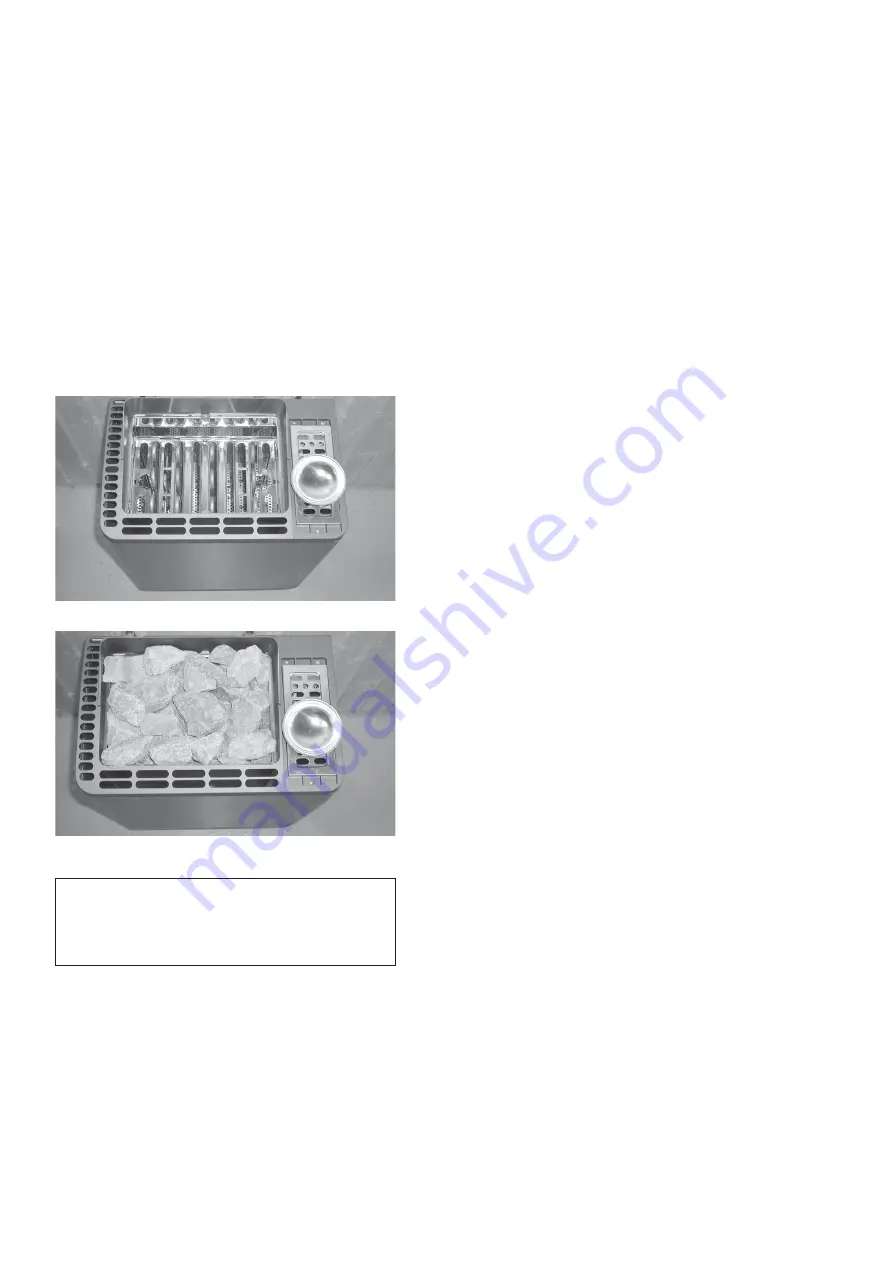
Wash the supplied sauna stones thoroughly under running
water and lay them loosely in the stone container to assure a
convection current of air from the sauna (Fig. 9 + 10).
l
Connect the connection cable to the 400 V AC mains supply,
in accordance with local EVU (Electricity Supply Undertaking)
and VDE (German Electrotechnological Federation) regulations.
l
Note
: Failing to cover or properly fill the stone container may
cause a fire risk.
l
Note:
High temperatures during operation of the sauna oven
may cause burns if contact is made.
l
Note
: Risk of scalding at the steam outlet. Essences and herbs
are to be placed in the herb dish only.
l
Do not operate the sauna oven if the air inlet is closed.
l
The sauna oven is not intended to be assembled in a niche,
under a sauna bench or beneath a sloping roof.
Fig. 9
Fig. 10
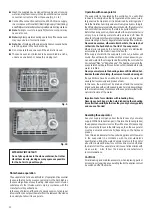
EXTREMELY IMPORTANT!
Do not pile up stones in the stone container, but rather
stack them loosely, leaving as many spaces as possible
for the hot air to pass through.
Finnish sauna operation
The evaporator is not in use in this form of operation. It is essential
to ensure that no herbs or essences remain in the herb dish, as
these could ignite due to overheating. Add essences or infusion
substances to the infusion water only in accordance with the
manufacturer's specifications.
In the case of infusion at the end of a sauna session, for a proper
infusion effect, do not pour the water from the ladle over the stones
too quickly but allow it to evaporate.
Operation with an evaporator
The evaporator is regulated by the controller. You will either
receive a humidity value that is regulated at the sensor via a
target-actual comparison or it is determined by a timing signal.
Note that relative humidity values will vary greatly according to
the different temperature distribution in the booth. The hygrometer
and controller readouts may therefore be quite different.
Before the sauna session, check whether the water container is
empty. Any remaining water should be drained off. Now fill
about 4 L of water into the water container (i.e. enough for a sauna
session lasting 2-3 hours). Regulate the humidity at the controller.
Never add essences, ethereal oils or herbs to the water, but
rather into the herb dish on the lid of the evaporator.
Ethereal oils released by the hot rising steam are distributed
automatically as the steam rises in the booth.
If the supply of water in the evaporator runs out, a buzzer will
sound. If you still want to continue with your sauna session, you
can add water to the storage tank after setting the controller for
5 minutes at "Stop" or "Finnish sauna". The heating element in the
evaporator should be left to cool for about 5 minutes before cold
water is refilled.
Never pour water onto the heating element if it is still red hot.
Besides the risk of scalding, the element could be damaged.
If any additions have been added to the water, the water will
usually boil excessively and produce foam.
In this case, the water must be drained off and the container
rinsed out inside with a cloth soaked in alcohol or white spirit. Even
rather small residues of essences at the evaporator will alter the
natural structure of the water.
Important note for controllers with reheating time;
Never leave herb bags in the herb dish during the reheating
time after the humidity bath, since they can dry out very quickly
and cause a fire risk!
Descaling the evaporator
Ask your supply company about the hardness of your water
supply. Within hardness range 1 (1-7 German hardness grades)
the appliance should work smoothly with no need for descaling.
If your water hardness is the II-IV ranges, then the evaporator
must be descaled occasionally (depending on the hardness
grade).
To do this, add a descaler for household appliances to the water
in the evaporator in accordance with the manufacturer's
specifications. Bring the water-descaler mixture to the boil for
about 10 minutes and allow to cool. Once it has cooled off, drain
the mixture from the evaporator and rinse out at least twice with
clean water. Also follow the descaler manufacturer's
recommendations.
CAUTION!
For all cleaning and maintenance work, when replacing parts or
accessories or repairing any operating faults, the appliance must
be switched off at the mains.
Summary of Contents for Bi-O Tec
Page 19: ...19...


