


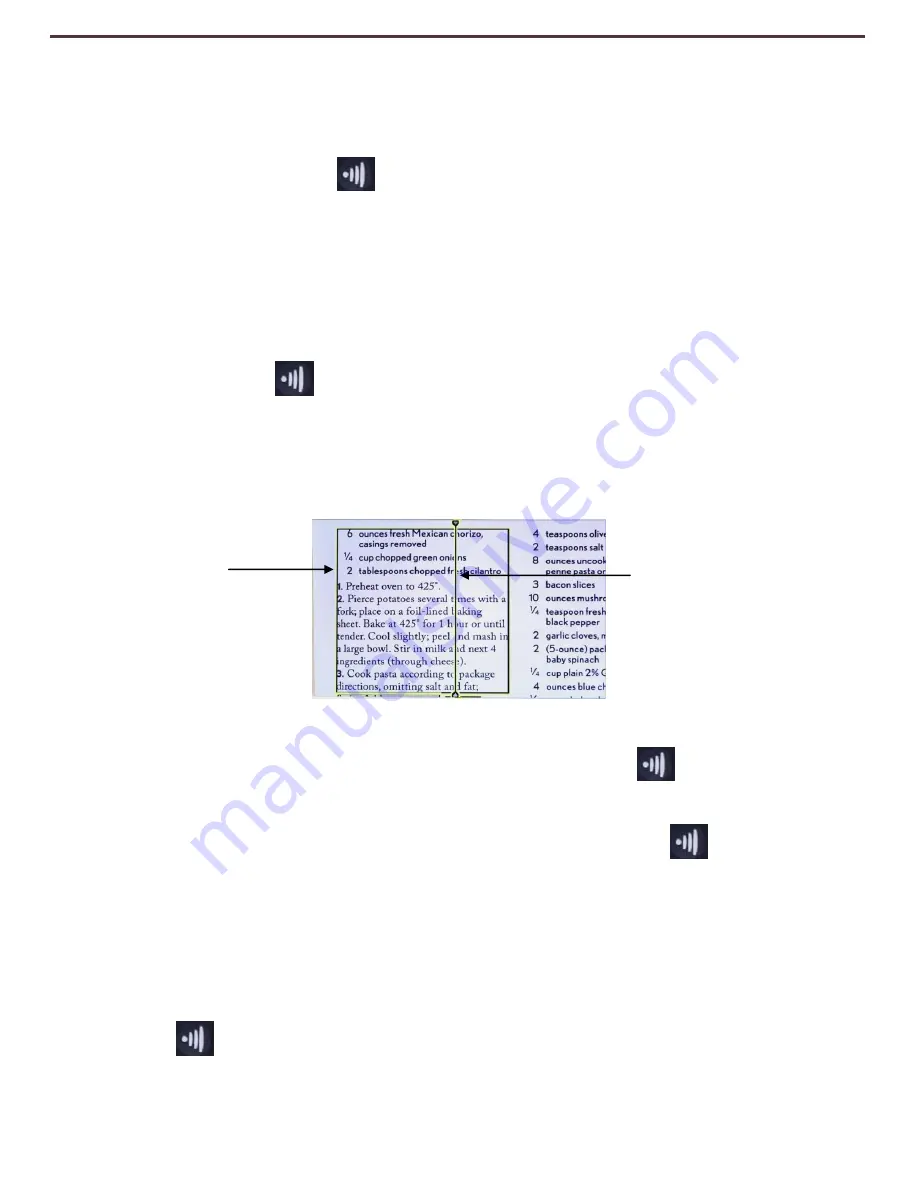
Column Marker
Zoning Preview
When enabled, this feature allows you to see what the OCR function is going
to read when the [Capture]
button is pressed on the Control Console. If
you need to adjust the source material, you can do so and the OCR function
will redisplay an adjusted zoning preview before reading it.
Zoning
(If Enabled)
Using Zoning Preview
1. While in Desktop Mode, place the document under the DaVinci camera as
straight as possible.
2. Press the [Capture] button on the DaVinci Control Console. The DaVinci
will say “Position Document”. Once you have the document positioned as you
desire, and DaVinci detects no movement, DaVinci will say “Selecting Text”.
DaVinci will then display the ‘Zoning Preview’.
NOTE:
It is important to let each of the above steps (Position Document and
Selecting Text) complete
“prior” to pressing the [Capture]
button the 2
nd
time
– pressing it too soon can result in the Zoning Preview being bypassed.
If you are satisfied with the Zoning Preview, press the [Capture] button on the
Control Console again. DaVinci will process the document for OCR Playback.
If you are not
satisfied with the ‘Zoning Preview’, simply reposition the document –
DaVinci will automatically repeat the process and display the new Zoning Preview.
Once
you are satisfied with the way DaVinci is going to ‘Zone’ your material, press
the [Capture] button on the Control Console again. DaVinci will process the
document for OCR Playback.
NOTE:
It is important to let each
Using DaVinci
26


