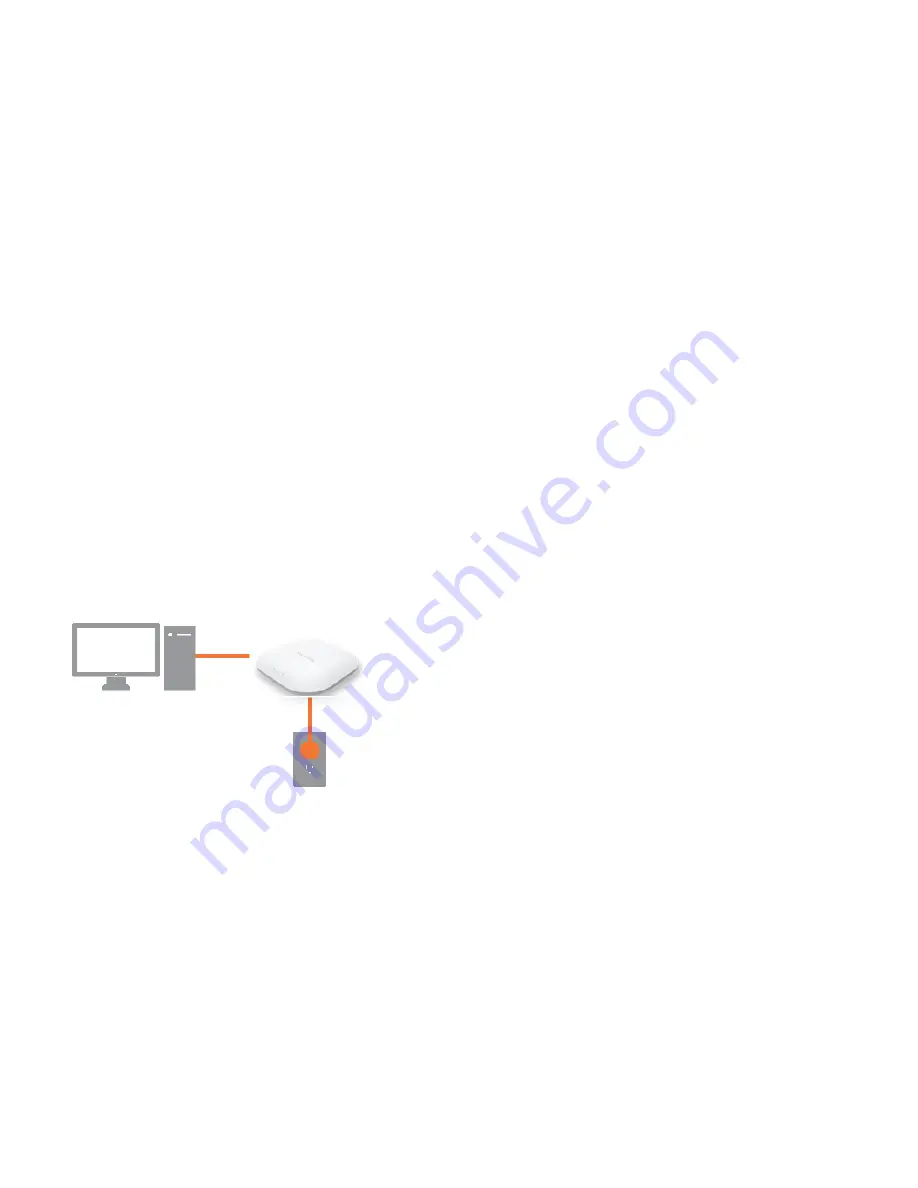
Hardware Installation
1.
Ensure that the computer in use has an Ethernet Controller port (RJ-45 Ethernet Port). For more information, verify with your
computer’s user manual.
2.
Connect one end of the Category 5e Ethernet cable into the RJ-45 port of the EWS310AP/EWS320AP and the other end to
the RJ-45 port of the computer. Ensure that the cable is securely connected to both the EWS310AP/EWS320AP and the
computer.
3.
Connect the Power Adapter DC connector to the DC-IN port of the EWS310AP/EWS320AP and the Power Adapter to an
available electrical outlet. Once both connections are secure, verify the following:
a) Ensure that the
POWER
light is on (it will be
orange
).
b) Ensure that the 2.4 GHz/5 GHz WLAN light is on (it will be
blue
for 2.4G, and
green
for 5G).
c) Ensure that the LAN (Computer/EWS310AP/EWS320AP Connection) light is on (it will be
blue
).
d) Once all three lights are on, proceed to set up the Access Point using the computer.
This diagram depicts the hardware configuration.
Summary of Contents for EW310AP
Page 1: ......
Page 4: ...Appendix B IC Interference Statement 72 Appendix C CE Interference Statement 74...
Page 5: ...Chapter 1 Product Overview...
Page 12: ...Chapter 2 Before You Begin...
Page 22: ...Chapter 3 Configuring Your Access Point...
Page 25: ......
Page 26: ...Chapter 4 Overview...
Page 29: ......
Page 31: ...Chapter 5 Network...
Page 35: ...Chapter 6 2 4GHz 5GHz Wireless...
Page 49: ...Chapter 7 Management...
Page 63: ...Chapter 8 System Manager...
Page 69: ...Logout Click Logout it will pop up a warning window Click OK to logout...
Page 70: ...Appendix...
Page 72: ...Appendix B IC Interference Statement Industry Canada Statement Caution Avertissement...
Page 74: ...Appendix C CE Interference Statement Europe EU Declaration of Conformity...
Page 75: ...0560...
Page 76: ......


