


3. CONNECT THE CCMASTER TO THE NETWORK TO UPLOAD DATA
4
The CcMaster has three different communication interfaces to upload data to the cloud:
• Via WiFi connection
• Via Ethernet connection
• Via NB or 2G connection
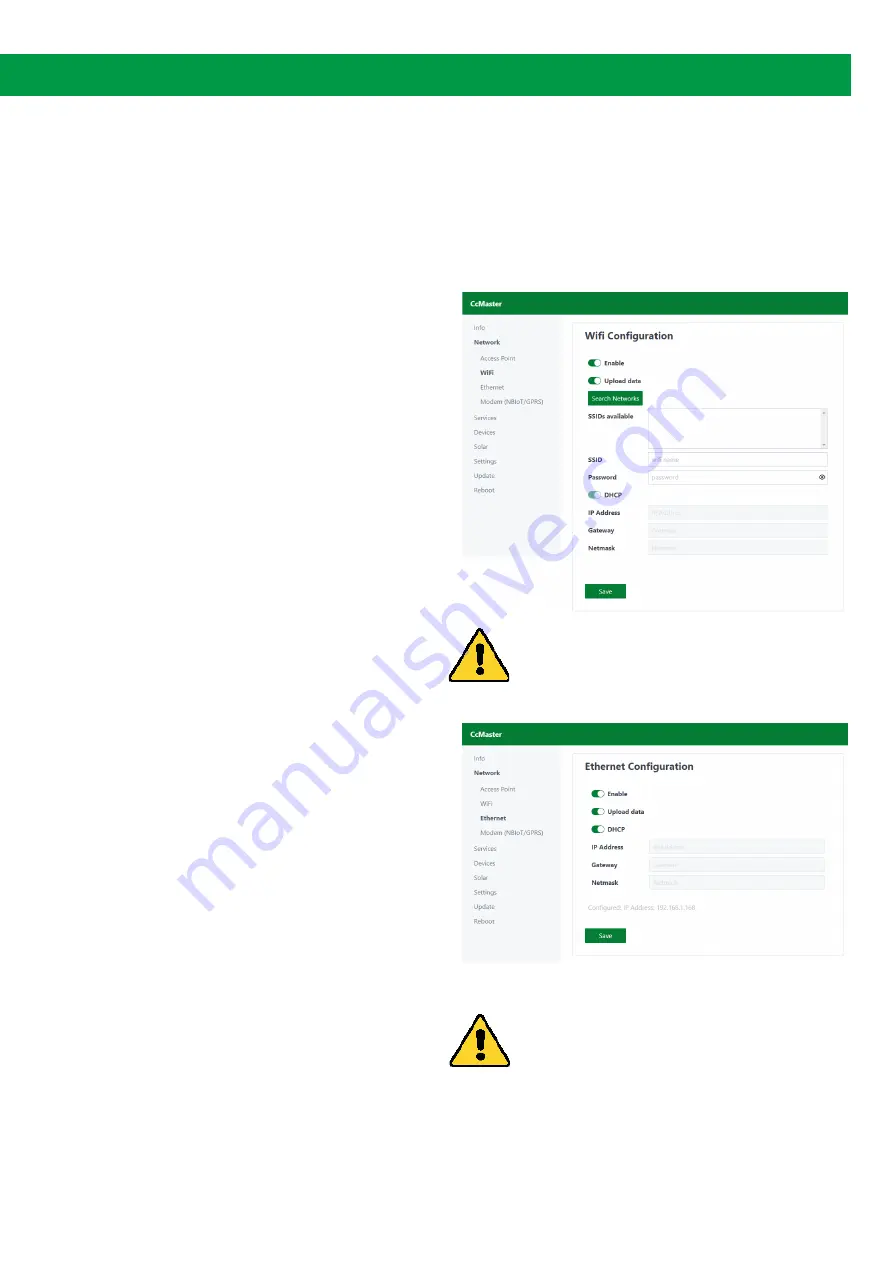
3.2 VIA ETHERNET
Configuration of the Ethernet interface to upload
data, available on the CcMaster Lite Plus and
PRO models.
The user must connect a network cable to the
Ethernet input of the CcMaster (RJ-45 connector)
and select the “enable” option to activate con-
nectivity through the Ethernet port. In case the
physical channel is not well established, the
device automatically disables the Ethernet
output to avoid excessive consumption.
Pressing the "Save" button will save the configu
-
ration.
3.1 VIA WIFI
Configuration of the WiFi interface to upload
data, available on all CcMaster models.
By selecting the “enable” option the WiFi interfa-
ce is activated and the user is able to enter the
configuration parameters of the WiFi network to
which the device shall be connected. Then enter
the name of the WiFi network (SSID) and the
password; be sure to keep the upper and lower
case and any special characters.
Pressing the "Save" button will save the configu
-
ration.
To specifically set that the CcMaster shall
upload data using this interface, the “upload
data” option must be enabled.
To specifically set that the CcMaster shall
upload data using this interface, the “upload
data” option must be enabled.


