17
Installation instructions
Installation of water connections (before initial use):
1. Secure the hand shower and the waterfall and connect them to the fitting.
2. Connect the hot tub to your water connections.
3. Connect the drain pipe to your sewer connection.
First activation (before final assembly):
1. Fill the hot tub with water until the water level sensors (black rectangle on the outside of
the tub) are covered.
2. Check all pipes and nozzles for leaks and leave the whirlpool in this state for about 30
minutes. Please do not leave the hot tub unattended during this time and regularly check the
tightness of the pipes and nozzles.
3. After point 2 has been completed successfully, please test all functions and let the spa run
continuously for 30 minutes. Please leave the hot tub unattended and check tightness of the
pipes, nozzles and pumps regularly during this time.
4. Once points1, 2 and 3 have been completed successfully, the final assembly can take
place.
Final assembly:
1. Put your hot tub in the intended place of use.
2. Now adjust the feet of the hot tub, and pay attention to the horizontal alignment. Also
ensure the feet are adjusted so that the skirting fits.
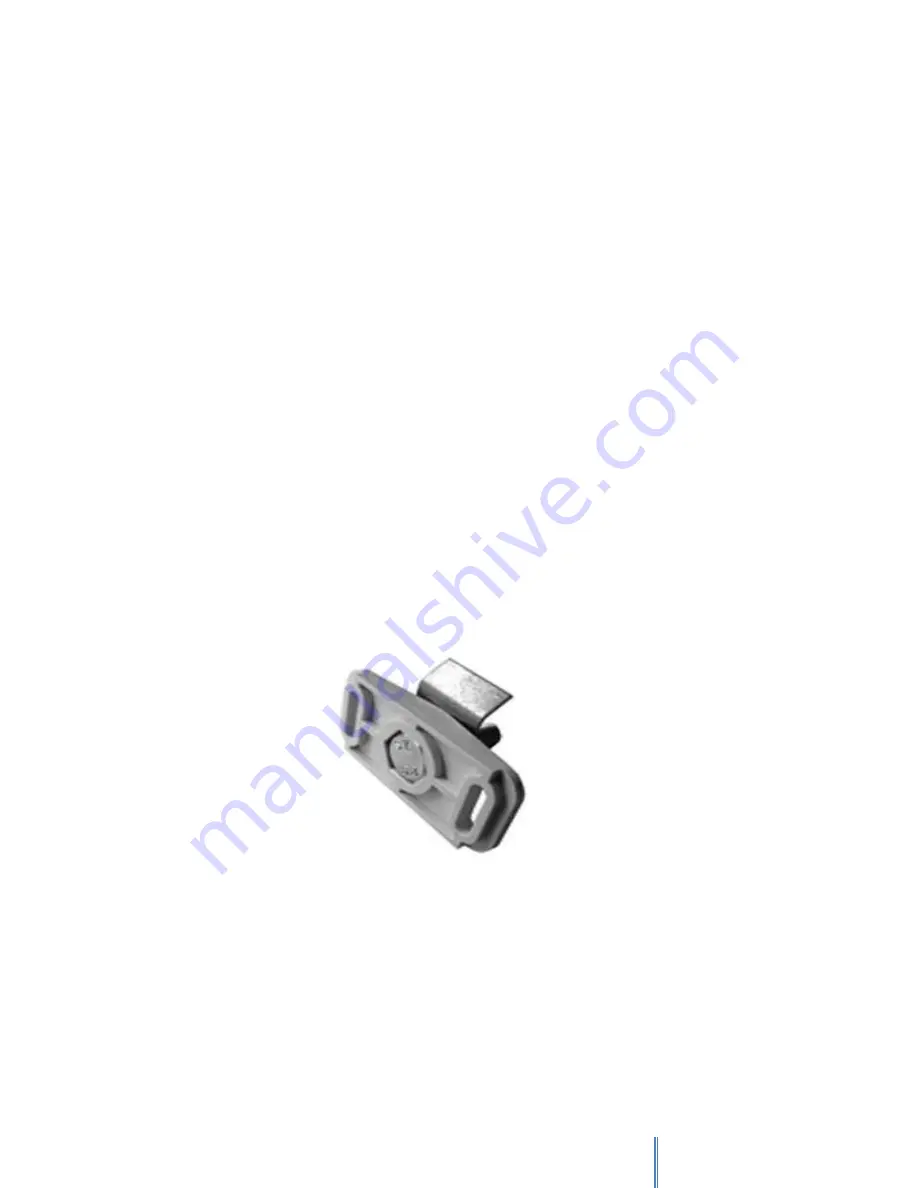
3. Now mount the wall brackets (located in the installation combo kit) which came with the
whirlpool. On every side, ensure that the metal brackets are aligned correctly to make sure
the hot tub is secured.
Attention:
Under no circumstances should the tub be used without these wall mountings. Now check
the exact height of the hot tub, which must be filled with water at this time and ensure that
the height of the feet matches the skirting used.
4. The sides of the hot tub must be sealed to the wall with silicone.
5. Install the skirt, if present.
6. Please wear the head protective gear.
7. Installing the skirting: First attach the skirting holder to the edge of the tub. Next, attach the
double angle to the wall. Measure the distance to the floor and make note of it on the skirting.
Observe the Quick Start Guide that comes with the KOMBI-Mounting set.
Summary of Contents for Optimus 170 Premium left
Page 4: ...4...
Page 7: ...7 Using the touch screen 1 Air nozzles 2 Water jets large jet 3 LED Light Therapy...
Page 9: ...9...
Page 10: ...10...


