Instruction Manual
D103545X012
Control-Disk NPS 14-36
April 2011
9
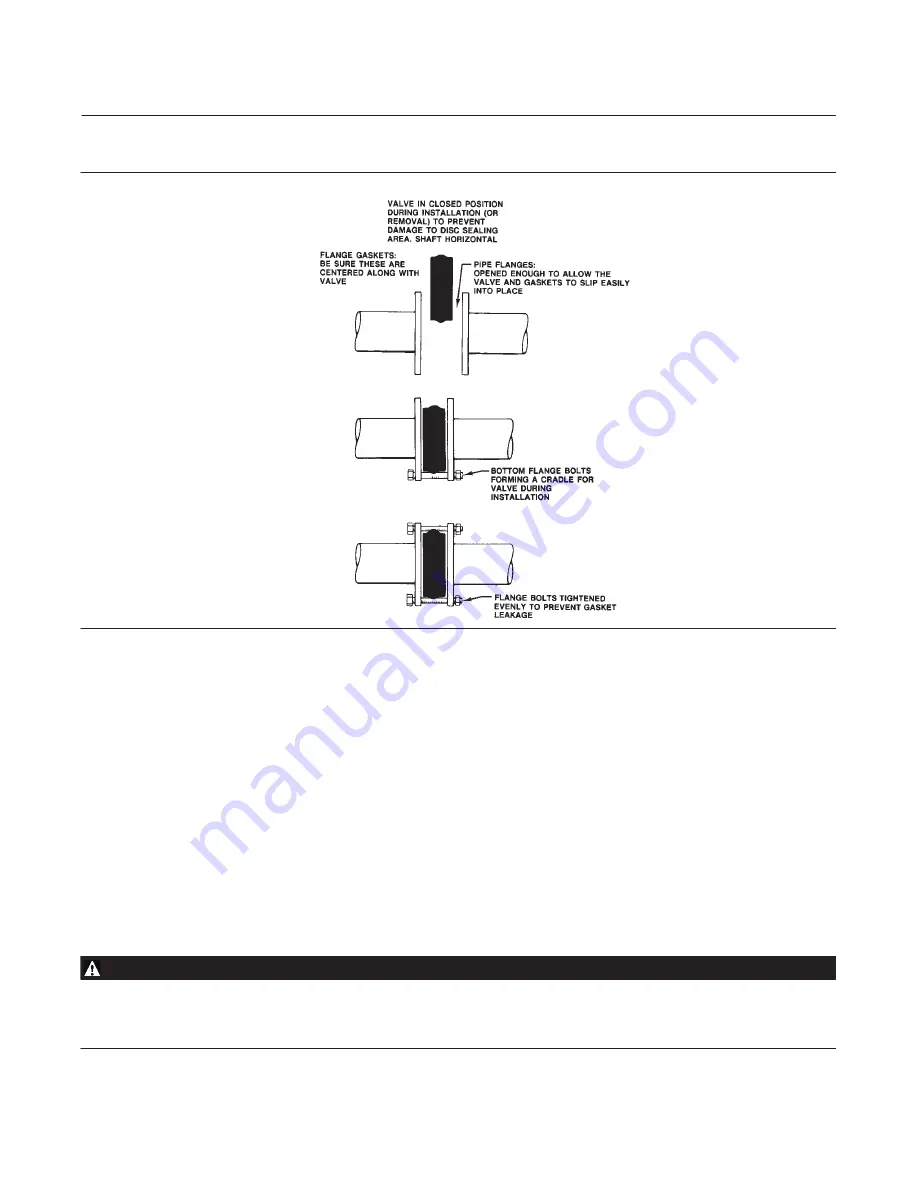
Figure 5. Proper Installation Steps
B2263‐1
3.
For Wafer‐Style Valves:
Properly orient the valve according to the specific application. Place the valve in the line so
the flow properly enters the valve as indicated by the flow tag. Then, install the valve and the gaskets between the
flanges into the cradle formed by the flange bolts.
4. Install the remaining flange bolts.
D
For Wafer‐Style Valves:
Make sure the gaskets are centered on the gasket sealing surfaces of the flange and body.
5.
For all Valves:
Tighten the flange bolts in an alternating criss‐cross fashion to a torque value of one‐fourth of the
final bolting torque. Repeat this procedure several times, increasing the torque value each time by a fourth of the
final desired torque. After applying the final torque value, tighten each flange bolt again to allow for gasket
compression.
Packing Adjustment and Shaft Bonding
WARNING
Personal injury could result from packing leakage. Valve packing was tightened before shipment; however, the packing
might require some readjustment to meet specific service conditions. Check with your process or safety engineer for any
other hazards that may be present from exposure to process media.


