1.
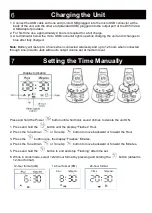
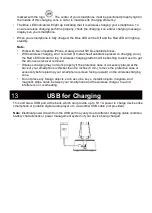
Connect the USB cable with one end (micro USB) plugged into the micro USB connector at the
back of the unit, and the other end (standard USB) plugged into the output port of the DC5V/2.4A
USB Adaptor provided.
2.
For first time use, approximately 4 hours is required for a full charge.
3.
A red indicator below the micro USB connector lights up while charging the unit and it changes to
blue after fully charged.
Note
: Battery will last up to 4 hours when connected wirelessly and up to 12 hours when connected
through Line-In Audio Jack with audio output volume set at medium level.
Display Indication
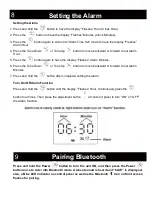
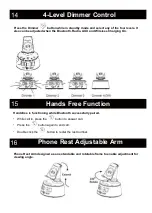
Press and hold the Power
button until a harmonic sound chimes to denote the unit ON.
1.
Press and hold
the
button until the display “Flashes” Hour.
2.
Press the Tune Down
or Tune Up
button to move backward or forward the Hour.
3.
Press the
button once, the display “Flashes” Minutes.
4.
Press the Tune Down
or Tune Up
button to move backward or forward the Minutes.
5.
Press and hold
the
button to end and stop “Flashing” after time set.
6.
While in clock mode, select 12/24-hour format by pressing and holding the
button (default is
12-hour format).
Charging the Unit
Setting the Time Manually
12-hour format (AM)
12-hour format (PM) 24-hour format


