


E6 Series User Manual Page 8 of 27
4.2 Using Windows Media Player 11
®
’s Sync Function
If you sync your player with Windows Media Player, follow these steps
when initially syncing the device:
1. Turn the player ON and use the USB cable to connect it to your
computer.
2. Run Windows Media Player. If this is the first time connecting the
player to Windows Media Player, the program will ask you to name the
device. Choose a name and click
Finish
.
3. If you want Windows to automatically sync your player, right click the
Sync
tab, highlight the player’s name with the mouse cursor, and then
click
Set Up Sync
from the submenu that appears. In the Device
Setup window, click the box next to
Sync this device automatically,
add or remove playlists you want to sync from the
playlists to sync
box, and then click
Finish
.
4. If you want to manually sync the player, click the
Sync
tab. Highlight
the files you want transferred to your device, drag them into the
Sync
List
column, and then click
Start Sync
to begin transferring them to the
player. When the process is complete, you should be able to see the
song files on the player through
My Computer
.
Note:
See the full list of supported formats under “Technical
Specifications” on pg. 27 to determine which synced songs will be
supported by the player.
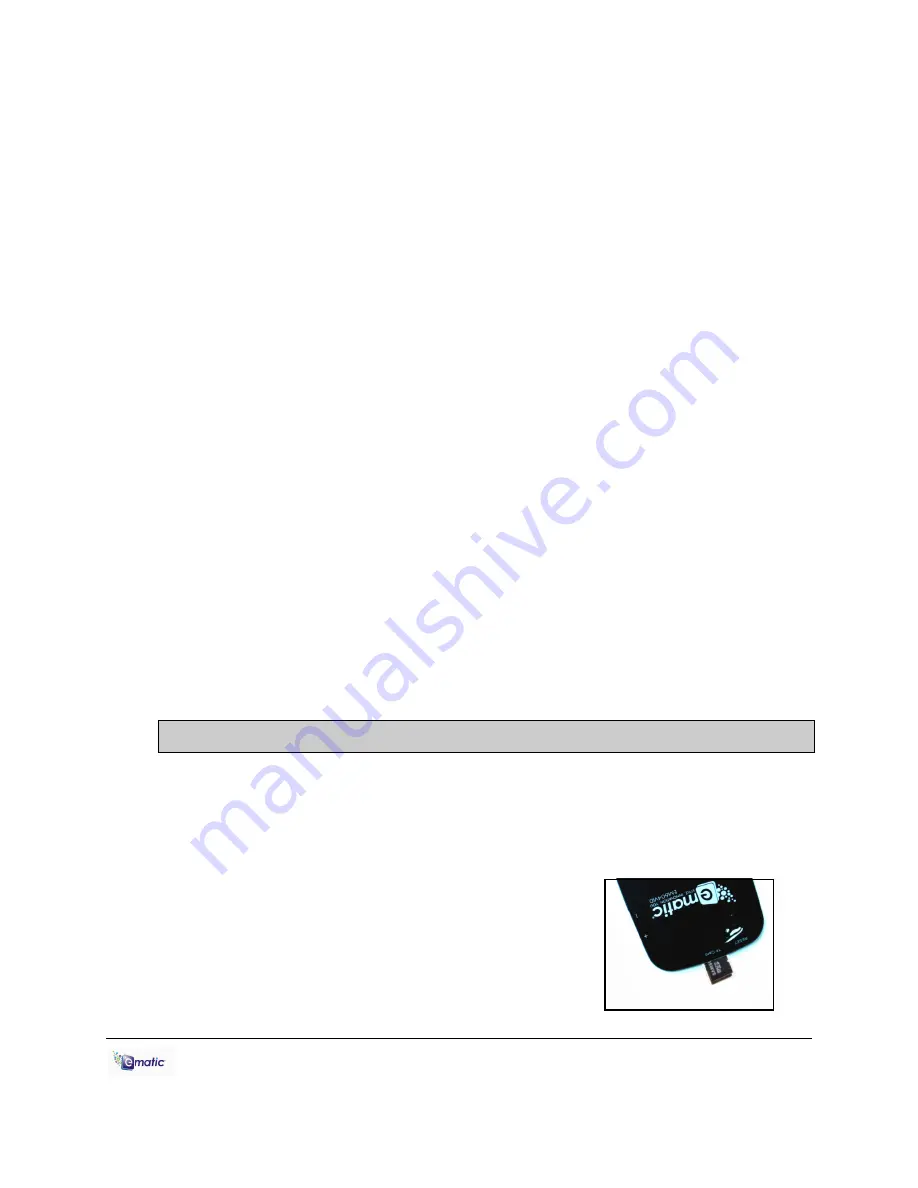
5.0 Expanding the Player's Storage
5.1 Preparing a MicroSD or “TF” Cards for Use
You can expand the player's capacity by adding a MicroSD card (also
known as a TransFlash, or TF, card) with a capacity of up to 8GB. First,
however, it must be prepared for use by the player. Follow these
instructions to prepare the card:
1. Turn the player off.
2. Insert a microSD/TF card into the player.
3. Turn on the player.
4. Tap
System
Settings
on the
Desktop
.


