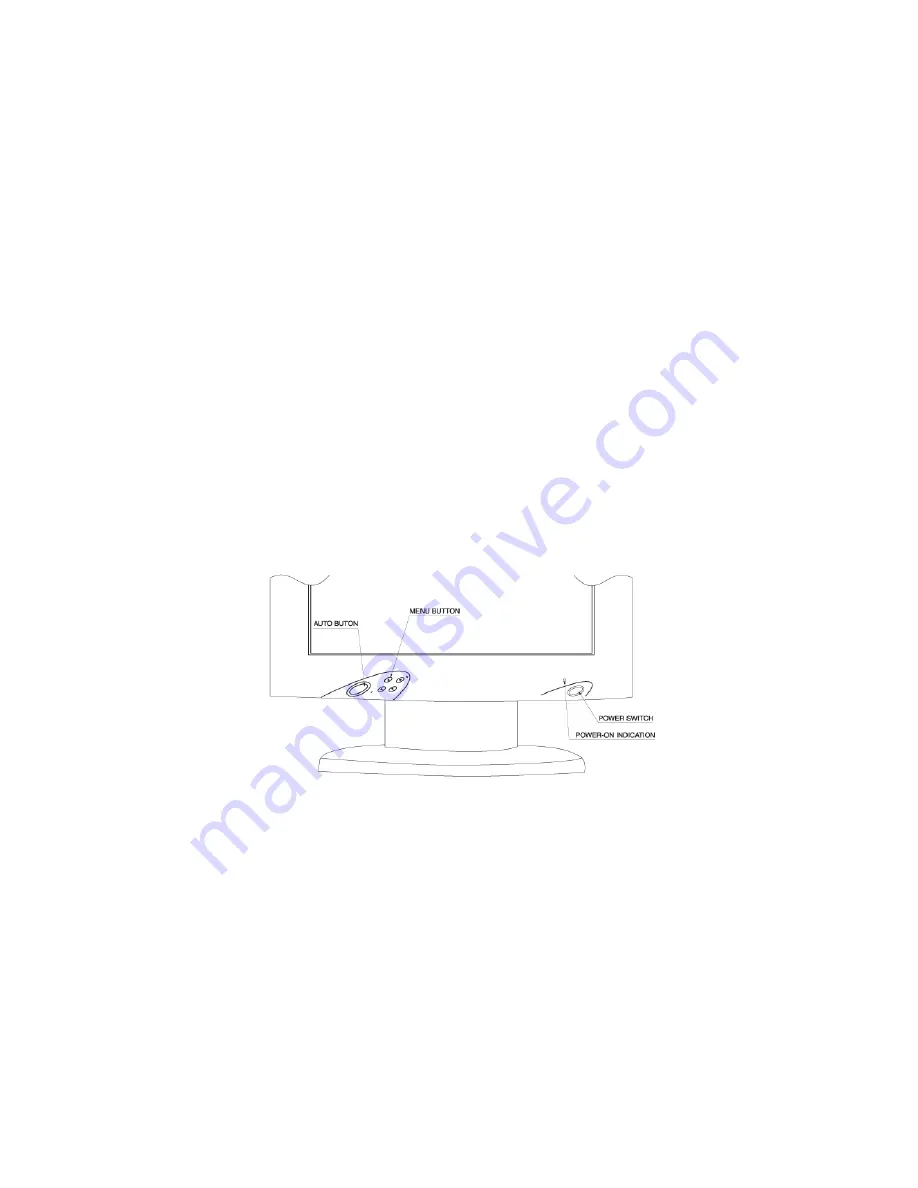
User Controls
Front Panel Controls
1. Power LED : Lights up to indicate the power is turned ON.
2. Power Switch : To turn ON or OFF the power.
3. + : To increase the value of the parameter in the OSD you have selected for
adjustment.
: To increase the contrast directly when OSD menu is not activated.
: To move upward in the OSD menu.
: Execute a function of selected item.
4. - : To decrease the value of the parameter in the OSD you have selected for
adjustment.
: To decrease the brightness directly when OSD menu is not activated.
: To move downward in the OSD menu.
5. Menu : To enter OSD.
6. Select : Enter a sub menu or select a menu item.
If video display option is adopted, switch PC display to Video display and vice versa
by one touch when OSD menu is not activated.
7. Auto Button : One touch Auto adjust or Exit OSD menu.
Standard OSD Operation
1. Press
“Menu”
button to activate the OSD.
2. Use
“+”
then
“-”
keys to move through the menu.
The parameter will be highlighted when selected.
3. Then use
“+”
or
“-”
to increase or decrease the value of the parameter, or make
selection between different options.
4. To quit the OSD screen at any time during the operation, press
“Auto”
button.
If no keys are pressed for a time period, the OSD automatically disappears.
16


