6
NOTE: This section explains how to program an ELK-120 or ELK-124. For other ELK Recordable Modules models, please refer to
the installation instructions that accompany the Recordable Module.
If you have completed the hookup and software installations
, you are ready to program your first unit.
In the following steps, you will use the factory default ELK-120 Channel 1 and Channel 2 .WAV files (supplied by the setup
program) or use your own audio files to help setup the proper computer volume levels. The Waveloader program will be used
to download wav files into the recordable module.
Programming (ELK-120/124 ONLY)
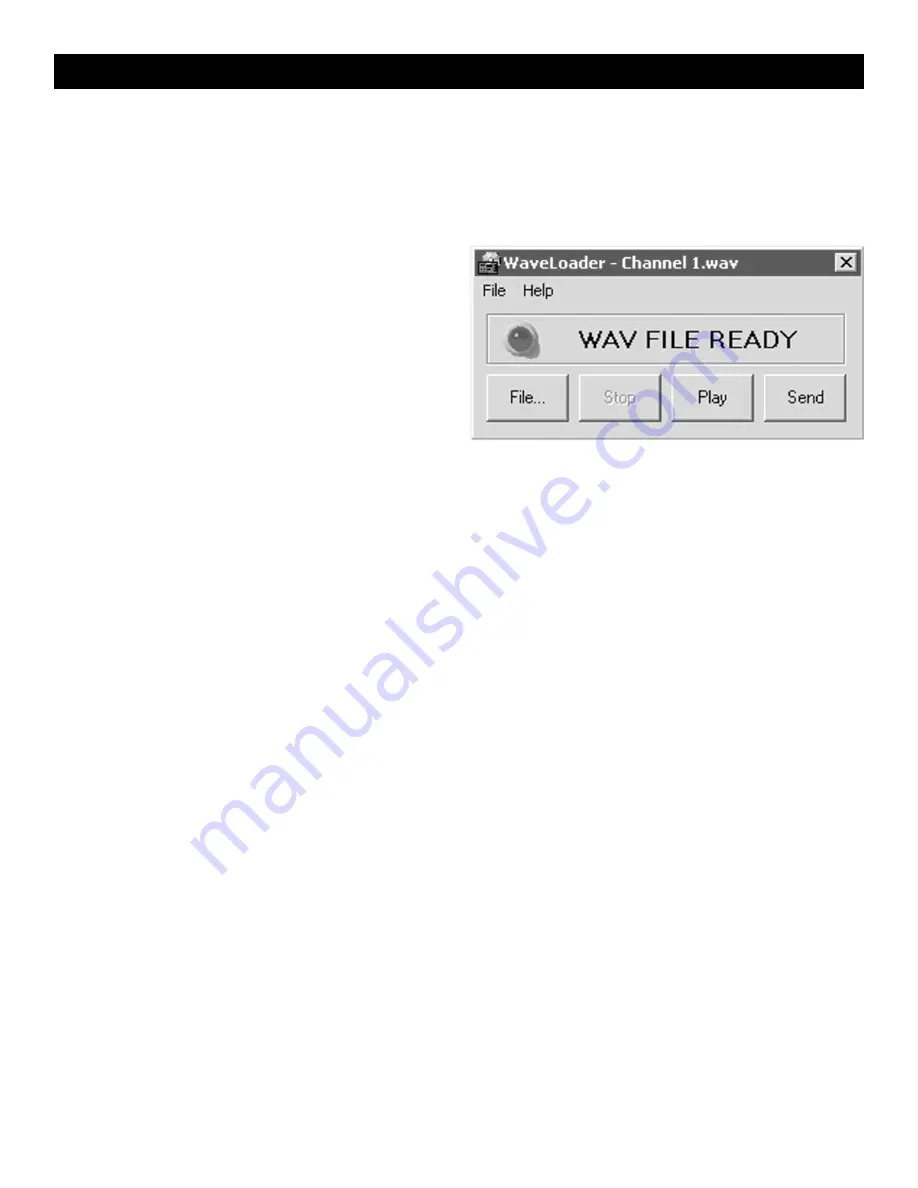
Figure 2.
1.
Click on the
Waveloader
icon, then click on the
File
button. In the
OPEN
window, click on the
Channel 1.wav
file, then click on
OPEN
.
2.
Adjust your computer’s volume to the half-way mark. Use
PLAY
to preview the WAV file and use
SEND
to download
the WAV file.
3.
You must apply power to a channel in order to record it.
Channels are activated differently depending on which
version of Recordable Module you have as noted below.
4a. For ELK-120 Version 1 Modules, (has no dip switch) .. skip to step 5.
4b. For ELK-120 Version 2 Modules, (has dip switch) ... Move DIP Switch #1 to the ON position .. skip to step 5.
4c. For ELK-124 Version 1 Modules, (has no dip switch) ... skip to step 5.
4d. For ELK-124 Version 2 Modules, (has dip switch) ... Move DIP Switch #1 to the ON position .. skip to step 5.
5.
Be sure you have a 12 volt AC Transformer connected to the ELK-129. Turn
SW1
on the ELK-129 to
CH1
. Channel 1's
message should start playing. In Waveloader, click on the
SEND
button to start sending Channel 1.wav. You should hear
your file playing from the computer speakers. If the computer’s volume level is high enough, the RECORD / EOM LED on
the Recordable Module should come on solid, indicating the message is being recorded. The Recordable Module will
playback the message just recorded.
6.
If the RECORD / EOM LED does not come on solid while Waveloader is sending the file, you will need to increase your
computer’s volume output before trying again. If your volume is already set to maximum, be sure you are using the
computer’s speaker output jack instead of a line output jack. If the RECORD / EOM LED still doesn’t come on, try
manually
pressing the Recordable Module’s
RECORD
switch and click on
PLAY
at the same time. If this works, you
may have to use this manual method when programming. If the manual method does not work, then there may be a
problem in the hookup or with one of the units.
7.
If the Recordable Module’s message sounds distorted during playback, try reducing your computer's volume control and
repeating step 5. You can normally double-click the small speaker icon in the task bar to adjust the volume. To reduce
distortion, use the lowest volume setting that will trigger the Recordable Module.
8.
When you have successfully programmed the message for Channel 1, you may proceed to program Channel 2 by
placing SW1 on the ELK-129 to the CH2 position. For ELK-120 or 124 version 2 Recordable Modules, also move DIP
switch #1 to the OFF position, then turn DIP Switch #2 to the ON position. Repeat Steps 1-7, loading the file Channel 2
wav instead of the Channel 1 wav.
9.
Once you have mastered the downloading process, try downloading some of your own WAV files or try recording your
own WAV files using the Windows Sound Recorder and a microphone. Use care to prevent overrunning the Recordable
Module’s recording time limit.
10. After field installation, the ELK-120/124 selection jumpers should be set for the desired operation. i.e. disable record
switch, repeat / 1shot mode, DIP switches OFF, and the channel polarity jumpers on the ELK-124 v2.


