- 12 -
OPERATING INSTRUCTIONS
CONNECTING POWER
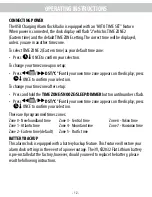
The USB Charging Alarm Clock Radio is equipped with an "AUTO TIME SET" feature.
When power is connected, the clock display will flash
'
2
'
which is TIME ZONE 2
(Eastern time) and the default TIME ZONE setting. The correct time will be displayed,
unless you are in another time zone.
To select TIME ZONE 2 (Eastern time) as your default time zone:
• Press
ONCE to confirm your selection.
To change your time zone upon setup:
• Press
/
DST/°C °F
until your own time zone appears on the display; press
ONCE to confirm your selection.
To change your time zone after setup:
• Press and hold the
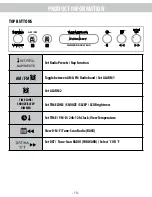
TIME ZONE/SNOOZE/SLEEP/DIMMER
button until numbers flash.
• Press
/
DST/°C °F
until your own time zone appears on the display; press
ONCE to confirm your selection.
There are 8 programmed times zones:
BATTERY BACKUP
This alarm clock is equipped with a battery backup feature. This feature will restore your
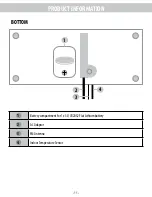
alarm clock settings in the event of a power outage. The 3V, CR2032 Flat Lithium battery
is pre-installed at the factory, however, should you need to replace the battery, please
read the following instructions.
Zone 0 - Newfoundland time
Zone 1 - Atlantic time
Zone 2 - Eastern time (default)
Zone 3 - Central time
Zone 4 - Mountain time
Zone 5 - Pacific time
Zone 6 - Yukon time
Zone 7 - Hawaiian time
OPERATING INSTRUCTIONS
Summary of Contents for EAAC475
Page 23: ...NOTES 23 ...
Page 24: ...NOTES 25 ...


