


2
www.electia.se
1)
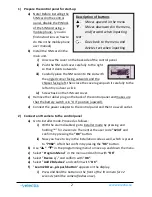
Prepare the control panel for start-up
a)
Note! Before installing the
SIM card in the control
panel, disable the PIN lock
of the SIM card using a
mobile phone.
(you can
find instructions on how to
do this in the mobile phone
user manual)
b)
Install the SIM card in the
main unit.
i)
Unscrew the cover on the backside of the control panel.
ii)
Push the SIM card cover carefully to the right
so that it slants outwards.
iii)
Carefully place the SIM card into the slot with
the angled corner facing outwards and the
chipset facing left, then close the cover again push it carefully to the
left until you hear a click.
iv)
Screw back on the SIM card cover.
c)
Remove the rubber plug on the back of the control panel and make sure
that the battery switch is in "On" position (upward).
d)
Connect the power adapter to the control panel and then to a wall outlet.
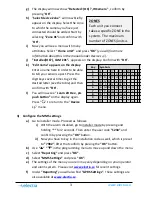
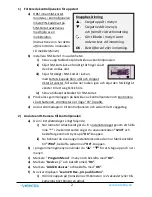
2)
Connect an IR camera to the control panel
a)
Go to installer mode. Proceed as follows:
i)
With the alarm disabled, go to installer mode by pressing and
holding ”
*
” for 2 seconds. Then enter the user code
”1234”
and
confirm by pressing the
”OK”
button.
ii)
Now you have to key in the installation code as well, which is preset
to
”7982”
. After that confirm by presing the
”OK”
button.
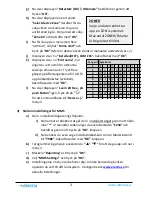
b)
Use
“
” “
”
in the programming menu to move up and down the menu.
c)
Select ”
Program Menu”
in the menu and confirm with
”OK”
d)
Select ”
/-
” and confirm with ”
OK”
.
e)
Select ”
Add ZB devices
” and confirm with ”
OK”
.
f)
”
Learn ZB Dev., pls push button
” appears on the display.
i)
Press and hold the button on the front of the IR camera for 12
seconds (until the camera flashes once).
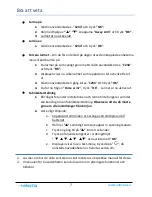
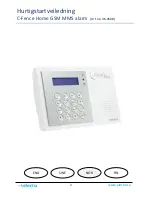
Description of buttons
-
Moves upward in the menu
-
Moves downward in the menu,
and forward when inputting
text
-
Goes back to the menu and
deletes text when inputting
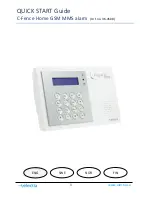
Summary of Contents for C-Fence
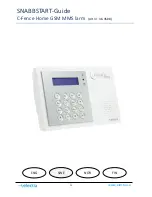
Page 1: ...1 www electia se QUICK START Guide C Fence Home GSM MMS alarm Art no 36 4508 ENG SWE NOR FIN...
Page 9: ...1 www electia se SNABBSTART Guide C Fence Home GSM MMS larm Art nr 36 4508 SWE NOR FIN ENG...
Page 25: ...1 www electia se PIKA ALOITUSOPAS C Fence Home GSM MMS alarm Art no 36 4508 FIN SWE NOR ENG...