background image

To Use the Monitor for a Long Time


Quality control

 •

The display quality of monitors is affected by the quality level of input signals and the degradation of 

the product. Perform visual checks and periodic constancy tests to comply with medical standards / 

guidelines according to your application, and carry out calibration as necessary. Use of the RadiCS 

monitor quality control software enables you to perform high-level quality control that meets medical 

standards / guidelines.

 •

It takes about 15 minutes (under our measurement conditions) for the monitor display to stabilize. 

Please wait 15 minutes or more after the monitor power has been turned on or the monitor 

has recovered from the power saving mode before performing various tests for quality control, 

calibration, or screen adjustment of the monitor.

 • We recommend that monitors be set to the recommended level or lower to reduce changes in 

luminosity caused by long-term use and maintain stable brightness.

 • To adjust measurement results of the integrated calibration sensor (Integrated Front Sensor) to 

those of an EIZO external sensor (UX2 sensor) that is sold separately, perform correlation between 

the Integrated Front Sensor and the external sensor using RadiCS / RadiCS LE. Periodical 

correlation allows you to maintain the measurement accuracy of the Integrated Front Sensor at a 

level equivalent to that of the external sensor.

Attention

 • The display status of the monitor may change unexpectedly due to an operating error or unexpected setting 

change. Using the monitor with the control buttons locked is recommended after adjusting the screen of the 

monitor. For details on how to set, refer to the Installation Manual (on the CD-ROM).


Cleaning

Periodic cleaning is recommended to keep the product looking new and to prolong its operation 
lifetime.

Gently wipe off any dirt on the cabinet or panel surface with a soft cloth soaked in a small amount of 

water or one of the chemical solutions listed below or with ScreenCleaner (available as an option).

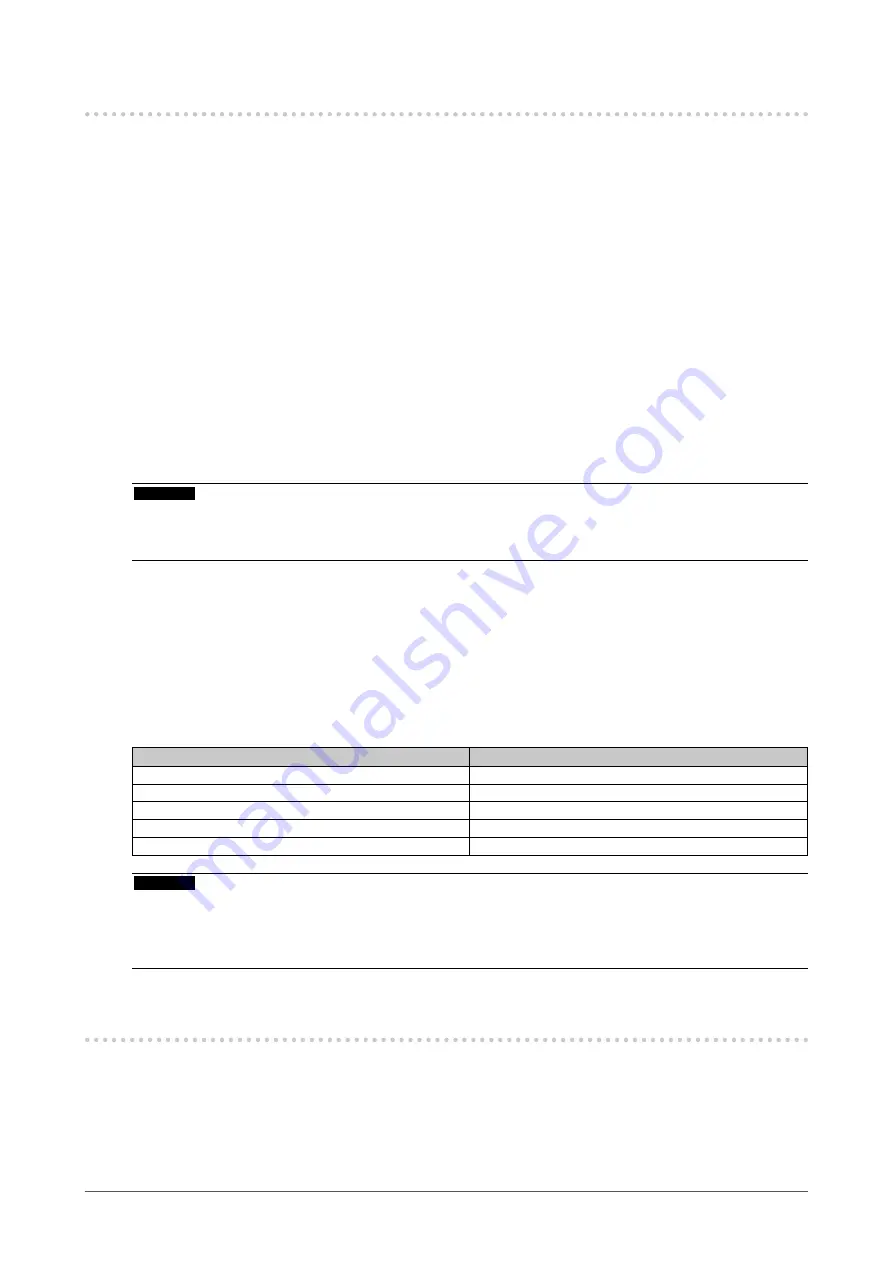
Chemicals that may be used for cleaning

Material name

Product name

Ethanol

Ethanol

Isopropyl alcohol

Isopropyl alcohol

Benzalkonium chloride

Welpas

Glutaral

Sterihyde

Glutaral

Cidex Plus28

Attention

 •

Do not use chemicals on a frequent basis. Chemicals such as alcohol and antiseptic solution may cause 

gloss variation, tarnishing, and fading of the cabinet or panel, and also quality deterioration of the image.

 • Never use any thinner, benzene, wax, and abrasive cleaner, which may damage the cabinet or panel.

 • Do not let chemicals come into direct contact with the monitor.

To Use the Monitor Comfortably

 •

Staring at the monitor for a long time tires your eyes. Take a 10-minute rest every hour.

 • Look at the screen from a proper distance and from a proper angle. 


8

Notice for this product

Summary of Contents for RadiForce RX370

Page 1: ...yourself with safe and effective usage Please retain this manual for future reference For monitor adjustment and settings refer to the Installation Manual For the latest product information including...

Page 2: ...ted specifically for use in the region to which it was originally shipped If operated outside this region the product may not perform as stated in the specifications No part of this manual may be repr...

Page 3: ...tes Main Power Switch Press to turn the monitor s main power off Main Power Switch Press to turn the monitor s main power on Power button Press to turn the monitor s power on or off Alternating curren...

Page 4: ...ny form of transportation ships aircraft trains automobiles etc Do not place in dusty or humid environments Do not place in locations where water may be splashed on the screen bathrooms kitchens etc D...

Page 5: ...he unit securely Otherwise the unit may become detached resulting in injury and or equipment damage Before installation make sure that desks walls or any other installation surface has adequate mechan...

Page 6: ...slots prevents proper airflow and may result in fire electric shock or equipment damage Do not touch the plug with wet hands Doing so may result in electrical shock Use an easily accessible power out...

Page 7: ...e monitor be turned off periodically The backlight of the LCD panel has a fixed lifetime Depending on the usage pattern such as usage for long continuous periods the lifespan of the backlight may run...

Page 8: ...accuracy of the Integrated Front Sensor at a level equivalent to that of the external sensor Attention The display status of the monitor may change unexpectedly due to an operating error or unexpected...

Page 9: ...ctions 14 Chapter 2 Installation Connection 15 2 1 Before Installing the Product 15 Installation Requirements 15 2 2 Connecting Cables 16 2 3 Turning On the Power 19 2 4 Charging quickly with USB Type...

Page 10: ...a pixel level and displays them respectively in optimal gradations Simple wiring In addition to a DisplayPort input terminal an output terminal is also provided From the output terminal a signal can...

Page 11: ...ng RadiCS LE that is attached to the monitor you can manage history related to the monitor and the SelfCalibration target and execution schedule The RadiCS monitor quality control software enables you...

Page 12: ...ng mode Backlight Saver A feature that temporarily increases brightness to improve the visibility of diagnostic images Instant Backlight Booster Note The RadiCS RadiCS LE software allows you to displa...

Page 13: ...on that assigns any CAL Switch mode to a part of the screen and displays an image Point and Focus Displaying or hiding the PinP sub window Hide and Seek Switching PCs used to operate USB devices Switc...

Page 14: ...nitor so as not to drop it Do not hold the sensor section on the front side of the monitor 6 Stand Adjusts the height and angle tilt and swivel of the monitor 7 USB Type C connector quick charge only...

Page 15: ...ace this product on a lacquer coated desk the color may adhere to the bottom of the stand due to the composition of the rubber Check the desk surface before use Installation Requirements When installi...

Page 16: ...ighten the fasteners to secure the connector Signal cable DD200DL optional Signal cable PP300 or Attention The monitor has two types of DisplayPort connectors input and output When connecting the moni...

Page 17: ...When using a daisy chain connection connect the cable to the input connector To set up a daisy chain connection you need to select Signal Format DisplayPort 1 on the Administrator Settings menu and s...

Page 18: ...vice USB connected peripheral device to the monitor USB cable UU300 Attention When connecting the monitor to a PC on which RadiCS RadiCS LE has been installed connect the cable to Remove the cap befor...

Page 19: ...age 21 for additional advice Attention For the maximum power saving it is recommended that the Power button be turned off When not using the monitor you can turn off the main power supply or disconnec...

Page 20: ...right edges of the monitor with both hands and adjust the screen height tilt and swivel the screen to the optimum position for performing tasks Attention After the adjustment is finished make sure tha...

Page 21: ...version For details refer to the Installation Manual on the CD ROM 2 The message below appears This message appears when the signal is not input correctly even though the monitor is functioning proper...

Page 22: ...z 127 kHz Vertical scan frequency 2 29 0 Hz 61 5 Hz 720 400 69 Hz 71 Hz Frame Synchronization mode 29 5 Hz 30 5 Hz 59 0 Hz 61 0 Hz Dot clock DisplayPort DVI 25 MHz 215 MHz 25 MHz 165 MHz 165 MHz 215 M...

Page 23: ...Input Detection off no external load is connected 5 When the USB upstream port is not connected DP Power Save On Signal Format DisplayPort 1 Version 1 1 no external load is connected 4 2 Compatible Re...

Page 24: ...e graphics board refer to our web site www eizoglobal com Calibration Kit RadiCS UX2 Ver 5 0 8 or later RadiCS Version Up Kit Ver 5 0 8 or later Network QC Management Software RadiNET Pro Ver 5 0 8 or...

Page 25: ...could influence limit or result in malfunction of the monitor Install the equipment in a controlled environment where such effects are avoided Classification of Equipment Type of protection against e...

Page 26: ...uipment If adjacent or stacked use is necessary the equipment or system should be observed to verify normal operation in the configuration in which it will be used When using a portable RF communicati...

Page 27: ...discharge ESD IEC EN61000 4 2 8 kV contact discharge 15 kV air discharge 8 kV contact discharge 15 kV air discharge Floors should be wood concrete or ceramic tile If floors are covered with synthetic...

Page 28: ...a should be less than the compliance level in each frequency range b Interference may occur in the vicinity of equipment marked with the following symbol Note 1 UT is the a c mains voltage prior to ap...

Page 29: ...um separation distance m IEC EN60601 test level V m Compliance level V m 385 380 390 TETRA 400 Pulse modulation b 18 Hz 1 8 0 3 27 27 450 430 470 GMRS 460 FRS 460 FM 5 kHz deviation 1 kHz sine 2 0 3 2...

Page 30: ...d 1 2 P 80 MHz to 800 MHz d 1 2 P 800 MHz to 2 7 GHz d 2 3 P 0 01 0 12 0 12 0 23 0 1 0 38 0 38 0 73 1 1 2 1 2 2 3 10 3 8 3 8 7 3 100 12 12 23 For transmitters rated at a maximum output power not list...

Page 31: ...ollowing measures Reorient or relocate the receiving antenna Increase the separation between the equipment and receiver Connect the equipment into an outlet on a circuit different from that to which t...

Page 32: ...Corporation All rights reserved 1st Edition February 19th 2021 Printed in Japan 00N0N214A1 IFU RX370 6 www eizoglobal com Carl Benz Stra e 3 76761 R lzheim Germany 8 5B 153 Shimokashiwano Hakusan Ishi...

Reviews: