English
19
Chapter 2 Installation / Connection
2-3. Turning On the Power
1.
Touch
to turn on the power to the monitor.
The power switch indicator of the monitor lights up green.
If the indicator does not light up, see
“Chapter 3 No-Picture Problem” (page 21)
Note
• When you touch any of the operation switches excluding
with the monitor power turned off,
starts
flashing to let you know where the power switch is located.
2.
Turn on the PC.
The screen image appears.
If an image does not appear, refer to
“Chapter 3 No-Picture Problem” (page 21)
for additional advice.
Attention
•
For the maximum power saving, it is recommended that the Power button be turned off. When not using
the monitor, you can turn off the main power supply or disconnect the power plug so that the power is cut
completely.
Note
• In order to maximize the monitor's lifespan by impeding brightness degradation and to reduce power
consumption, carry out the following:
-
Use the power saving function of the PC or monitor.
- Turn off the monitor after using it.
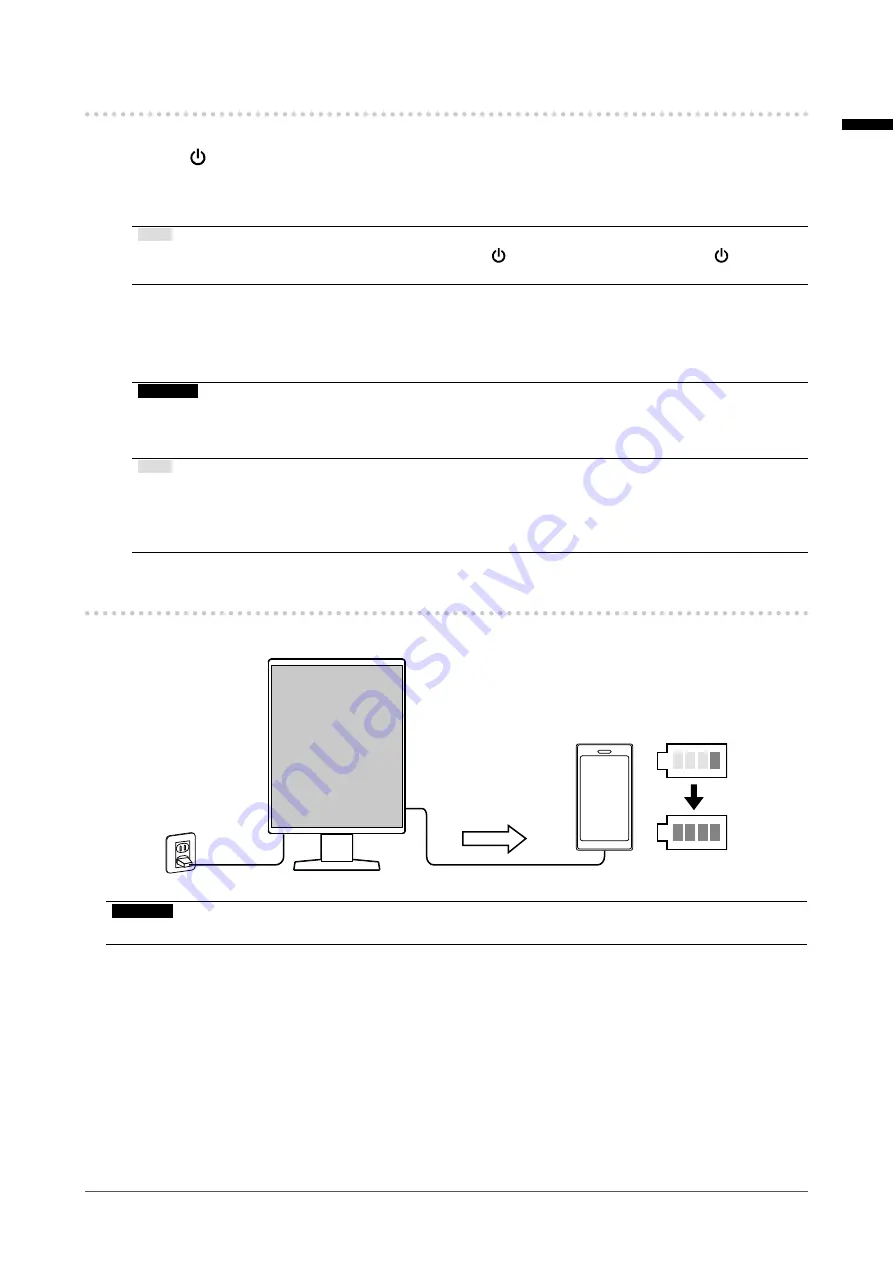
2-4. Charging quickly with USB Type-C
Smartphones and tablets can be charged quickly by connecting them to the monitor using USB Type-C.
100%
Max. 15 W (5 V/3 A)
Power supply
Attention
• Prepare your own cable suited to your smartphone or tablet.


