background image

PRECAUTIONS

7

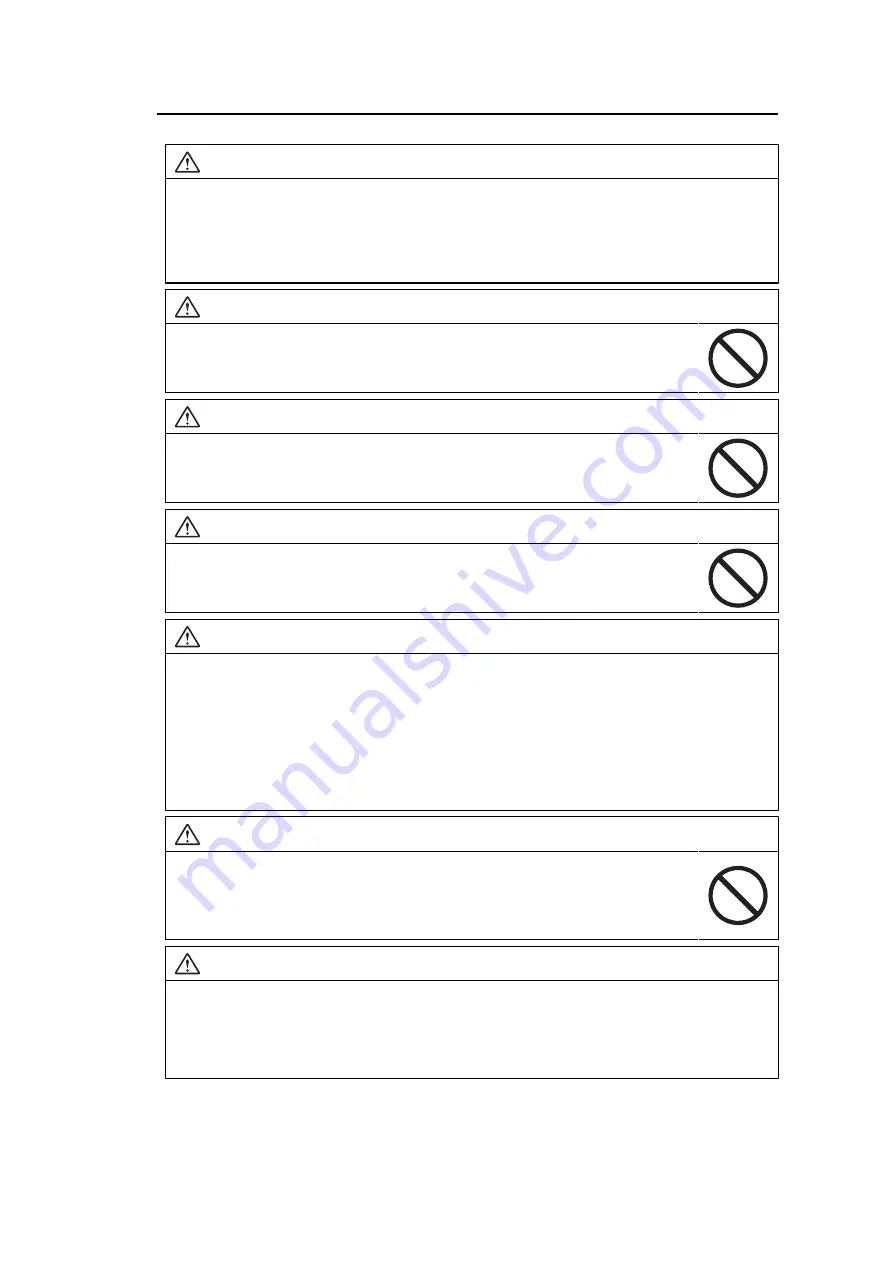
WARNING

Use the correct voltage.

• The unit is designed for use with a specific voltage only. Connection to another voltage than

specified in this "Instructions for Use" may cause fire, electric shock, or equipment damage.
Power supply: 100-240 Vac 50/60 Hz

• Do not overload your power circuit, as this may result in fire or electric shock.

WARNING

Handle the power cord with care.

Do not place heavy objects on the power cord, or pull or tie the power cord. Using a
damaged power cord may result in fire or electrical shock.

WARNING

The operator should not touch the patient while touching the product.

This product has not been designed to be touched by patients.

WARNING

Never touch the plug and power cord if it begins to thunder.

Touching them may result in electrical shock.

WARNING

When attaching an arm stand, please refer to the User’s Manual of the arm stand and install
the unit securely.

Otherwise, the unit may become detached, resulting in injury and/or equipment damage.

Before installation, make sure that desks, walls, or any other installation surface has adequate
mechanical strength.

If the unit falls, disconnect the power immediately and ask your local EIZO representative for advice.
Do not continue using a damaged unit. Using a damaged unit may result in fire or electrical shock.
When reattaching the tilt stand, please use the same screws and tighten them securely.

WARNING

Do not touch a damaged LCD panel directly with bare hands.

If any part of your skin comes in direct contact with the panel, wash thoroughly.

If liquid crystal enters your eyes or mouth, immediately flush with large amounts of
water and seek medical attention. Otherwise, you may have a toxic reaction.

WARNING

For installment in high locations, ask for the help of a professional.

When installing the monitor in a high location, there is a risk of the product or its parts falling and
causing injury. Ask for help from us or from a professional who specializes in construction work
when installing the monitor, including an inspection of the product for any damage or deformities
both before and after installing the monitor.

Summary of Contents for RadiForce MX243W

Page 1: ...nstructions for Use and Installation Manual before use Please retain this manual for future reference See the Installation Manual for monitor settings and adjustments The latest product information in...

Page 2: ...usted specifically for use in the region to which it was originally shipped If operated outside this region the product may not perform as stated in the specifications No part of this manual may be re...

Page 3: ...ol indicates Main power switch Press to turn the monitor s main power off Main power switch Press to turn the monitor s main power on Power button Press to turn the monitor s power on or off Alternati...

Page 4: ...PRECAUTIONS 4 Symbol This symbol indicates Importer in the EU Mark signifying compliance with UK regulations UK Responsible Person Authorised representative in Switzerland...

Page 5: ...o service this product yourself as opening or removing covers may result in fire electrical shock or equipment damage WARNING Keep foreign objects or liquids away from the unit Metal parts flammable m...

Page 6: ...orrosive gases such as sulfur dioxide hydrogen sulfide nitrogen dioxide chlorine ammonia and ozone Do not place in environments with dust components that accelerate corrosion in the atmosphere such as...

Page 7: ...ury and or equipment damage Before installation make sure that desks walls or any other installation surface has adequate mechanical strength If the unit falls disconnect the power immediately and ask...

Page 8: ...hen moving the product hold the bottom of the monitor firmly Monitors of size 30 inches and above are heavy When unpacking and or carrying the monitor ensure at least two people are utilized If your d...

Page 9: ...cleaning it Cleaning the unit while it is plugged into a power outlet may result in electrical shock CAUTION If you plan to leave the unit unused for an extended period of time disconnect the power p...

Page 10: ...ower saving mode If the monitor displays continuously over a long period of time smudges or burn in may appear To maximize the life of the monitor we recommend the monitor be turned off periodically T...

Page 11: ...unexpected setting change Using the monitor with the operation switches locked is recommended after adjusting the screen of the monitor For details on how to set refer to the Installation Manual on th...

Page 12: ...oper distance and from a proper angle Cybersecurity Warnings and Responsibilities Firmware update should be performed through EIZO Corporation or its distributor If EIZO Corporation or its distributor...

Page 13: ...y 15 1 1 2 Simple wiring 15 1 1 3 Quality control 15 1 1 4 Monitor operation from the mouse and keyboard 15 1 2 Package Contents 15 1 2 1 EIZO LCD Utility Disk 16 1 2 2 RadiCS LE 16 1 2 3 To use RadiC...

Page 14: ...e Conditions 25 4 2 Compatible Resolutions 25 4 3 Accessories 25 Appendix 27 Medical Standard 27 Classification of Equipment 27 EMC Information 28 Environments of Intended Use 28 Technical Description...

Page 15: ...t The RadiCS monitor quality control software enables you to perform quality control that meets medical standards guidelines 1 1 4 Monitor operation from the mouse and keyboard Using the RadiCS RadiCS...

Page 16: ...out the software or setup procedures refer to RadiCS LE User s Manual Quality control Executing calibration Displaying test results in a list and creating a test report Monitor operations Switching CA...

Page 17: ...about how to connect the monitor see Connecting Cables 19 1 3 Controls and Functions 1 3 1 Front 1 2 1 Operation switches Displays the operation guide Set menus according to the operation guide 2 swi...

Page 18: ...ownstream port Connect it to a USB device To set up a daisy chain connection connect the cable to the USB upstream port of another monitor 6 Main power switch Turns the main power on or off Off On 7 P...

Page 19: ...the monitor Attention Position the monitor so that there is no light to interfere with the screen 2 2 Connecting Cables Attention Check that the monitor PC and peripherals are powered off When replaci...

Page 20: ...utput to another monitor Attention Visit the EIZO web site for information about monitors and graphics boards that can be used for the daisy chain connection www eizoglobal com Remove the cap before c...

Page 21: ...uired For the maximum power saving it is recommended that the Power button be turned off When not using the monitor you can turn off the main power supply or disconnect the power plug so that the powe...

Page 22: ...ectors of the corresponding input signal Connect the signal cable to when inputting a DisplayPort signal is used for output when a daisy chain connection is set up Turn off the main power and then tur...

Page 23: ...eck whether the PC is configured to meet the resolution and vertical scan frequency requirements of the monitor see Compatible Resolutions 25 Reboot the PC Select an appropriate setting using the grap...

Page 24: ...orizontal scan frequency 31 kHz 76 kHz Vertical scan frequency 1 59 Hz 61 Hz 720 x 400 69 Hz 71 Hz Frame Synchronization mode 59 Hz 61 Hz Dot clock DisplayPort 25 MHz 165 MHz DVI 25 MHz 165 MHz 1 The...

Page 25: ...4 1 7 Transport Storage Conditions Temperature 20 C 60 C Humidity 10 90 R H no dew condensation Air Pressure 200 hPa 1060 hPa 4 2 Compatible Resolutions The monitor supports the following resolutions...

Page 26: ...CS Version Up Kit Ver 5 0 12 or later Network QC Management Software RadiNET Pro Ver 5 0 12 or later Cleaning Kit ScreenCleaner Comfort Light for Reading Rooms RadiLight Arm AAH 02B3W LA 011 W VESA Ad...

Page 27: ...netic waves that could influence limit or result in malfunction of the monitor Install the equipment in a controlled environment where such effects are avoided Classification of Equipment Type of prot...

Page 28: ...al precautions regarding EMC and need to be installed You need to carefully read EMC Information and the PRECAUTIONS section in this document and observe the following instructions when installing and...

Page 29: ...romagnetic emissions The RadiForce series is intended for use in the electromagnetic environment specified below The customer or the user of the RadiForce series should assure that it is used in such...

Page 30: ...l environment Surges IEC EN61000 4 5 1 kV line to line 2 kV line to ground 1 kV line to line 2 kV line to ground Mains power quality should be that of a typical commercial or hospital environment Volt...

Page 31: ...e level in each frequency range 2 Interference may occur in the vicinity of equipment marked with the following symbol Note UT is the a c mains voltage prior to application of the test level At 80 MHz...

Page 32: ...abnormal performance is observed additional measures may be necessary such as reorienting or relocating the RadiForce series 2 Over the frequency range 150 kHz to 80 MHz field strengths should be less...

Page 33: ...ximu m power W Minimum separatio n distance m IEC EN60601 test level V m Complia nce level V m 385 380 390 TETRA 400 Pulse modulation 2 18 Hz 1 8 0 3 27 27 450 430 470 GMRS 460 FRS 460 FM 5 kHz deviat...

Page 34: ...150 kHz 80 MHz d 1 2 P 80 MHz 800 MHz d 1 2 P 800 MHz 2 7 GHz d 2 3 P 0 01 0 12 0 12 0 23 0 1 0 38 0 38 0 73 1 1 2 1 2 2 3 10 3 8 3 8 7 3 100 12 12 23 For transmitters rated at a maximum output power...

Page 35: ...ul interference to radio communications However there is no guarantee that interference will not occur in a particular installation If this equipment does cause harmful interference to radio or televi...

Page 36: ...the following substances except for the exemptions listed in schedule II Lead Mercury Hexavalent Chromium Polybrominated Biphenyls or Polybrominated Diphenyl Ethers exceeding a concentration of 0 1 b...

Page 37: ...ll rights reserved 2nd Edition April 14th 2022 153 Shimokashiwano Hakusan Ishikawa 924 8566 Japan Carl Benz Stra e 3 76761 R lzheim Germany 8 5B 1 Queens Square Ascot Business Park Lyndhurst Road Asco...

Reviews: