background image

2.0 

Slicer software application 

(STL format 3D file need be 

sliced to gcode format that printer can recognize).


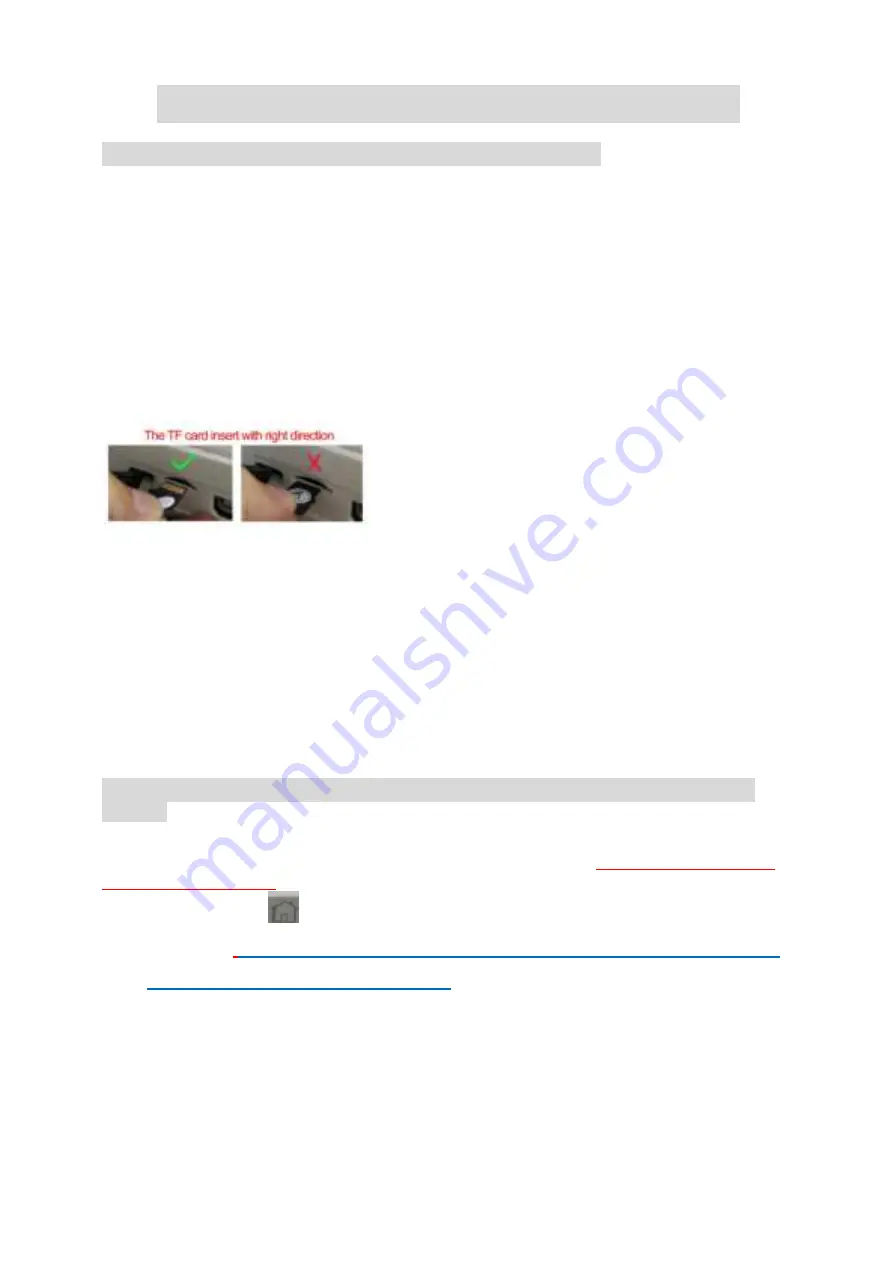
 (1).This 3d printer runs with it’s own developed slicing software named   NANO plus , 

it is in the TF card included in the accessories box , please copy it to your 
computer  and  no need  installation ,you can also download  NANO plus  from 
official website,  and you can watch Slicer operation video in Youtube channel.  
NANO plus  slicer can recognize STL format 3D file.


(2). STL format 3D file need be sliced to .gcode format,  and save to TF card, and 
Insert TF card to printer, then can print 3D file. (3D Printer can read gcode format file 
only)


Warm Notice: there is a gcode file inside the TF card when it come from factory


3.0 Connect and power the printer


Connect the power to the 3d printer,  the light inside the  Print button will be light.


4.0 Print


 1 

Platform Leveling

The first time to use this printer, you need leveling the 

platform


Please adjust the distance between the nozzle and the platform in 

1,2,3,4

points,  

the distance should be just the thickness of a sheet of paper.( 

Please do this leveling 

with the help of adults

.)


a), Click the button 

, Z axis will go home position. After Z axis come to


home  position,


please turn off the power, after turn off the power ,then you can 

move the X axis and Y axis by hand


Attention: when the hot bed is 

heating up, the home function will not react until the temperature of the hot 

bed reaches the set temperature


b),Move the nozzle to 

1

 point, And put a sheet of paper between the nozzle and the 

platform, if the distance is too far , turn the hand-twisted nut counter-clockwise to 
make the printing platform rise to the standard distance. If the distance between 
the nozzle and the platform is too close, turn the hand-twisted nut clockwise to 

Summary of Contents for NANO plus

Page 1: ...NANO plus USERS MANUAL Please watch operation video in Website or YouTube Channel Easythreed3D ...

Page 2: ...ing box Remove bubble wrap foam Tape 2 Inside is an NANO plus 3d printer and accessories box with manual filament power adaptor TF card card reader screw driver Filament holder 3 Be sure to remore the clips in the left and front right corners of the printer The clips are only for protection during transportation As shown in the above figure 1 4 install the filament holder at the left side or right...

Page 3: ... the light inside the Print button will be light 4 0 Print 1 Platform Leveling The first time to use this printer you need leveling the platform Please adjust the distance between the nozzle and the platform in 1 2 3 4points the distance should be just the thickness of a sheet of paper Please do this leveling with the help of adults a Click the button Z axis will go home position After Z axis come...

Page 4: ...the distance between the nozzle and the platform all is right distance in 1 2 3 4 four points leveling finished and succeed Please turn on the power again after platform leveling 2 Load Filament feed a Insert filament into the print head tube until it can not go further and gently press the filament to stop it runs back b Click button the button light turn on and flash the nozzle is heating Please...

Page 5: ...nter will choose the lastest gcode file to print automatically 4 Pause Restore during printing Click the button light stops flashing then printing paused If need to continue printing Click to restore the button light flashes again the printer goes back to print 5 Stop Print If you want to stop print during printing press button for 3 seconds then release the machine will stop printing then printin...

Page 6: ...ents are certified for food safety nor should they be regarded as food safe therefore should not come in touch with the mouth or foods liquids that will be ingested by humans or animals Maintenance Long time use or improper use nozzles nozzle assemble parts or other may need to be replaced or cleaned print platforms and its overlays may need to be replaced the extruder may need to be cleaned 7 0 F...

Page 7: ...ty force The rounded strips adhesion effect is not good they are easily moved Printing effect is very unsatisfactory The distance is too close the silks are irregular protrusion with burrs on the both sides but thin in the middle Or there are no silks coming down Or the bed is scratched with a deep trace Q7 Why do there twist lots of filament nearby the nozzle in the process of printing Model beco...

Page 8: ... gear and press printing button shortly to resume printing Please pay special attention that after feeding 10 seconds timely slide switch to the middle gear in avoid that the the filament pimple appear in the model Q15 When print the first layer there is no filament on the bed why A Please check if the distance between nozzle and bed is to close cause no space for filament to come out Q16 Can the_...

Reviews: