


Once the part is thoroughly dry the powder can be applied. Handle the cleaned
part with vinyl or
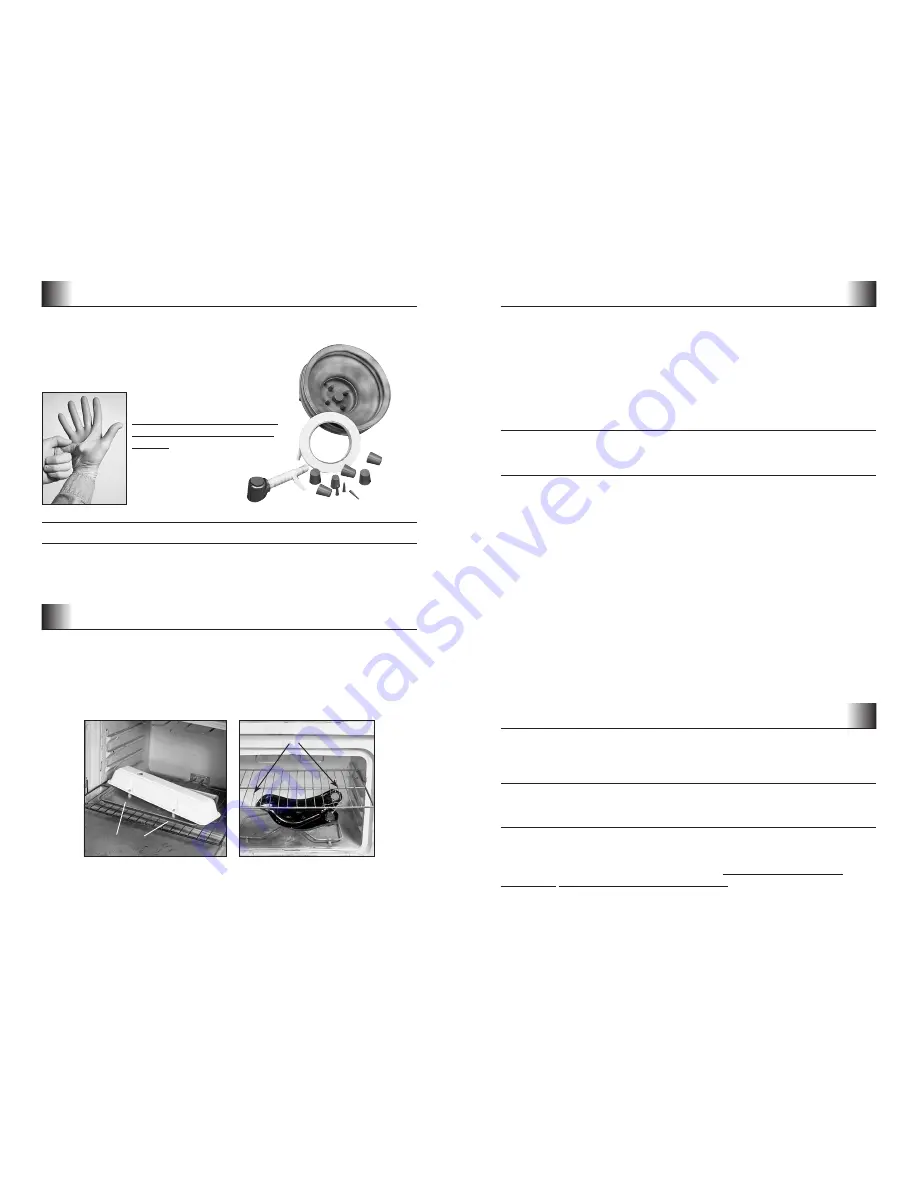
Nitrile Disposable Gloves (#43098 M, L, or XL)
to avoid contamination. Finger prints can affect
adhesion! Determine how the part should be
positioned in the oven before coating. Use the
High Temperature Plugs (#10078)
and/or
High
Temperature Tape (#10027)
to protect critical tolerance areas.
Both should be left on the part
during the coating and curing
process. Since the powder will
coat around corners,
be sure to mask all
appropriate areas.
High Temp Plugs (#10078)
High
Temp Tape
(#10027)
Nitrile Disposable
Gloves (#43098)
Preheating the Oven
Before powder coating the part - preheat the oven to 450°F (232°C).
NOTE:
Preheat to 350°F for Gloss Clear (#10093). Check temperature with an
oven thermometer or the
Non-Contact Infra Red Thermometer (#11476).
Use of Oven Tray
Make sure the oven is clean. Use aluminum foil to keep racks clean. Practice
moving part from area where powder will be applied to inside the oven to avoid
damaging the uncured powder you will soon apply.
Coating Porous Materials
In many cases, contaminants in porous materials will cause pits in the
powder. Porous cast iron, die cast, cast aluminum and magnesium parts trap
contaminants, that, when heated will outgas and cause porosity problems when
the powder is cured. See
Preheating the Part
, below.
NOTE: Die-cast metal
varies widely in formulation, many of which can be difficult to powder
coat and, in some cases may even melt at 400° F. Some aluminum and
magnesium alloys can be weakened by exposure to the cure temperatures.
Check with part manufacturer if unsure.
Preheating the Part
To prevent pits from occurring, preheat the clean part. The time that a part
needs to be preheated varies with size. Preheat the part at 450°F for 20 - 50
minutes, remove from oven. Once part is cooled, use
PRE Painting Prep
or acetone to remove the newly exposed contaminants, repeat the same
preheating cycle. Powder may be applied to hot or cool surface (see details
about “Hot Application” on page 15).
TECH TIP:
To minimize bumping the piece after its been coated: hang
the piece from the oven rack, clamp it to a bench, apply the powder, and insert
the rack with the piece hanging back into the oven to cure.
TECH TIP:
Use aluminum foil to mask areas or intricate parts.
Hanging or Placing the Part for Coating
Bend wire hooks to hold the part during powder application and curing. Our
.
041 Stainless Steel Safety Wire (#43045)
works well for this application.
Don’t use a coated wire as debris from the wire coating may fall on the part
during the curing process.
High Temperature Plugs (#10078)
can often
be used to support the parts above the trays, and plug bolt holes.
High Temperature Plugs (#10078)
support part on tray
Stainless Steel Safety Wire
(#43045) suspends part
Use a clean sheet of glossy paper (to avoid lint), a spoon, or a funnel to pour the
powder into the cup. Fill the cup no more than 1” or 2” with your color of choice.
Attaching the Air Supply to the Gun
Connect a low pressure air line to the gun. The gun requires .5 or more cfm
at 5 - 10 psi, with 8 psi being ideal. If you do not have an air compressor,
a portable air tank with regulator can be used. The air must be moisture
and oil free. CAUTION: Never exceed the 10 psi!
TECH TIP:
Handle powder as if you were handling liquid paint. Use clean
disposable gloves when handling powder to avoid contamination. Keep powder
containers tightly closed.
Helpful Hint:
Practice masking, applying powder, and curing test pieces prior
to coating final parts.
M
ASKING
T
HE
P
ART
P
REPARING
F
OR
C
URING
To order parts and supplies, call 1-800-345-1178 or www.eastwood.com
9
8
For technical assistance e-mail: [email protected]
P
REPARING
F
OR
C
URING
P
REPARING
T
O
P
OWDER
C
OAT


