27
E-flite P-51B Mustang 32e ARF Assembly Manual
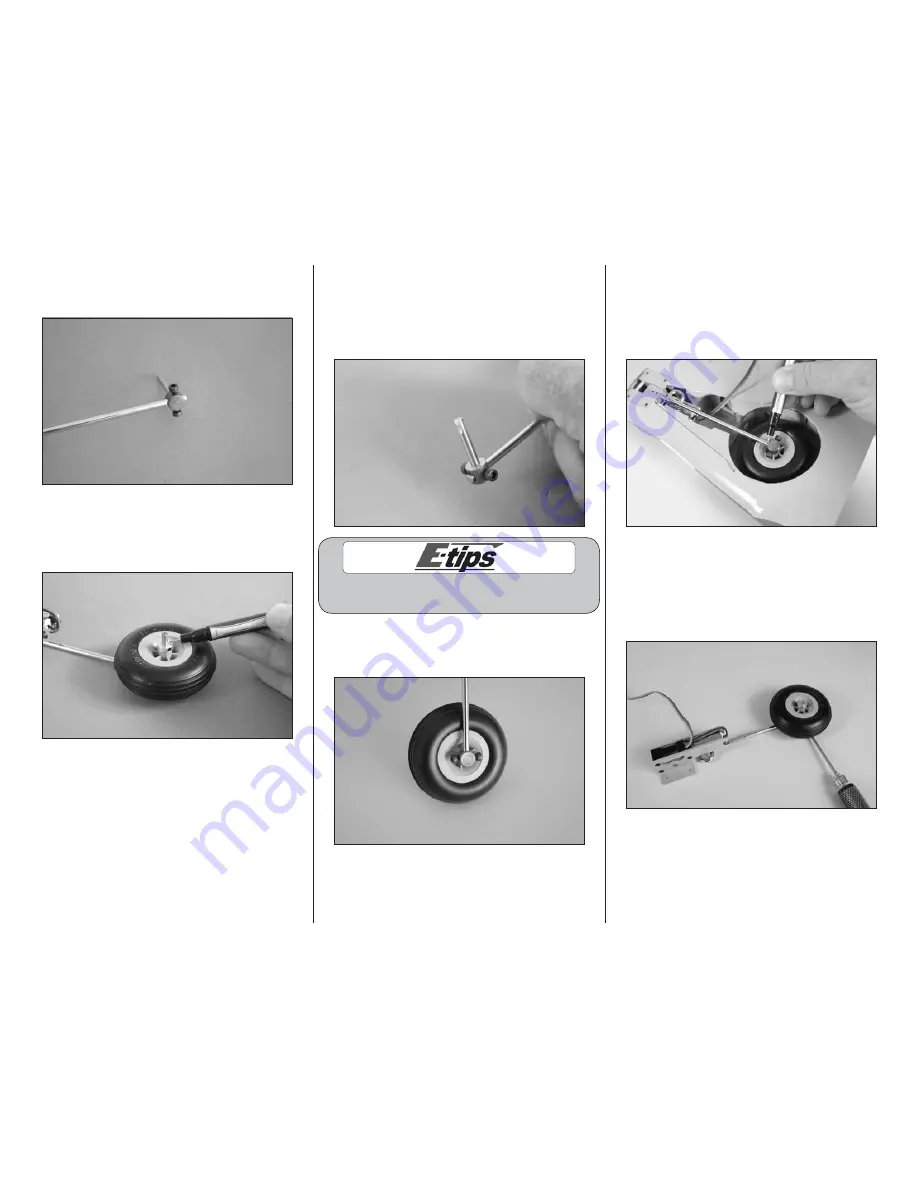
2. Temporarily attach the axle to the retract strut
using a 2.5mm hex wrench. The position of the axle
will be adjusted in the following steps.
3. Slide the main wheel on the axle. Use a wheel
collar and 1.5mm hex wrench to temporarily attach
the wheel. Use a felt-tipped pen to mark the axle
against the outer edge of the collar.
4. Remove the wheel collar and wheel from the
axle. Use a rotary tool and cut-off wheel to trim the
axle at the mark made in the previous step. Use
a flat file to make a flat area on the first 1/4-inch
(6mm) of the axle for the setscrew of the wheel
collar to rest on when it is tightened.
Always use threadlock on metal-to-metal fasteners
to prevent them from vibrating loose.
5. Place a drop of light machine oil on the axle.
Place the wheel on the axle and secure it using the
wheel collar and a 1.5mm hex wrench.
6. With the gear in the UP position, place it in
the wing. Check that the wheel is centered in the
opening when the mounting holes are aligned
for the retract. Adjust the position of the wheel if
necessary. Use a felt-tipped pen to mark the edge of
the axle on the strut as shown.
7. Place the retract on a flat surface. The mount for
the retract and the axle will rest flat on the surface.
Use a 2.5mm hex wrench to tighten the two screws
on the axle enough to mark the axle. This will align
the wheel so your model will taxi correctly when on
the runway.


