17
E-flite P-51B Mustang 32e ARF Assembly Manual
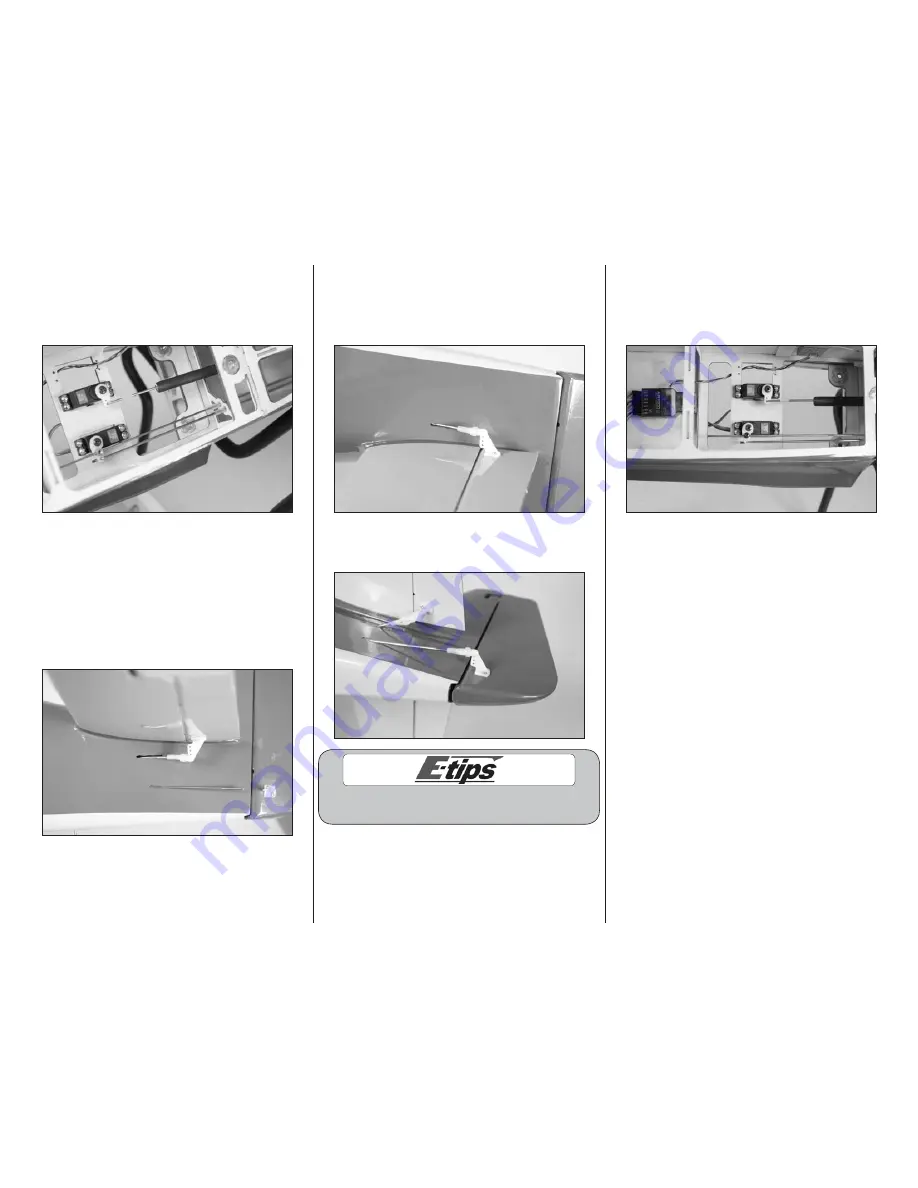
15. Slide the rudder pushrod into the tube in the
fuselage. The pushrod from the tail wheel will slide
into the brass pushrod connector. Secure the servo
horn to the rudder servo using the screw removed in
Step 1 and a #1 Phillips screwdriver.
16. Slide a clevis retainer on a nylon clevis.
Thread the clevis on the elevator pushrod wire.
When the connector is attached to the outside hole
on the elevator control horn, the elevator should be
centered with the elevator servo centered. Adjust
the position of the clevis as necessary to align the
elevator in the neutral position. Once set, slide the
silicone retainer over the forks of the clevis so the
clevis does not open accidentally in flight.
17. Repeat Step 16 for the remaining elevator.
Make sure the elevators are aligned in the same
position by viewing the aircraft from the rear. If they
are not aligned, you may have difficulty trimming
your model for straight and level flight.
18. Repeat Step 16 to connect the rudder linkage to
the rudder control horn.
Always use threadlock on metal-to-metal fasteners
to prevent them from vibrating loose.
19. Center the tail wheel so your model will
taxi straight down the runway. Use a #1 Phillips
screwdriver and a 3mm x 4mm machine screw to
secure the pushrod from the tail wheel to the brass
pushrod connector.
20. Turn off the switch at the speed control, then
turn off the transmitter. Unplug the motor battery
from the speed control.


