background image

Reservation for changes.

Printed in Sweden.

Pneumatic rollers

CP221/271

Operation

O221EN5, September 2004

Diesel engine:

Cummins 4B4.5 - 99C

These instructions apply from:

CP221

PIN (S/N) *2262(BR)0600*

CP271

PIN (S/N) *2362(BR)0700*

KEEP THIS MANUAL FOR

FUTURE REFERENCE

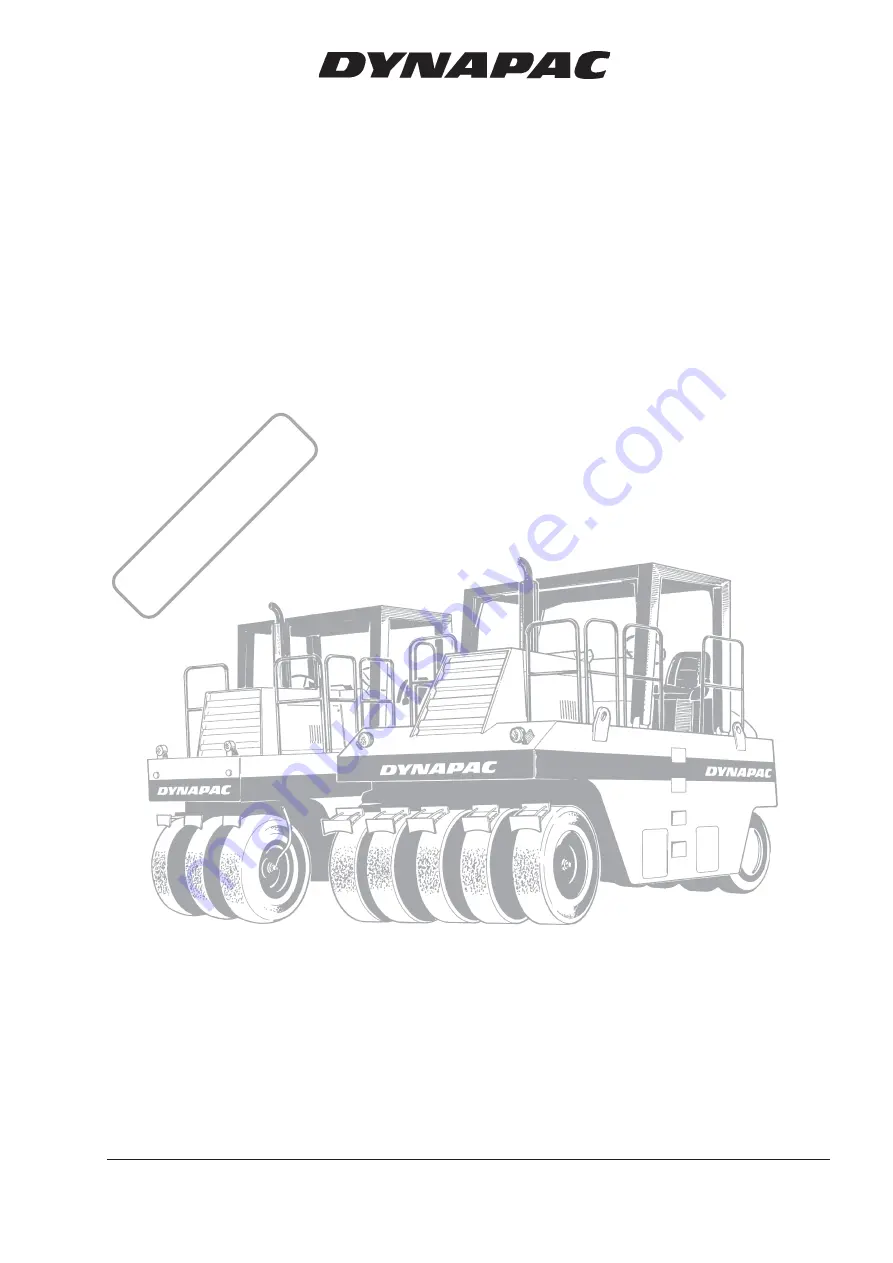
CP221 and 271 are heavy pneumatic rollers designed for the surface sealing and compacting of

asphalt together with steel-drum rollers. Due to their very high weight these pneumatic rollers are

also suitable for the compacting of subbases and base courses.

CP221 has three steered wheels at the front and four drive wheels

at the rear, mounted on a rigid axle.

CP271 has five wheels at the front and four at the rear, mounted on a rigid axle.

Summary of Contents for CP221

Page 1: ... R E R EFER EN C E CP221 and 271 are heavy pneumatic rollers designed for the surface sealing and compacting of asphalt together with steel drum rollers Due to their very high weight these pneumatic rollers are also suitable for the compacting of subbases and base courses CP221 has three steered wheels at the front and four drive wheels at the rear mounted on a rigid axle CP271 has five wheels at ...

Page 2: ...ANUAL CALIFORNIA Proposition 65 Warning Diesel engine exhaust and some of its constituents are known to the State of Californiatocausecancer birthdefects andotherreproductiveharm Page Safety instructions Also read the safety manual 3 Safety when driving 4 5 Safety decals location and description 6 7 Machine and engine plates 8 Instruments and controls 9 Instruments and controls functional descript...

Page 3: ...ial that has already been compacted 10 Make sure that there are no obstacles in the direction of travel on the ground or overhead 11 Drive extra carefully on uneven ground 12 Use the safety equipment provided The seat belt must be worn on machines fitted with ROPS 13 Keep the roller clean Clean dirt and grease from the operator s platform without delay Keep all signs and decals clean and clearly l...

Page 4: ...VING Driving near an edge When driving close to unsafe edges or holes make sure that at least 1 4 of the outer tire width is firmly on material that has already been compacted At least 1 4 Fig 1 Wheel position when driving close to edge ...

Page 5: ...ll Remember that loose ground steering of the machine driving speed and increase in height of the center of gravity for example with accessories may cause the machine to topple even on a smaller slope than that specified here Emergency braking Fig 3 Service cover under operator s station 1 Adjusting screw 2x 2 Lock nut 2x 3 Brake yoke 2x If emergency braking has occurred at transport speed loosen ...

Page 6: ...6 CP221 271 O221EN5 SAFETY DECALS LOCATION AND DESCRIPTION 13 1 6 2 4 8 3 5 13 4 11 14 12 9 4 13 1 13 10 6 2 3 5 3 7 9 15 Option ...

Page 7: ...ator is urgently requested to read the safety manual and the operation and maintenance instructions before using the machine 1 2 3 4 903424 903459 903423 903422 5 Lifting point Diesel fuel Tire pressure 9 8 588176 14 6 Hydraulic fluid 10 Battery disconnector 12 7 11 Handbooks 903425 Mass Kg 904870 Hoisting plate Warning hand and arm entanglement Never reach into the hazardous area 903832 Securing ...

Page 8: ...me and address type of machine PIN Part Identification Number serial number weight in working order engine power and year of manufacture CE markings and the year of manufacture may be omitted on machines supplied to markets outside the EU Please state the machine s PIN when ordering spares The engine type plate 1 on Cummins engines is located on the left side of the toothed belt cover The plate sh...

Page 9: ...Hazard beacon 15 Working lights rear 16 Working lights Driving lights 17 Hazard flashers changeover switch 18 Changeover switch direction indicator 19 20 Starter button 21 Ignition changeover switch 22 Direction indicator 23 Direction indicator 24 Panel cover 25 Warning lamp air filter 26 Tire pressure control valve 27 Fuse box 28 29 Forward reverse lever 30 Gear selector 31 32 Horn 33 Accelerator...

Page 10: ... 100 Operating time is shown in hours Indicates level in the fuel tank Indicates engine operating temperature Normal 82 C to 93 C See engine manual Indicates voltage of the system Normal 12 to 15 V The lamp lights if pressure drops below 4 kg cm2 58 psi Stop the engine immediately if the warning lamp LIGHTS and locate and remedy the cause See engine manual Lights when the forward reverse lever is ...

Page 11: ...the tires Turn right to activate the hazard beacon Turn to the right to switch on the working lights Turn right to switch on the working lights Turn to switch on the parking lights and turn further to switch on the dipped headlights Turn to the right to switch on the warning flashers Turn left for the left direction indicator etc Flashing is switched off in the middle position Press to energize th...

Page 12: ...drive forward backward to reverse Move the lever forward for 1st gear middle position 2nd gear and backward 3rd gear Press to sound the horn Press downward to increase engine revs and speed Driving brake Use for normal braking when driving The brake system contains 2 circuits where the second circuit is reserve brake Activates by the knob in depressed position Normally used only for not moving mac...

Page 13: ...ll power the entire roller The engine hood must be unlocked during operation so the battery power can be disconnected quickly if necessary Operator s seat Setting Adjust the operator s seat so that all controls can be easily reached The seat has the following adjustment features Length adjustment 1 Back slope adjustment 2 Weight adjustment 3 Always make sure that the seat is secure before beginnin...

Page 14: ...with level sensor 6 Oil pressure lamp 7 Neutral lamp 21 Starter button 35 Parking brake knob 36 Warning lamp for parking brake Fig 11 Operator s station 1 Seat belt 2 Anti slip Always fasten the seat belt 1 that is provided if a ROPS Roll Over Protective Structure is fitted on the roller and wear a protective helmet Replace the seat belt if it shows signs of wear or has been subjected to severe fo...

Page 15: ...used for compaction operations The final speed of the roller depends on the speed range selected with the gear lever Use the accelerator pedal 1 to increase or reduce speed of the roller within the range Accelerator and brake pedal 1 Fig 13 Pedals 1 Accelerator 2 Foot brake Ensure that the forward reverse control is in neutral Check the forward reverse control Fig 12 Forward reverse control 2 CP22...

Page 16: ...tempera ture gauges for transmission oil 11 and coolant 3 show readings Ensure that ventilation evacuation is adequate if the engine is run indoors Ie danger of carbon monoxide poisoning Check all tires for correct pressure Minimum pressure 2 5 kg cm 35 psi Maximum pressure 8 5 kg cm 120 psi Tire pressure can be checked with the tire pressure gauge 8 Move the control valve lever 26 fig 19 to its m...

Page 17: ... the parking brake knob 35 and check that the warning lamp 36 for the parking brake is out When starting the roller on a slope be prepared that it may begin to roll OPERATION The following speeds are recommended 1st Steep slopes Driving in a cramped area with many obstacles With full ballast Driving on and off a transport vehicle In the event of strong resistance to rolling Maneuvering 2nd Rolling...

Page 18: ...ins and pull out the rod Lift the scrapers and put the rod in the same place through existing holes under the scrapers Fit the locking pins Disengaged Fig 21 Out of measure mode 1 Coconut mats 1 1 Adjusting tire pressure while driving optional Fig 19 Operator s station 26 Tire pressure control valve Using the tire pressure control on the roller the opera tor can vary the pressure while work is in ...

Page 19: ...rea with low tire pressure Contact area of the tires can be altered by altering the pressure High tire pressure gives smaller contact area 1 Low tire pressure gives greater contact area 2 The gross service weight dived by the number of tires gives the pressure per wheel See table The ground contact area of the tires is relevant for compacting results CONTACT PRESSURE Wheel Tire pressure psi pressu...

Page 20: ...ssure on the contact surface ie due to the larger contact area Used on very loose material Used for degradation run Normal tire pressure 480 kPa 69 6 psi Fig 24 Normal pressure High tire pressure 830 kPa 120 4 psi Fig 25 High pressure smaller area The higher the tire pressure the higher the contact pressure Used on thicker courses and finishing run ...

Page 21: ... of the roller consists of the weight of the roller plus the weight of the ballast Thicker courses requires a heavier roller for efficient compacting thinner course do not require such a heavy roller CP221 CP271 5 4 m3 8 0 m3 Ballast compartment volume CP221 CP271 13 7 tonne 16 tonne Mixed ballast max ...

Page 22: ...compartment 1 Upper cover 2 Side cover 3 Plug Fill the compartment from above Remove the upper cover 1 Allow the side cover 2 to remain in place so that sand and water does not run out Remove the side cover when filling with pieces of steel Do not remove the plug 3 otherwise water will run out when the ballast is complemented with water Complement the ballast compartment as required with crushed r...

Page 23: ...e the forward reverse control for normal braking Always apply the parking brake before leaving the machine BRAKING Braking Fig 27 Brake pedal Fig 28 Instrument panel 21 Ignition switch Switching off Check instruments and warning lamps to see if any faults are indicated switch off all lights and other elec trical functions Activate the parking brake Turn the ignition switch 2 to mode O Lower the in...

Page 24: ...fitted securely in their positions Weight See hoisting plate on the roller 1 PARKING Chocking the wheels Master switch Turn off the master switch 1 and remove the handle before leaving the roller This will prevent battery discharge and will also make it difficult for any unauthorized person to start and drive the machine Also lock the doors to the engine compartment Never leave the drivers platfor...

Page 25: ... be highly dangerous The traction vehicle s brakes must be dimensioned to manage the high unbraked machine weight If not a safe towing can be accomplished transportation must be done according to transportation instruction Maximum towing speed may not exceed 3 km 1 9 miles per hour Fig 32 Towing TRANSPORTATION Chock the wheels 1 and secure the chocks to the transport vehicle Block up under the fra...

Page 26: ... Start the engine and allow it to warm up 6 Select a suitable gear 7 Release the parking brake 8 Drive the roller Accelerate with care 9 Test the brakes Check to see that the correct brake pressure is achieved 10 Stop the machine before changing direction of travel or shifting gear 11 Parking Push in the parking brake knob Stop the engine and chock the wheels 12 Hoisting See the the instruction 13...

Reviews: