9
En
gli
sh
●
Network Connection
Attention
• Link via a network is possible only when running the Windows OS.
• This product is configured to start as a DHCP server by default. When the DHCP server is already being used for the
network where the product is to be installed, there may be duplication of IP addresses. Be careful of the following points
when setting up the product.
- Perform the network configuration for the product and then connect it to the existing network.
- When performing the network configuration, set “DHCP Server Function” to “DISABLE”.
• If using a firewall function of Windows or commercial security software, disable the firewall function while performing
the network configuration.
1.
Perform the network configuration for the monitor.
• “Settings via a wired LAN” (page 9)
• “Settings via a wireless LAN” (page 10)
Note
• Network configuration is possible either via a wired or wireless LAN. We recommend a wired LAN.
●
Settings via a wired LAN
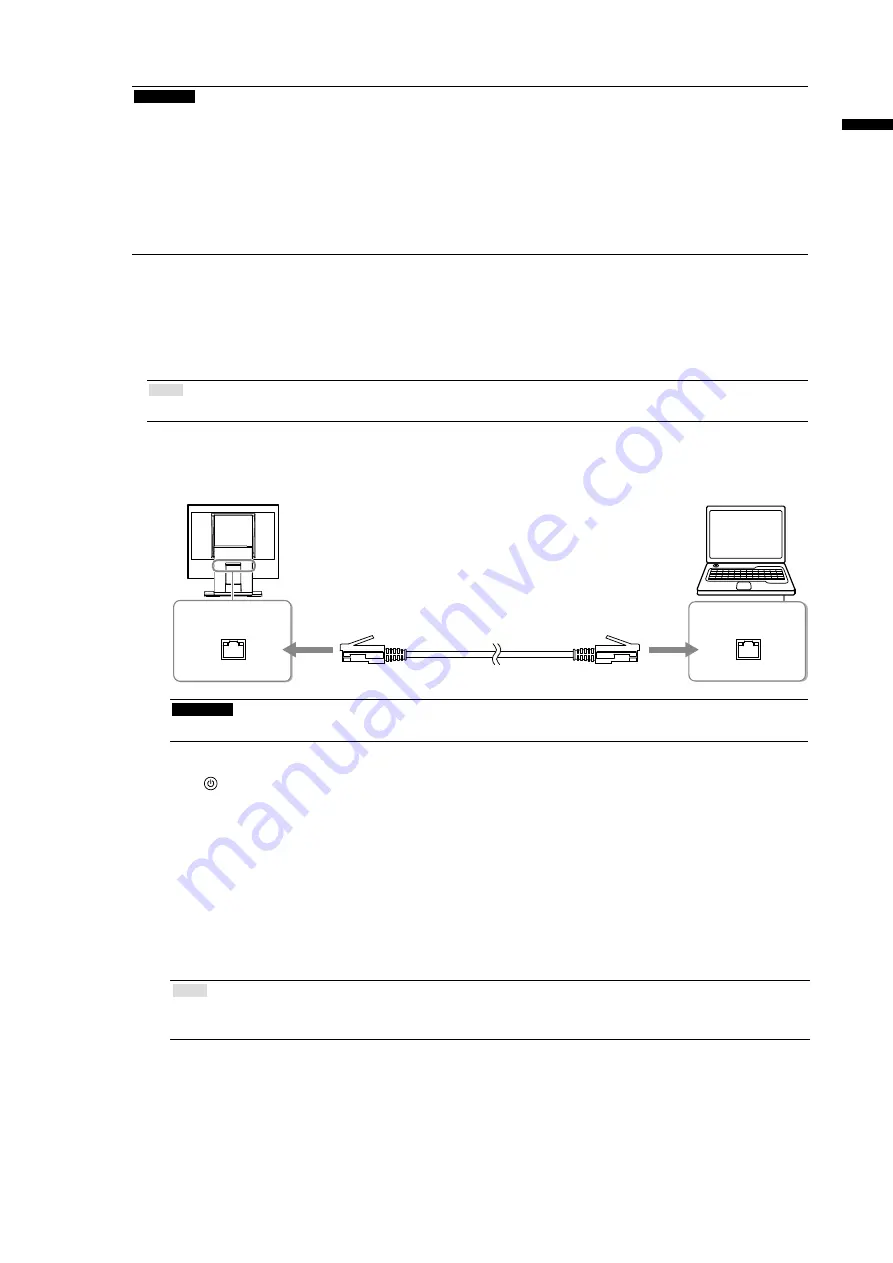
1. Connect the network cable (straight or cross cable) to the LAN ports of the monitor and PC.
LAN
LAN
Attention
• Directly connect the monitor and PC using the network cable.
2. Plug the power cord into a power outlet and the power connector on the monitor.
3. Press to turn on the monitor.
The monitor’s power indicator lights up blue.
4. Check that CONNECT LED on the side of the monitor flashes in green and that LINK LED also lights
up green.
5. Turn on the PC.
If the PC has a static IP address, take note of the current address and change the PC settings to obtain the IP address
automatically.
6. Install the NetDA Manager on the PC.
7. Perform the network configuration for the monitor.
Note
• For information on how to install the NetDA Manager or how to perform the network configuration for the
monitor, refer to the NetDA Manager User’s Manual (on the CD-ROM).
8. Disconnect the network cable from the LAN ports of the monitor and PC.
Network cable (Commercially available product)
Summary of Contents for FDX1502N
Page 45: ...2...
Page 46: ...3 AC250V 6A H05VV F GTCE 3 0 75mm2 125V 10A SVT 3 18AWG 0 75mm2...
Page 47: ...4...
Page 50: ...7 PC 8 9 USB USB PC PC...
Page 51: ...8 PC CD ROM 1 PC DVI D SUB D SUB 2 3 4 14 FD C16 MD C87...
Page 54: ...11 2 11 11 12 1 2 3 CONNECT LED ALERT LED Link LED 1000BASE Link LED 10BASE 100BASE 4 PC 1 2...
Page 56: ...13 FDX1502NT PC 1 PC 1 PC 12 2 3 CD ROM CD ROM 4 PC 12 2 CD ROM...
Page 57: ...14 1 2 fH fV PC PC CD ROM NetDA Manager CD ROM...


