


45
SCREEN menu
Item
Description
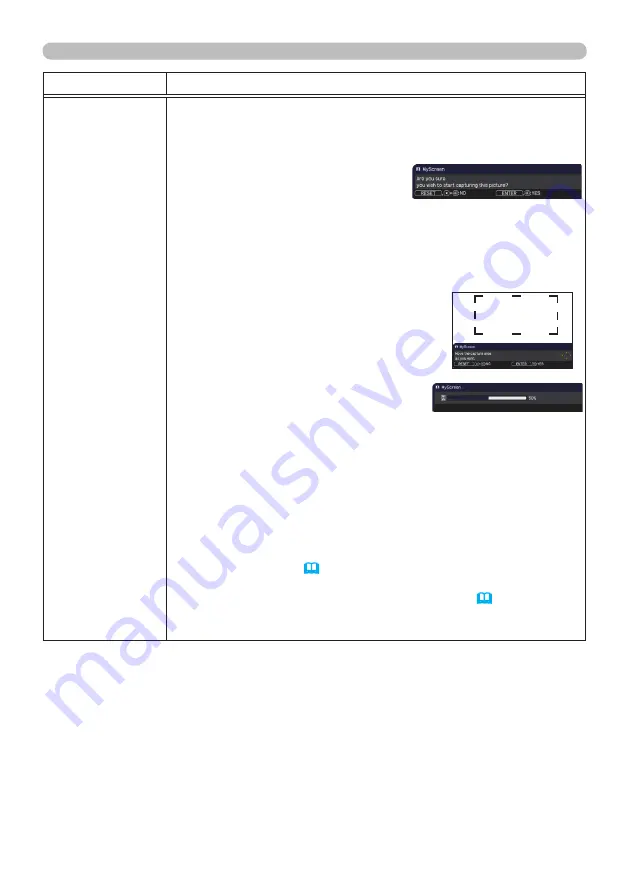
MyScreen
This item allows you to capture an image for use as a MyScreen
image which can be used as the BLANK screen and START UP
screen. Display the image you want to capture before executing the
following procedure.
1. Selecting this item displays a dialog
titled “MyScreen”. It will ask you if
you start capturing an image from
the current screen.
Please wait for the target image to be displayed, and press the
ENTER
or
INPUT
button when the image is displayed. The image
will freeze and the frame for capturing will appear.
To stop performing, press the
RESET
button on the remote
control.
2. Using the ▲/▼/◄/► buttons adjusts the
frame position.
Please move the frame to the position
of the image which you want to use. The
frame may not be able to be moved for
some input signals.
To start registration, press the
ENTER
or
INPUT
button on the remote control.
To restore the screen and return to the previous dialog, press the
RESET
button on the remote control.
Registration takes several minutes.
When the registration is completed, the registered screen and the
following message is displayed for several seconds:
“MyScreen registration is finished.”
If the registration failed, the following message is displayed:
“A capturing error has occurred. Please try again.”
• This function cannot be selected when the ON is selected to the
MyScreen Lock item (
46
).
• This function cannot be selected when the ON is selected to the
MyScreen PASSWORD item in SECURITY menu (
68
).
•
This function is unavailable for a signal from the
LAN, USB TYPE A
,
USB TYPE B
or
HDMI
port.
(continued on next page)
Summary of Contents for 8924HW-rj
Page 2: ......


