4. choosing drumkits
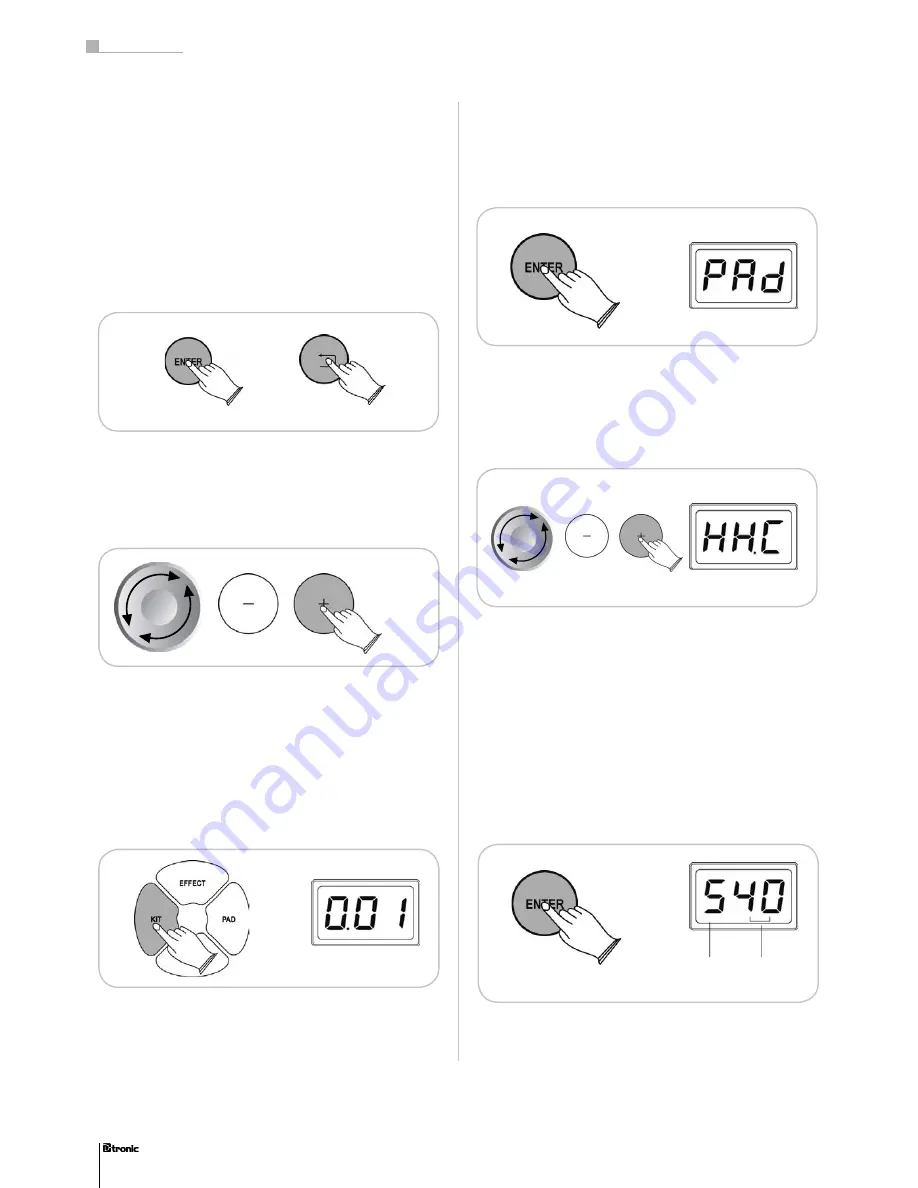
The module offers 25 kit presets and 5 user-kits. If you press
the KIT button you can use the JOGDIAL or the + /- buttons
to select a kit. The selected kit, as shown on the LED Display,
can be played immediately. The Kit-mode is automatically set,
when you switch on the power of the module.
5. Adjusting pads
Every pad of the drumkit can be adjusted individualy. Just
choose the Pad-mode and confirm it with the ENTER-button.
Select the pad (HHC, HH, BD, SN, T1, T2, T3, Cr, R1) you want
to adjust and confirm this by pressing the ENTER-button. You
can also choose the pad by hitting it with the drumstick. Al-
ways confirm your choice with the ENTER-button.
3. Main functions of the drum module
The console is easy to use and very comfortable in handling.
By using the ENTER and BACK buttons you can switch bet-
ween the layers of the menu. The next submenu can be acti-
vated by pressing the ENTER button. The BACK button leads
you to the previos menu again. To save certain parameters
you can also use the ENTER button
Pressing the + /- buttons or turning the JOGDIAL makes it
easy to navigate through the chapters of the menu or to adjust
your favourite parameters.
For each pad the parameters for Instrument, Level, Sensivity,
Threshold and the Velocity Curve can be individually adjusted
5.1 Instrument
The sound of the pad can be adjusted with the Instrument
(InS) function. You can generate a specific sound for each
pad, by pressing the + /- buttons or using the JOGDIAL. The
sound can also be changed by hitting the pad as long as you
have reached your favourite sound.
38
Part 3: Functions
38
Category of Instruments
(1 - 6)
Sound
refer to the list of sounds on pages 42-43


