3
2.3 Wiring
1. Before beginning to wire the unit, ensure that all power (AC transformer and bat-
tery) is disconnected from the control panel.
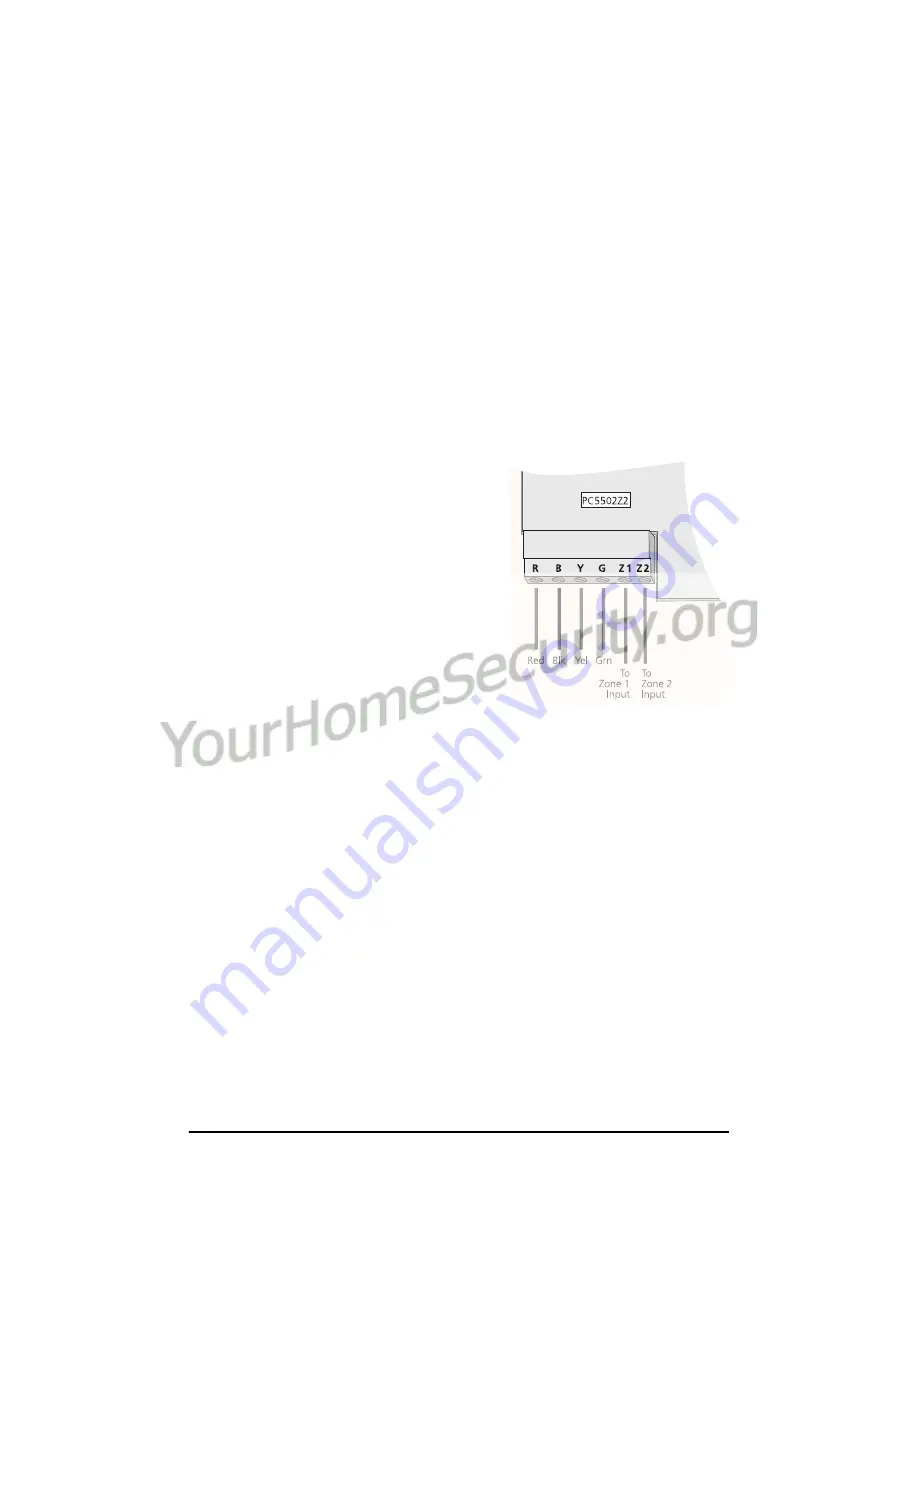
2. Connect the four Keybus wires from the con-
trol panel (red, black, yellow and green) to
the keypad terminals (R B Y G). See the dia-
gram at right:
3. You can connect two devices - such as door
contacts - to the Z1 and Z2 terminals of the
PC5502Z2. To connect the zone, run one
wire from the device to the Z terminal and
the other wire from the device to the B
(black) terminal. For powered devices, run the
red wire to the R (positive) terminal and the
black wire to the B (negative) terminal.
When using end of line supervision, connect
the zone according to one of the configura-
tions outlined in your system’s
Installation
Manual
.
NOTE:
The PC5502Z2 zones will follow the end-of-line supervision option
selected for the main panel. Please refer to your panel’s Installation Manual for
more information.
2.4 Applying Power
Once you have completed all the wiring, apply power to the control panel:
1. Connect the battery leads to the battery
2. Connect the AC transformer.
For more information on control panel power specifications, see the control panel
Instal-
lation Manual
.
NOTE:
Do not connect the power until all wiring is complete.
2.5 Testing the System and PC5502Z2 Keypads
You cannot perform a system test from the PC5502Z2 keypad. To conduct a system test
at the system keypad, please refer to your system’s
Installation Manual
and
Instruction
Manual
.
Now that you have connected the PC5502Z2, you will need to enroll it with the control
panel. Please see section 3 for instructions.


