Installation
Unpacking the Unit
DryGair Energies Ltd
.
14
4.3
Unpacking the Unit
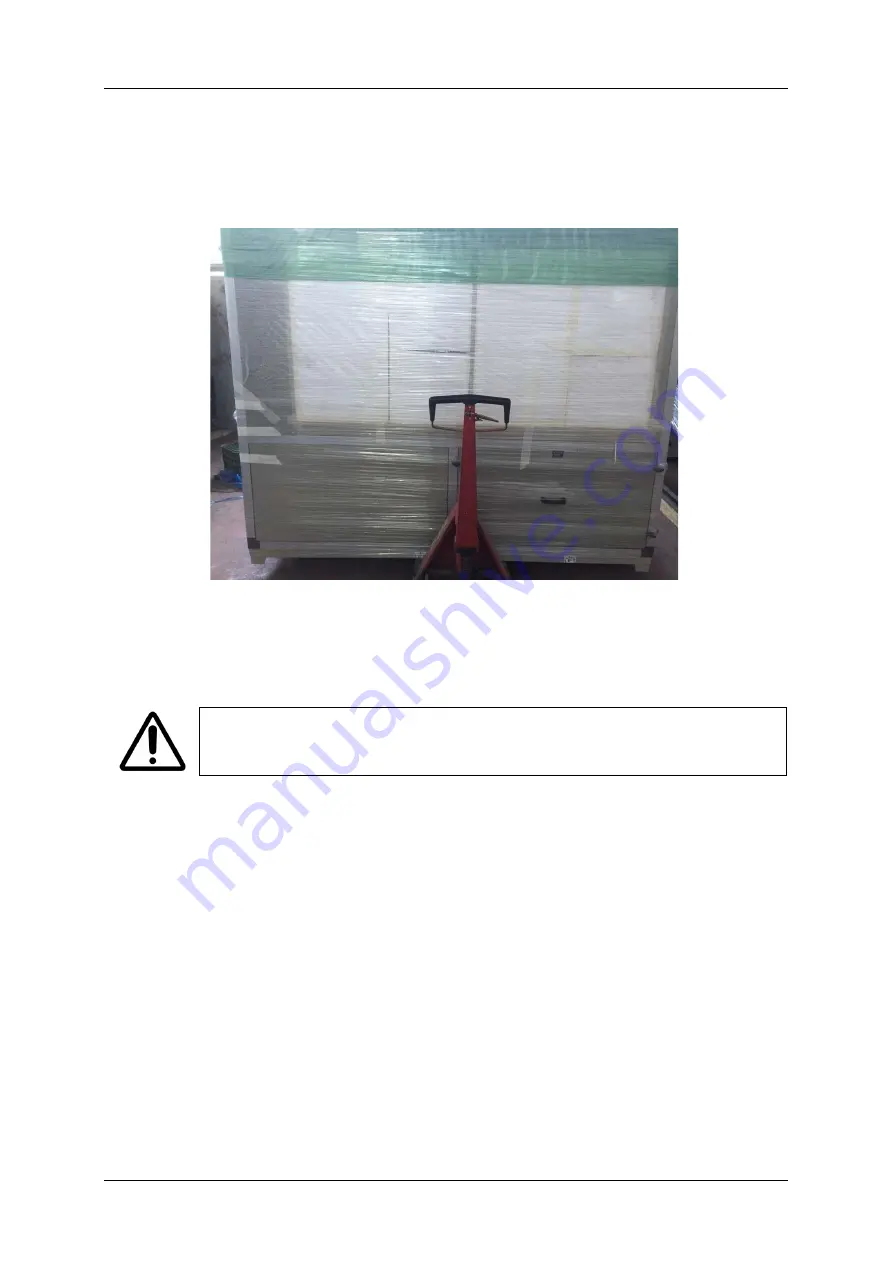
The DryGair unit should be transferred to its location in the greenhouse
using a manual or driven forklift fitted to its weight and placed on the
prepared flat surface.
Figure 4-1. Transferring the unit
4.3.1
Unpacking
The unit and its parts are delivered wrapped in bubble wrap and stretch
wrap.
Caution
Do not open the packing with sharp tools.
To unpack the unit:
1.
Remove the stretch wrap from around the unit.
2.
Remove the bubble plastic sheet.
3.
Open the right cover, remove it from the unit, and remove the polystyrene
sheet from around the coils.
4.
Return the cover and secure it.
5.
Remove the bubble wrapping and the wrapping nylon from the Air
Distribution Module (Canopy).
6.
Remove the cardboard protection from the coils on both sides.
Summary of Contents for DG12
Page 8: ......
Page 59: ...DryGair Dehumidification Unit Appendices Ver 06 2020 51 A 3 DG 12 Standard Split Unit ...
Page 65: ...DryGair Dehumidification Unit Appendices Ver 06 2020 57 A 9 DG 13 Warm Climate Unit ...
Page 67: ...DryGair Dehumidification Unit Appendices Ver 06 2020 59 B 2 DG 6 EU Small Unit ...
Page 69: ...DryGair Dehumidification Unit Appendices Ver 06 2020 61 B 4 DG 6 EU Small Split Unit ...
Page 96: ...Appendices Climate Control System DryGair Energies Ltd 88 ...
Page 97: ...DryGair Dehumidification Unit Appendices Ver 06 2020 89 ...
Page 98: ...Appendices Climate Control System DryGair Energies Ltd 90 ...
Page 101: ...DryGair Dehumidification Unit Comments and Notes Ver 06 2020 93 ...
Page 102: ......


