Drobo B810n Getting Started Guide
22
Warning:
Powering on the Drobo will begin the disk format process. Please be aware that all data on the disks
will be erased.
7.
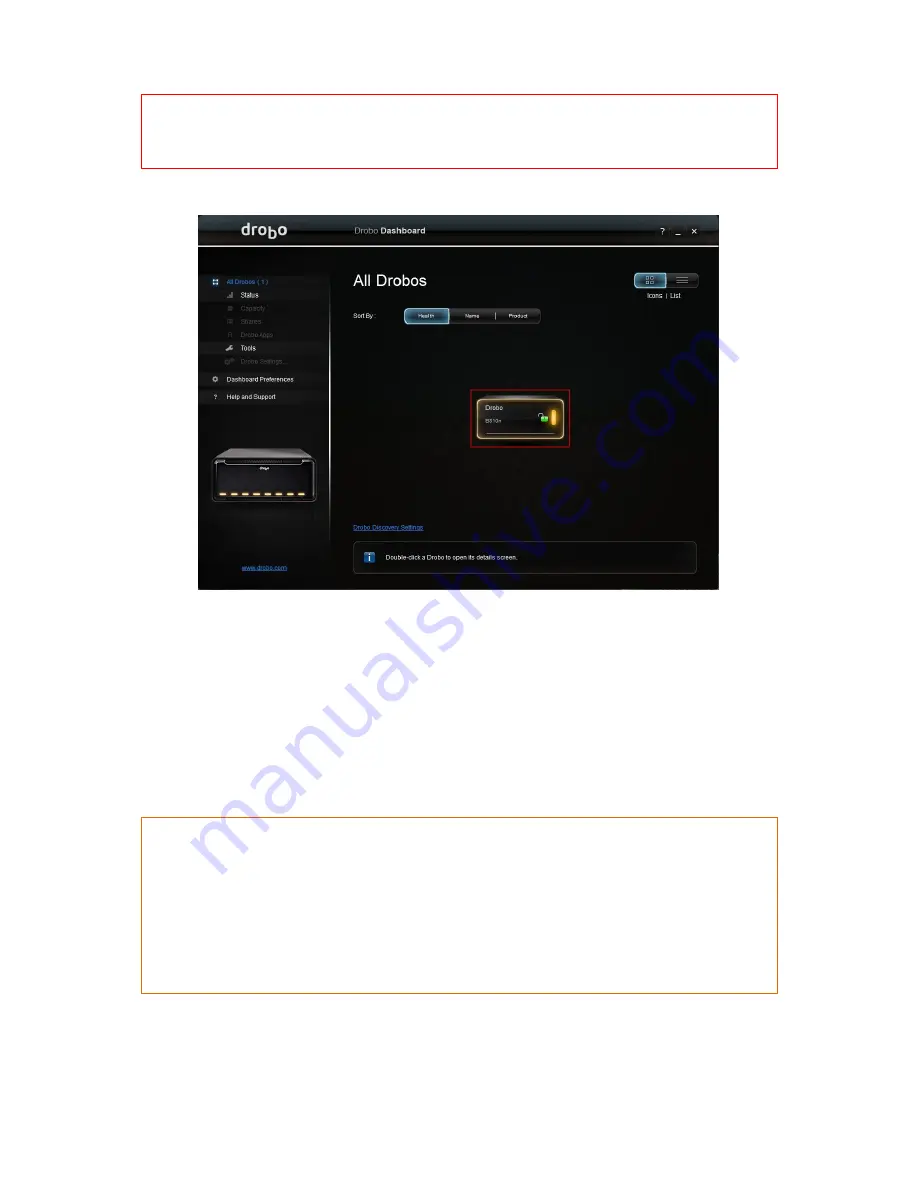
Your Drobo B810n will appear with a yellow Drobo device icon on your main dashboard screen.
8.
Click the Drobo device icon to begin initialization of your Drobo B810n. During this process
your Drobo will download the latest firmware from the internet.
9.
Go to the
Status
page in the Dashboard which will show that the Drobo is initializing. While
initialization is taking place, all of the drive slot LEDs will be yellow, and the capacity LEDs will
blink blue. When initialization is complete, Drobo will restart to finish the firmware upgrade
process.
10.
Your Drobo should begin updating to the latest firmware and automatically formatting the
disk. Please allow Drobo up to 20 minutes for the total initialization process.
Note:
If the Drobo Dashboard does not detect your Drobo 810n and initialization does not begin, please
disable any firewall and antivirus programs and ensure that your Drobo is connected directly to the
Ethernet port on your computer and not via an Ethernet switch. In this scenario, be sure that your
computer is set to get its IP address on that Ethernet port via DHCP.
If the Drobo Dashboard is still not detecting your Drobo 810n and the lights are remaining solid red,
please call our support line for assistance or open a ticket on your support account. For more
information, please see:
How do I contact technical support?
11.
If the red drive lights are seen again (e.g. "Unknown Disk Set"), go to the Drobo Dashboard's
Tools
section and choose
ERASE
(reset), allowing the Drobo 810n to reboot.


