Drobo B810n Getting Started Guide
12
1.
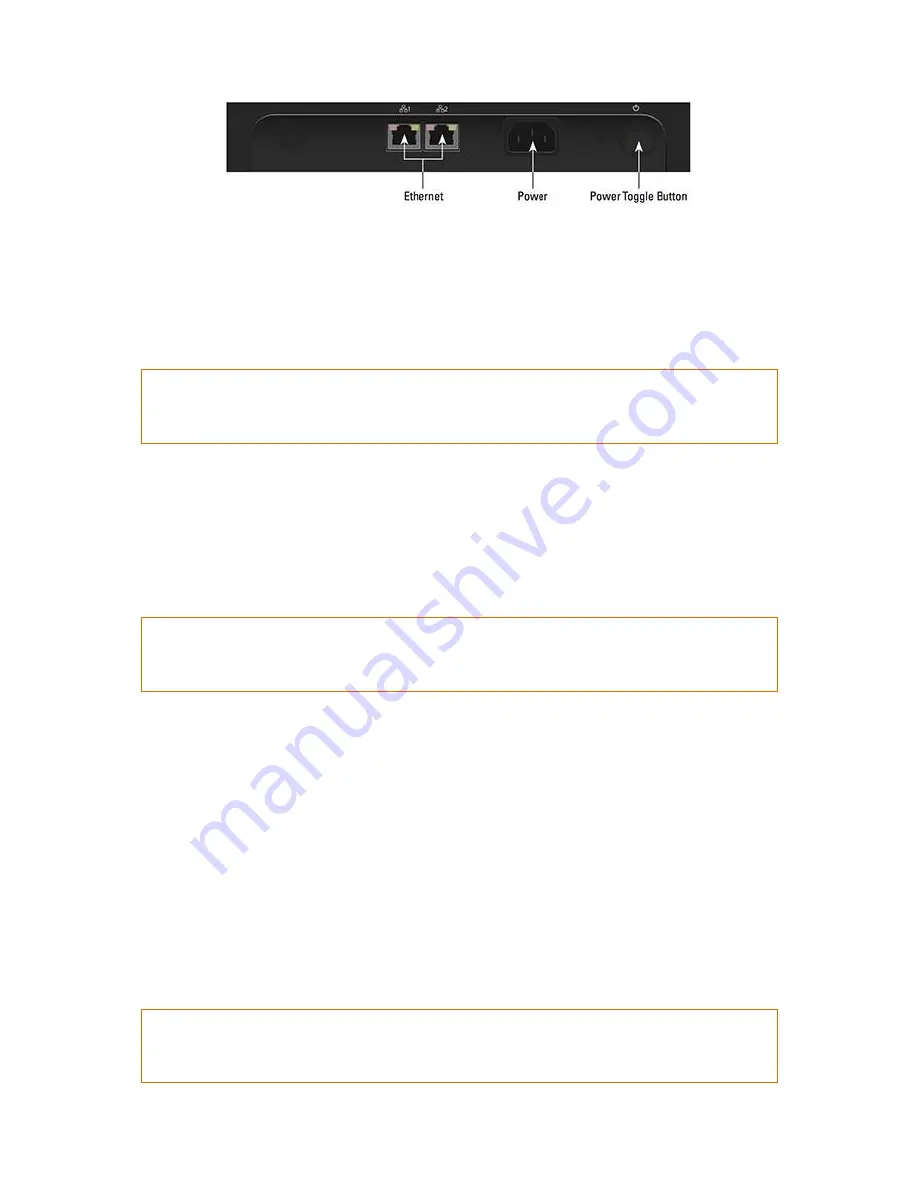
Plug one end of the Ethernet cable into the back of your Drobo B810n.
2.
Plug the other end of the Ethernet cable into your router, switch, or computer.
3.
Connect the power supply to the power connection at the back of your Drobo B810n.
4.
Connect the other end of the power supply to a power source.
Note:
We recommend plugging into an uninterruptible power supply (UPS) or surge protector. For more
information, see
Using power protection
.
2.3 Powering on the Drobo 810n
The next step is to power on the Drobo device. For this, you have to attach the power cord and then,
turn on the Drobo using the power switch located on the back. The Drobo will take several minutes
to complete the power on cycle. When the power on cycle is complete the Drobo will flash blue and
yellow lights.
Note:
If you need to assess that the process is moving smoothly, see
Guide to meaning of indicator lights
(LEDs)
.
2.4 Downloading and installing Drobo Dashboard
The Drobo Dashboard application will help you to set up and manage your Drobo B810n. After
installing the Dashboard, you can configure the settings to automatically install version updates,
which is highly recommended. You can install the Drobo software and firmware updates from
Start
Drobo B810n
page.
This section covers the following topics:
Downloading Drobo Dashboard
Installing Drobo Dashboard on Windows
Installing Drobo Dashboard on Mac
Note:
You need a full admin user account and Internet access on the computer on which you install the
Drobo Dashboard


